

Objectives
- Insert a contract/document in the database
- Correct/Revise/Update/Approve/Sign contracts
Related Articles of Contracts & Documents Module
Steps
In App4Legal, you can easily and efficiently manage your contracts & documents.
First, you have to add contracts/documents to your database. You do that quickly from the New button in the main menu.
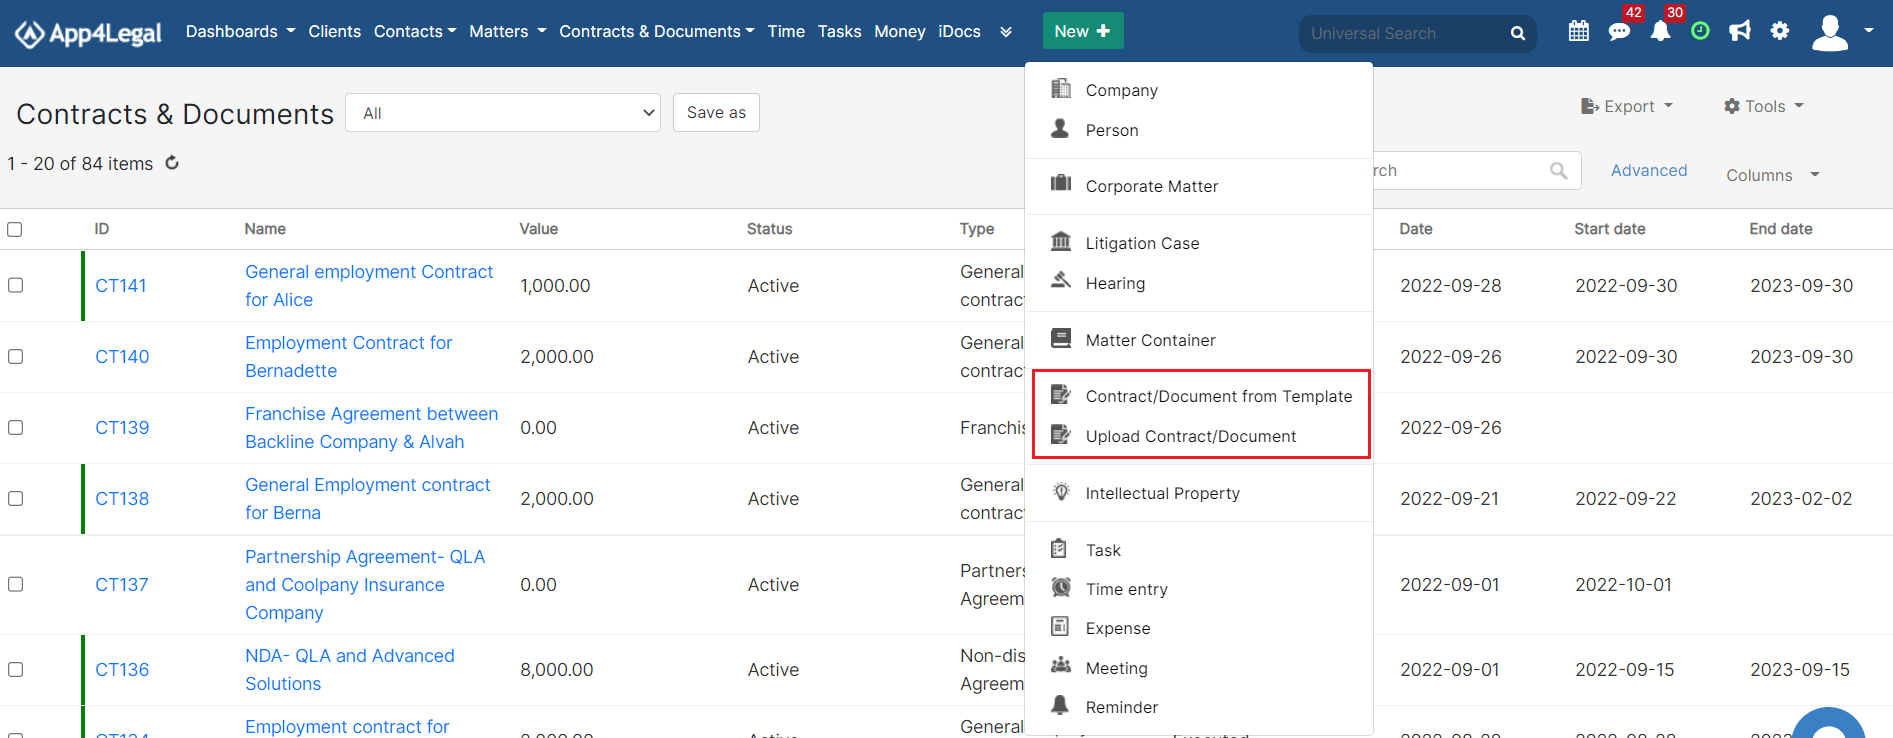
We have two options to generate a contract/document:
Create a contract/document from Template
Upload Contract/Document
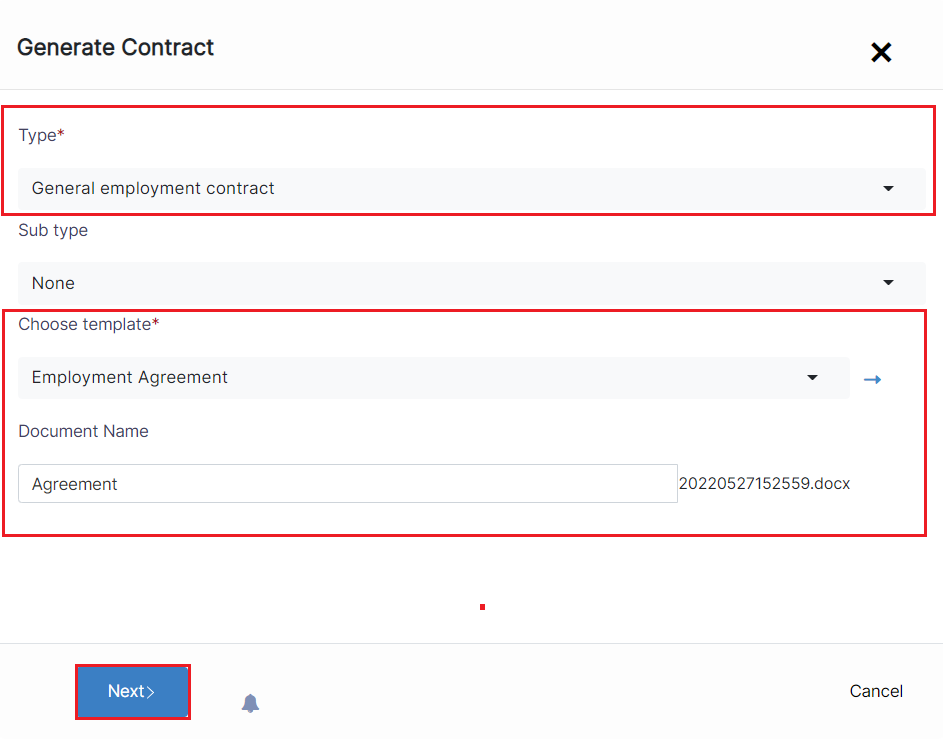
- If you choose "Contract/Document from Template", you will be redirected to a page to select the type of the contract and choose the template based on this type, give this document a name and then press on the next button to start filling the predefined template (questionnaire).
Note: Contract Templates can be configured from the system settings.
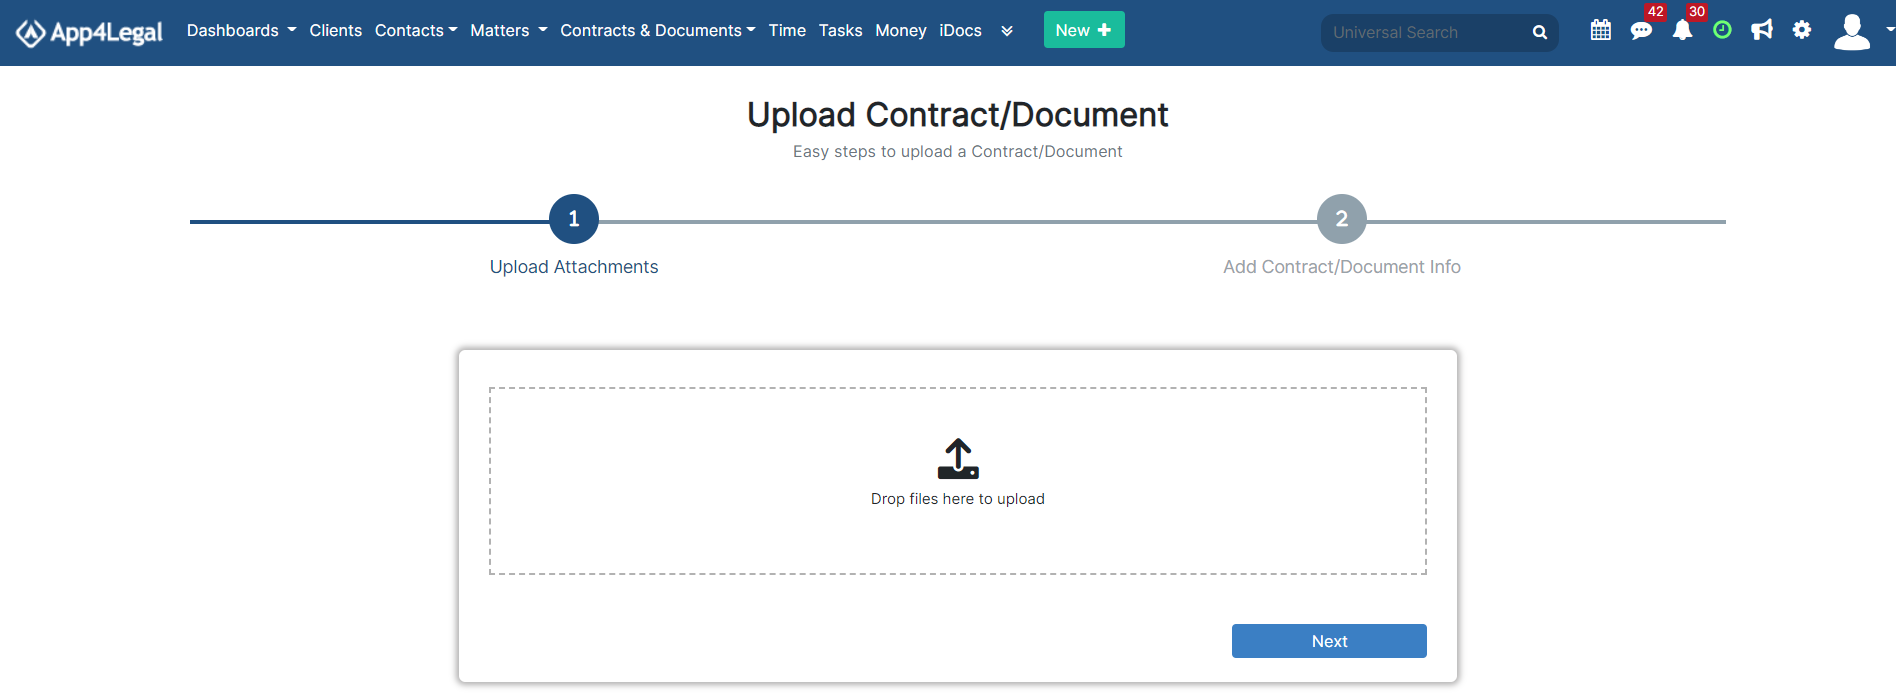
- If you choose "Upload Contract/document":
You have to upload the attachments as a first step:
Next, start adding the Contract/Document Information. The Add form of a Contract has the essential data to be inserted.
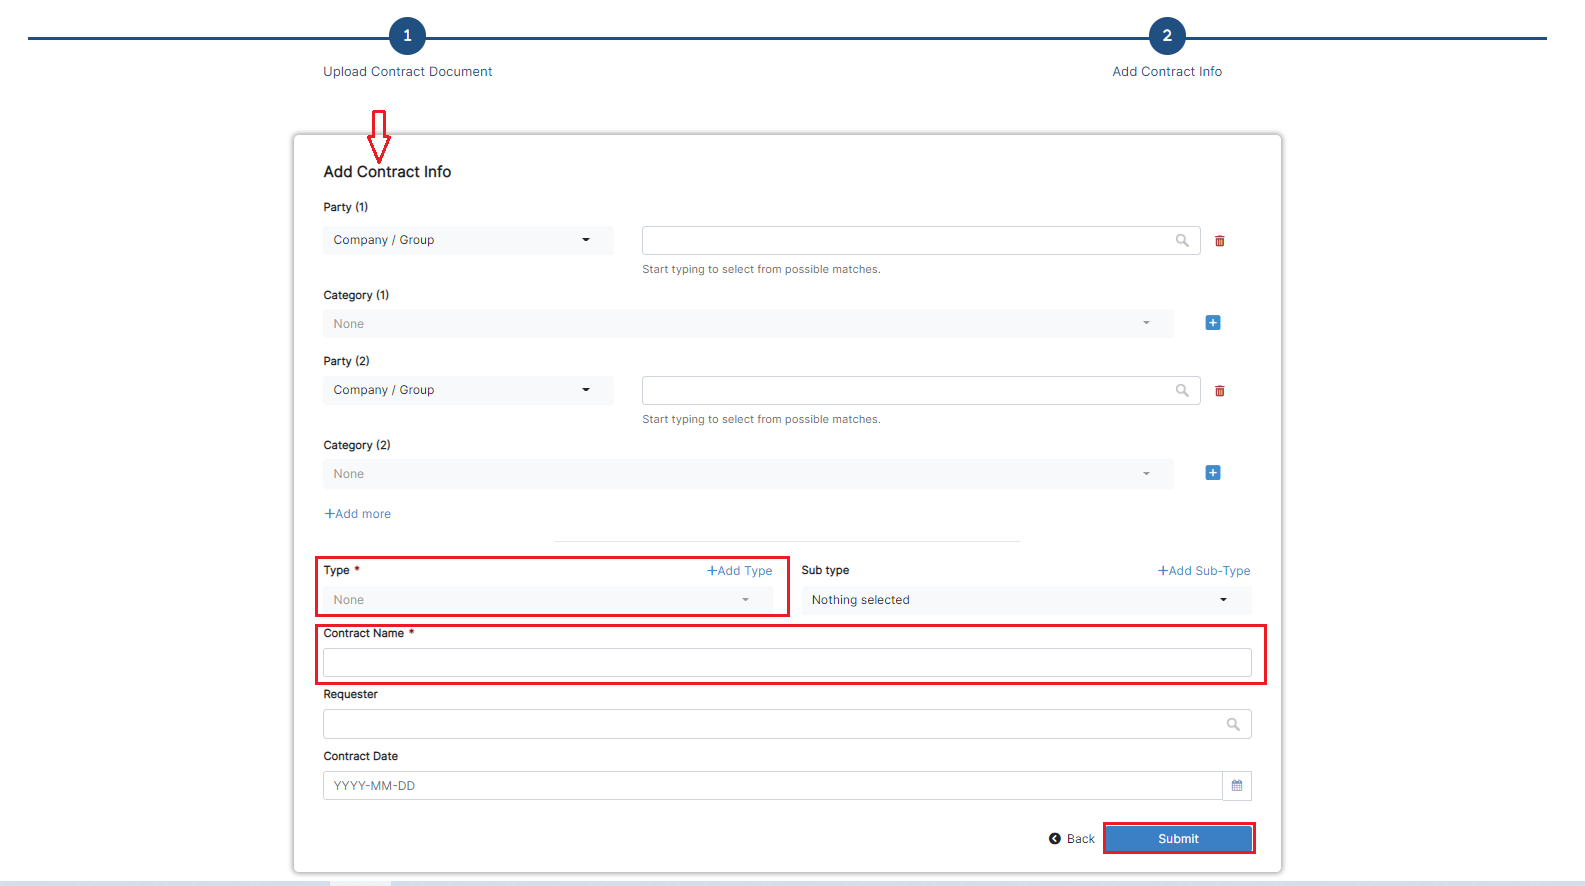
The mandatory fields are the ones in red only: type and name:
- Type: A customizable drop-down list to choose the type of the contract
- Name: The name of the contract
Other fields are optional; however, you can fill out these fields to make it easier to generate reports at a later stage.
Optional fields include the contract Parties, Subtype, Requester, and Date.
After filling in all the information needed click on Submit.
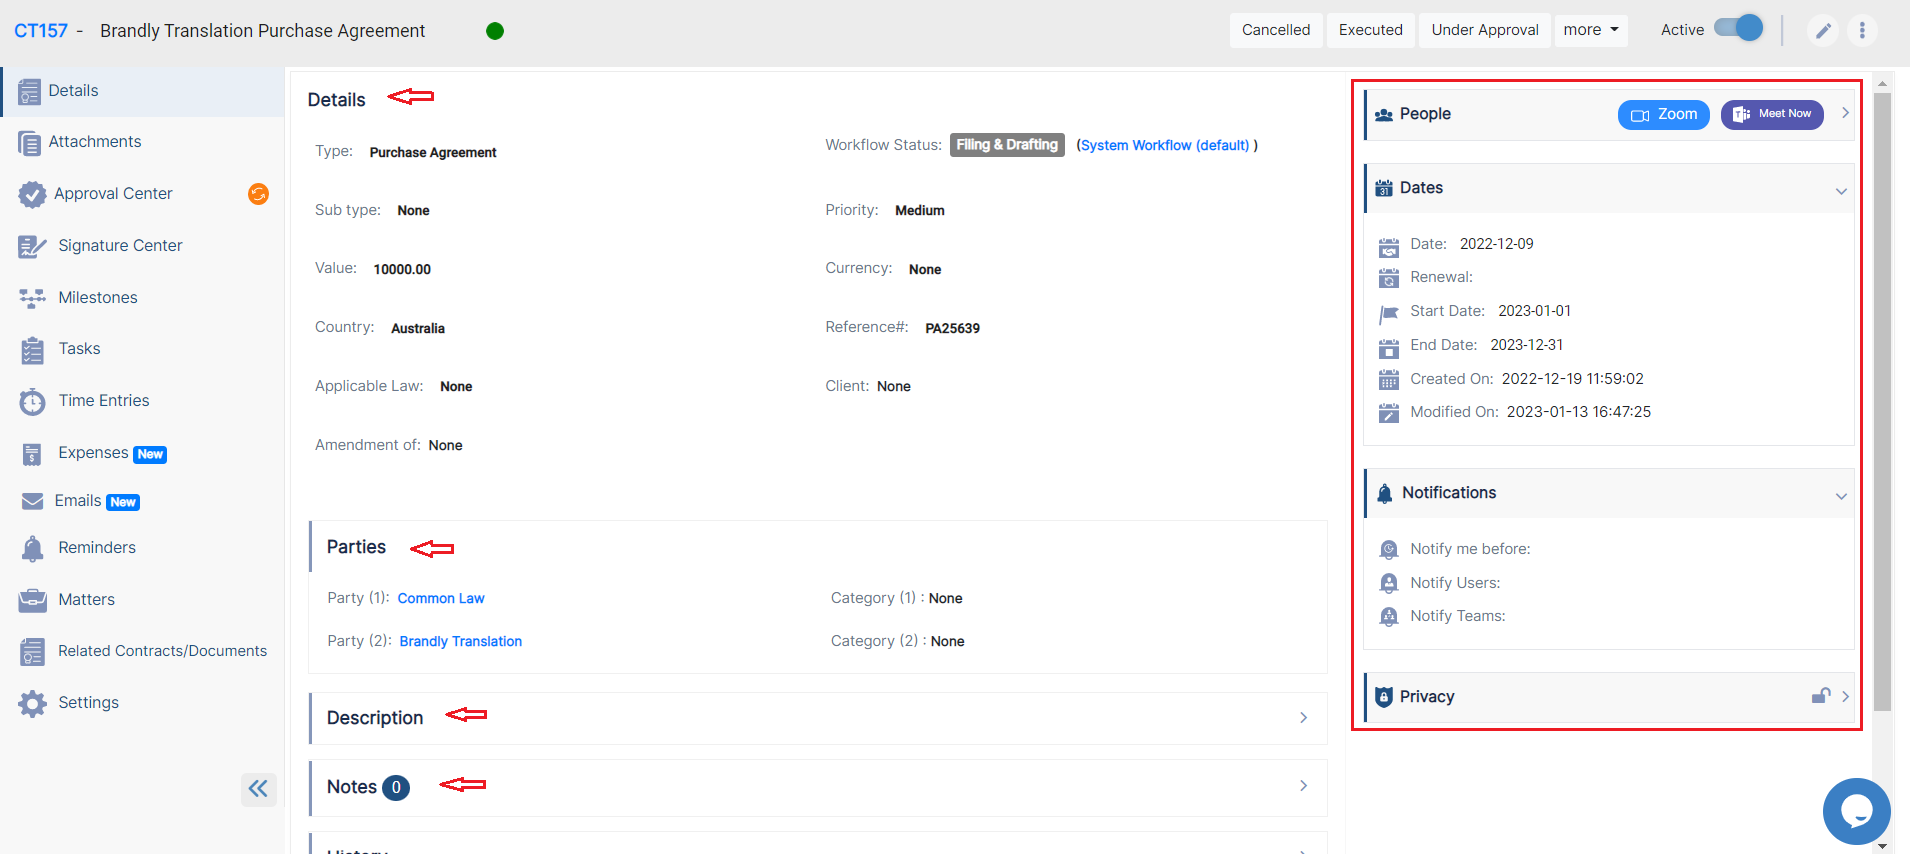
You can click on the Contract name or Contract ID to open its page and edit or capture more information. You can capture information regarding Contracts details, dates, people, and notes.
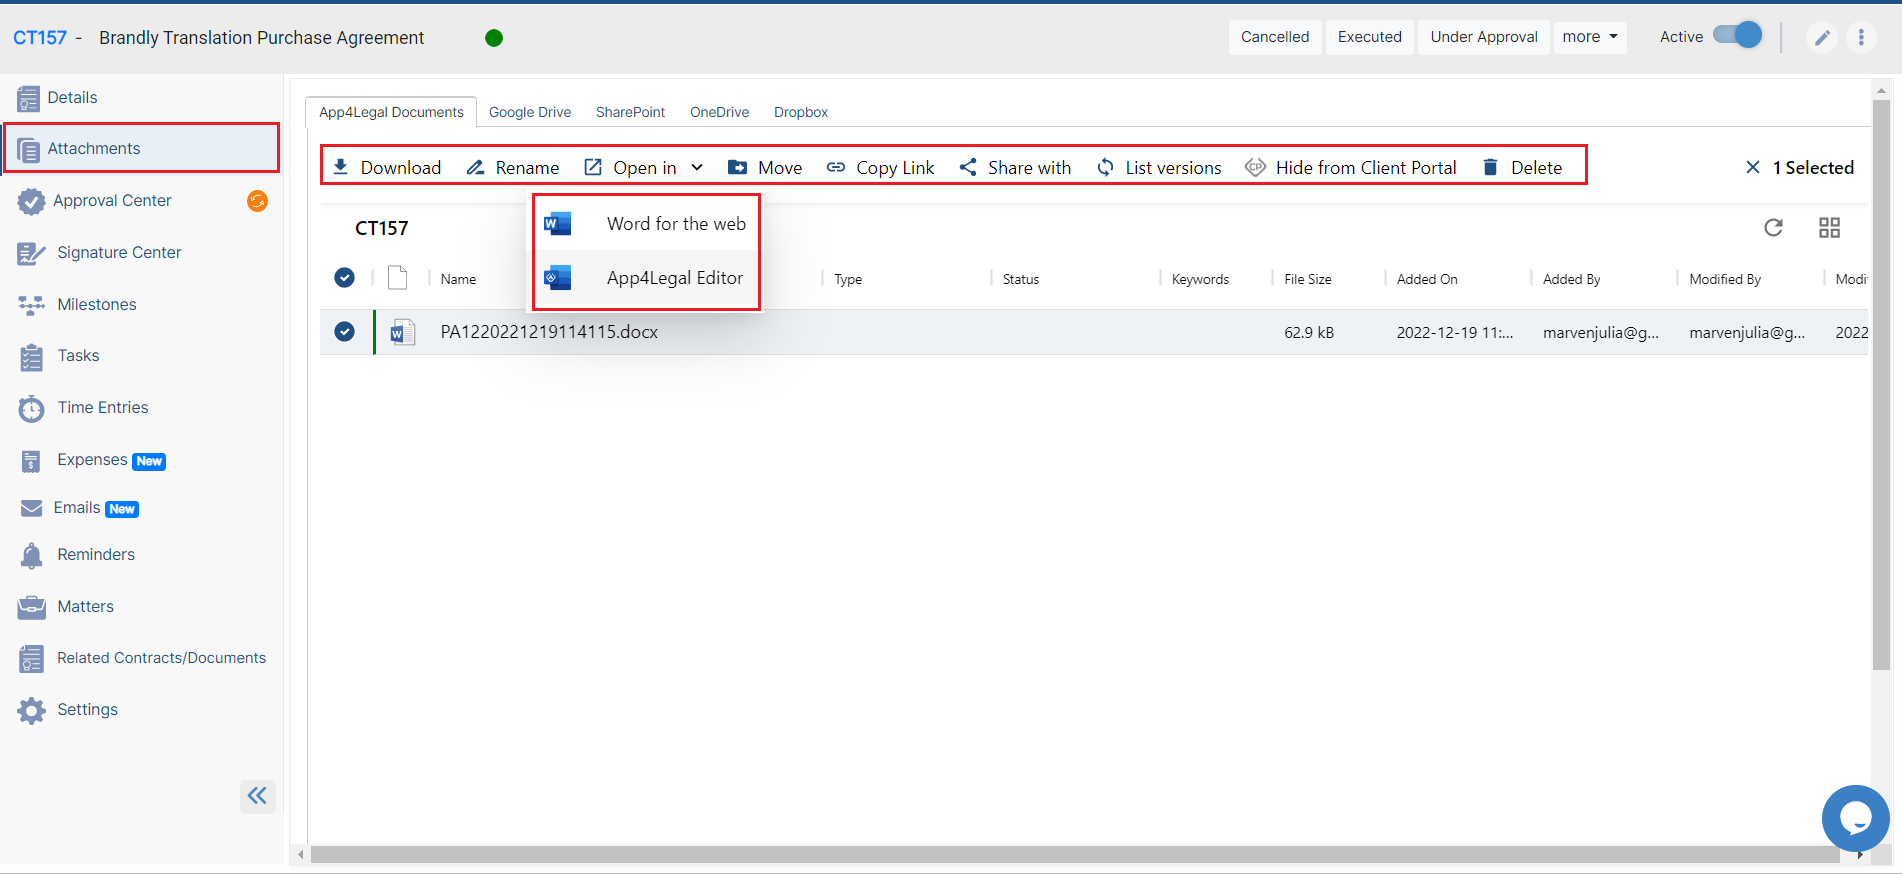
You can also create and manage the Folder structure and Upload Documents through the Attachments Tab. The App4legal Document Editor is an efficient tool to help you manage document versions related to a specific contract.
Once done, make sure to change the "To Be Approved" and "To Be Signed" options to "yes" so that your contract is now ready for approval and signature.

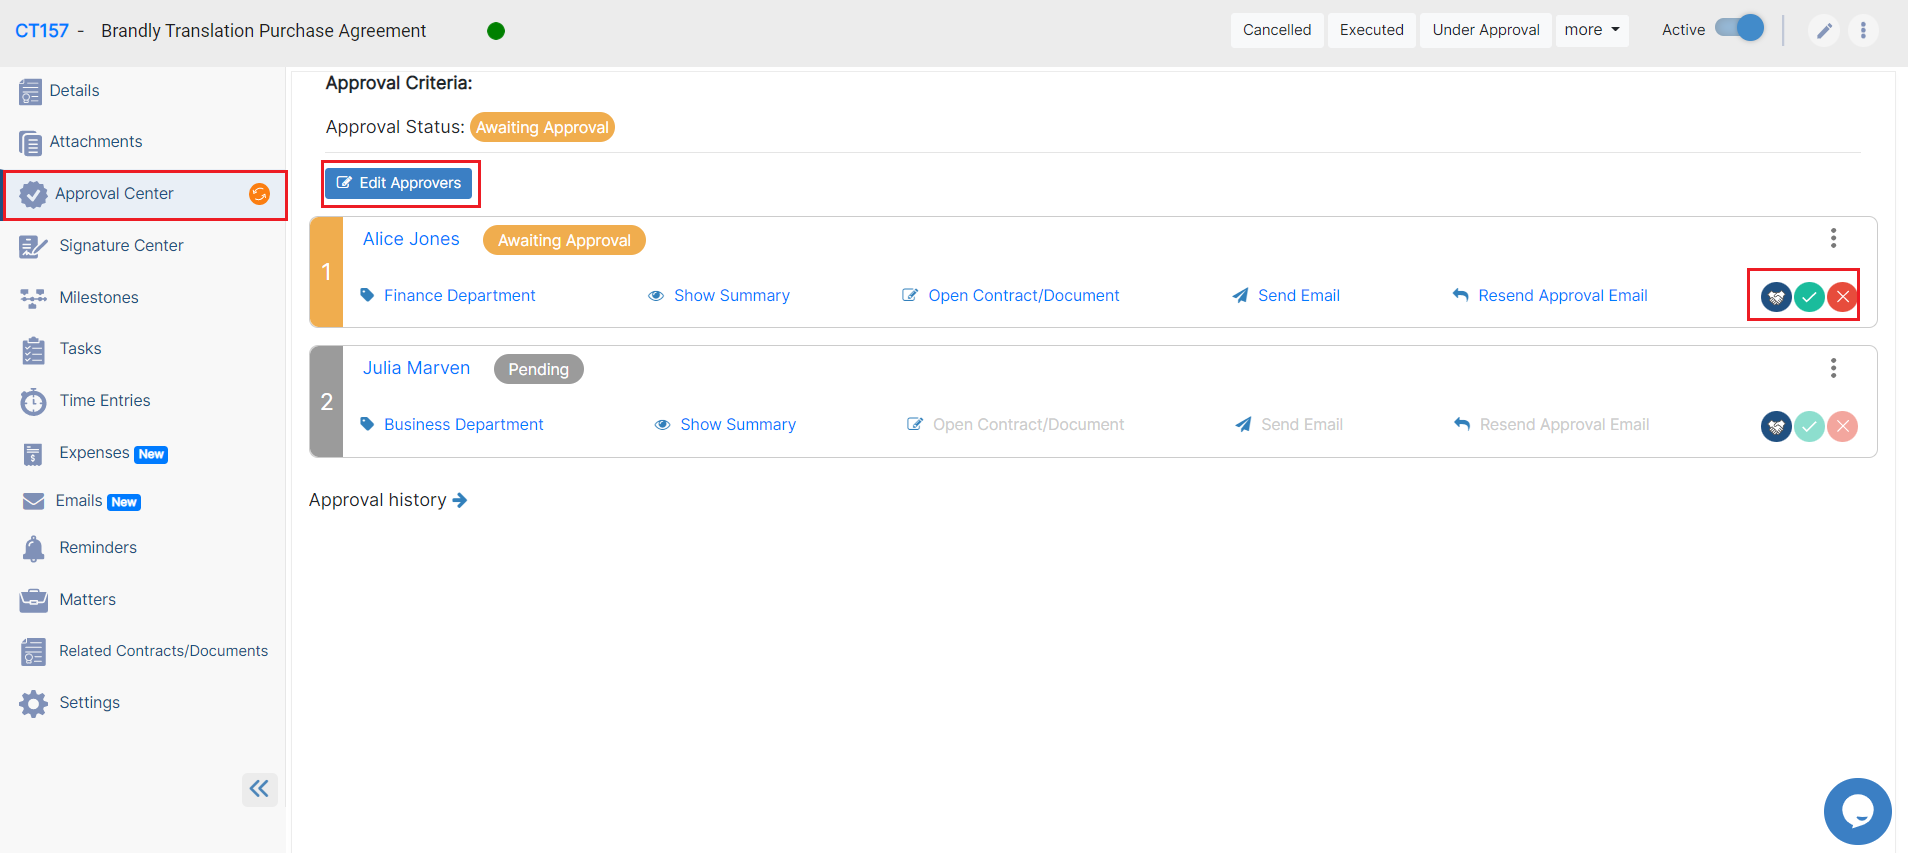
The next step is to identify the list of approvers and signees. This can be done manually from the Approval Center and Signature Center. However, the list of approvers and signees can be configured based on predefined business rules from the Legal Team.
The Approvers can start a negotiation, and approve or reject the contract.
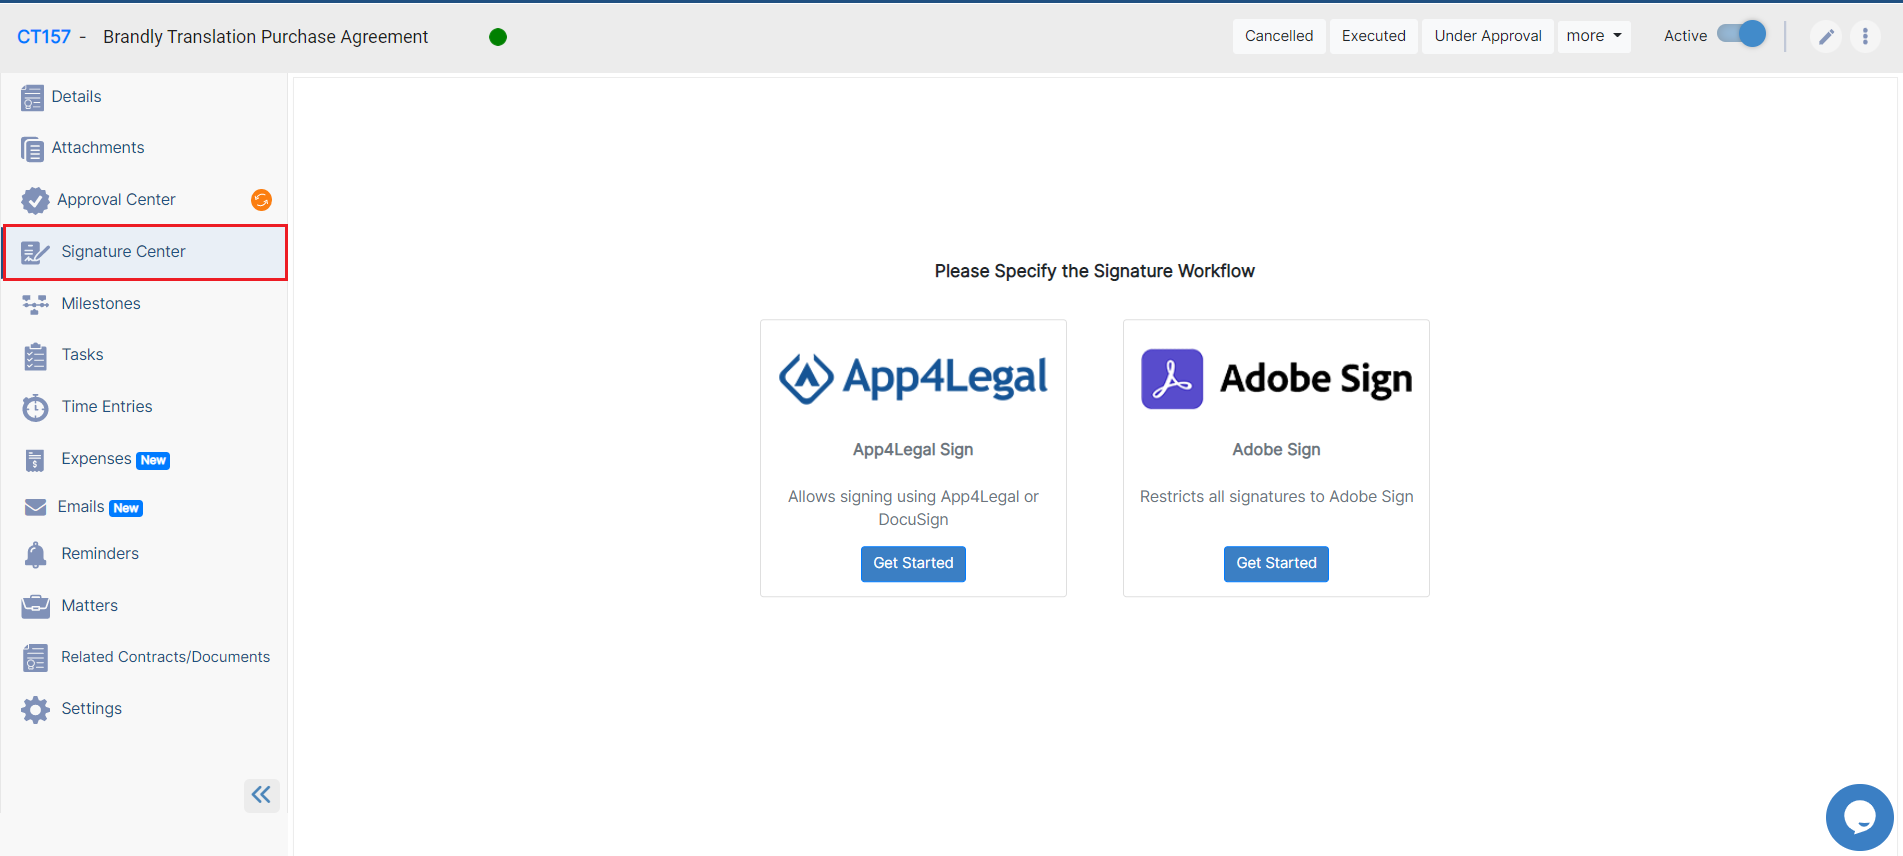
Once the contract is approved by everyone, it should be signed. The list of signees could use App4Legal or Adobe Signature Workflow. Once signed, the contract is saved and can be retrieved easily.

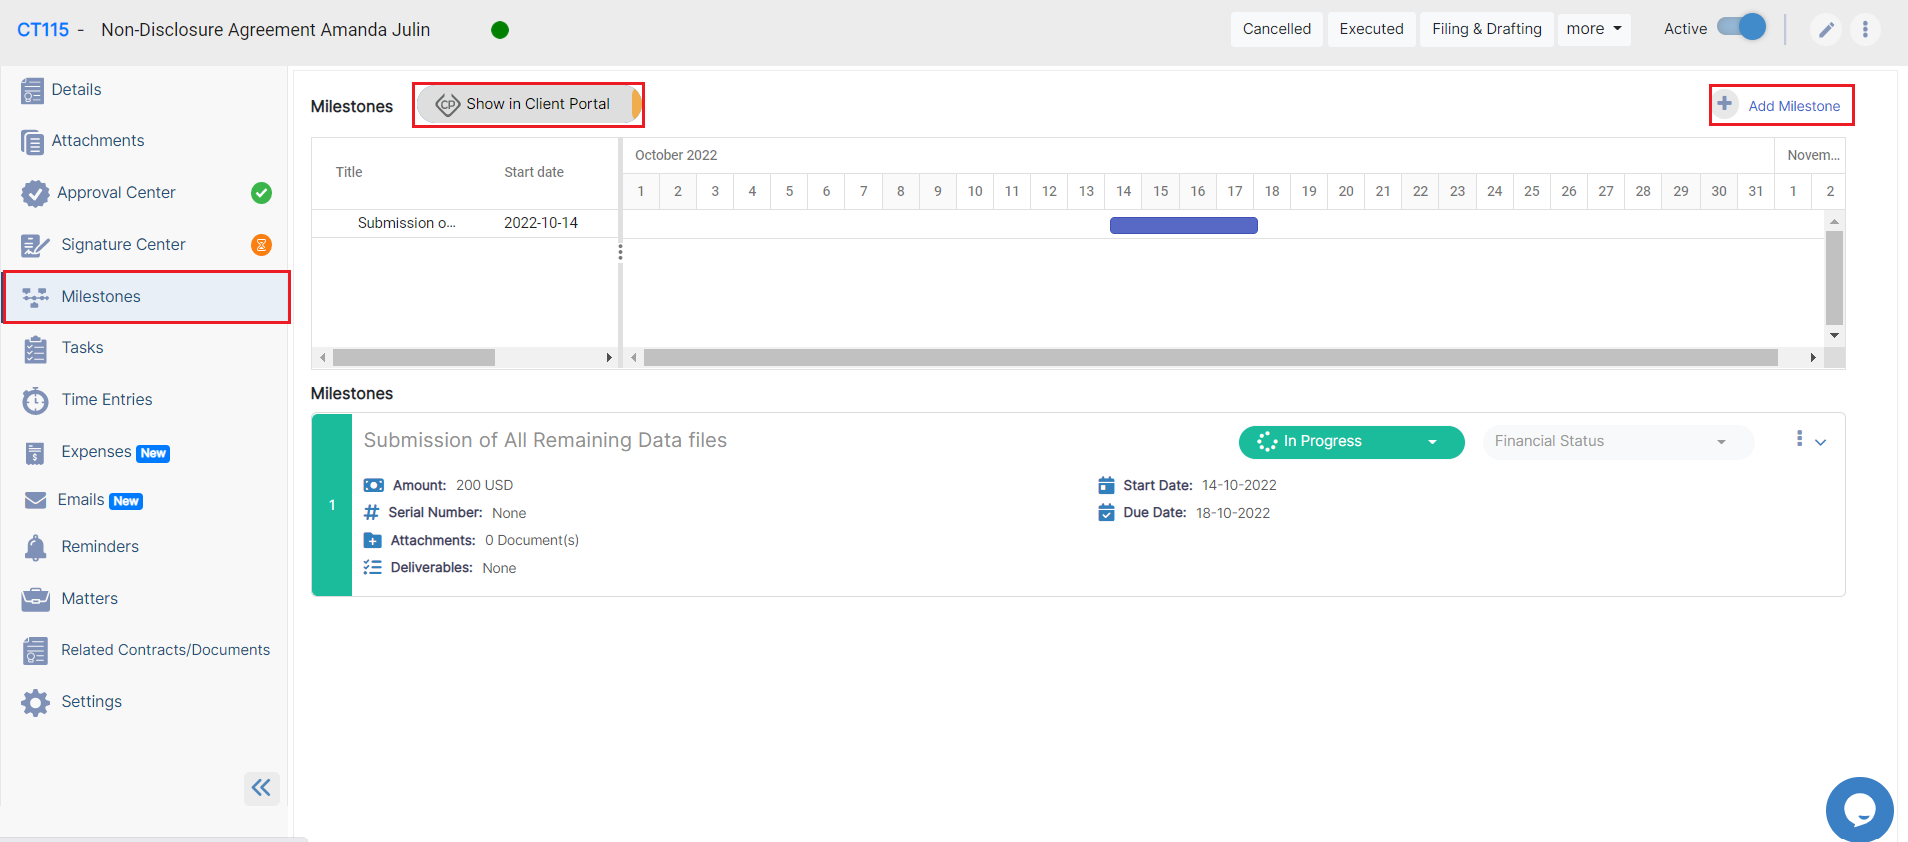
Another important feature available in Contra is the Milestones which will help you log the milestones and deliverables of every contract. There are also two workflows for every milestone: a general one and a financial one.
In addition to the above, there is a task tool where task management is smooth and intuitive when several people are working in parallel on the same object.
Moreover, you can log time, add expenses, and set all the reminders related to this contract, and the concerned people will receive notifications prior to the due date.
Furthermore, you can now send your contracts by Email and track all the related email conversations.

Last but not least, any given Contract could be linked to an existing Matter or litigation Case and it also could be associated with an existing contract.
For more information about App4Legal, kindly reach out to us at help@app4legal.com.
Thank you!
- Generate a new contract/document
- Capture and manage contract details
- Renew and amend a contract
- Create/manage the folder structure and upload documents
- Review and Approval of the contract
- Sign a contract
- Manage Contract's Reminders
- Link a Task/Contract to a contract
- Integration between App4Legal Contract and DocuSign
- Create a Questionnaire from a Contract Template
- Add Milestones to contracts
This page has no comments.