

...
- Setup the integration between App4Legal LEXZUR and Adobe Sign
Steps
In order to To set up the integration between App4Legal Lexzur and Adobe Sign, you must :
Note: There will be a separate Adobe Acrobat Sign API application for every App4legal instance
...
first have a separate Adobe account and follow these steps:
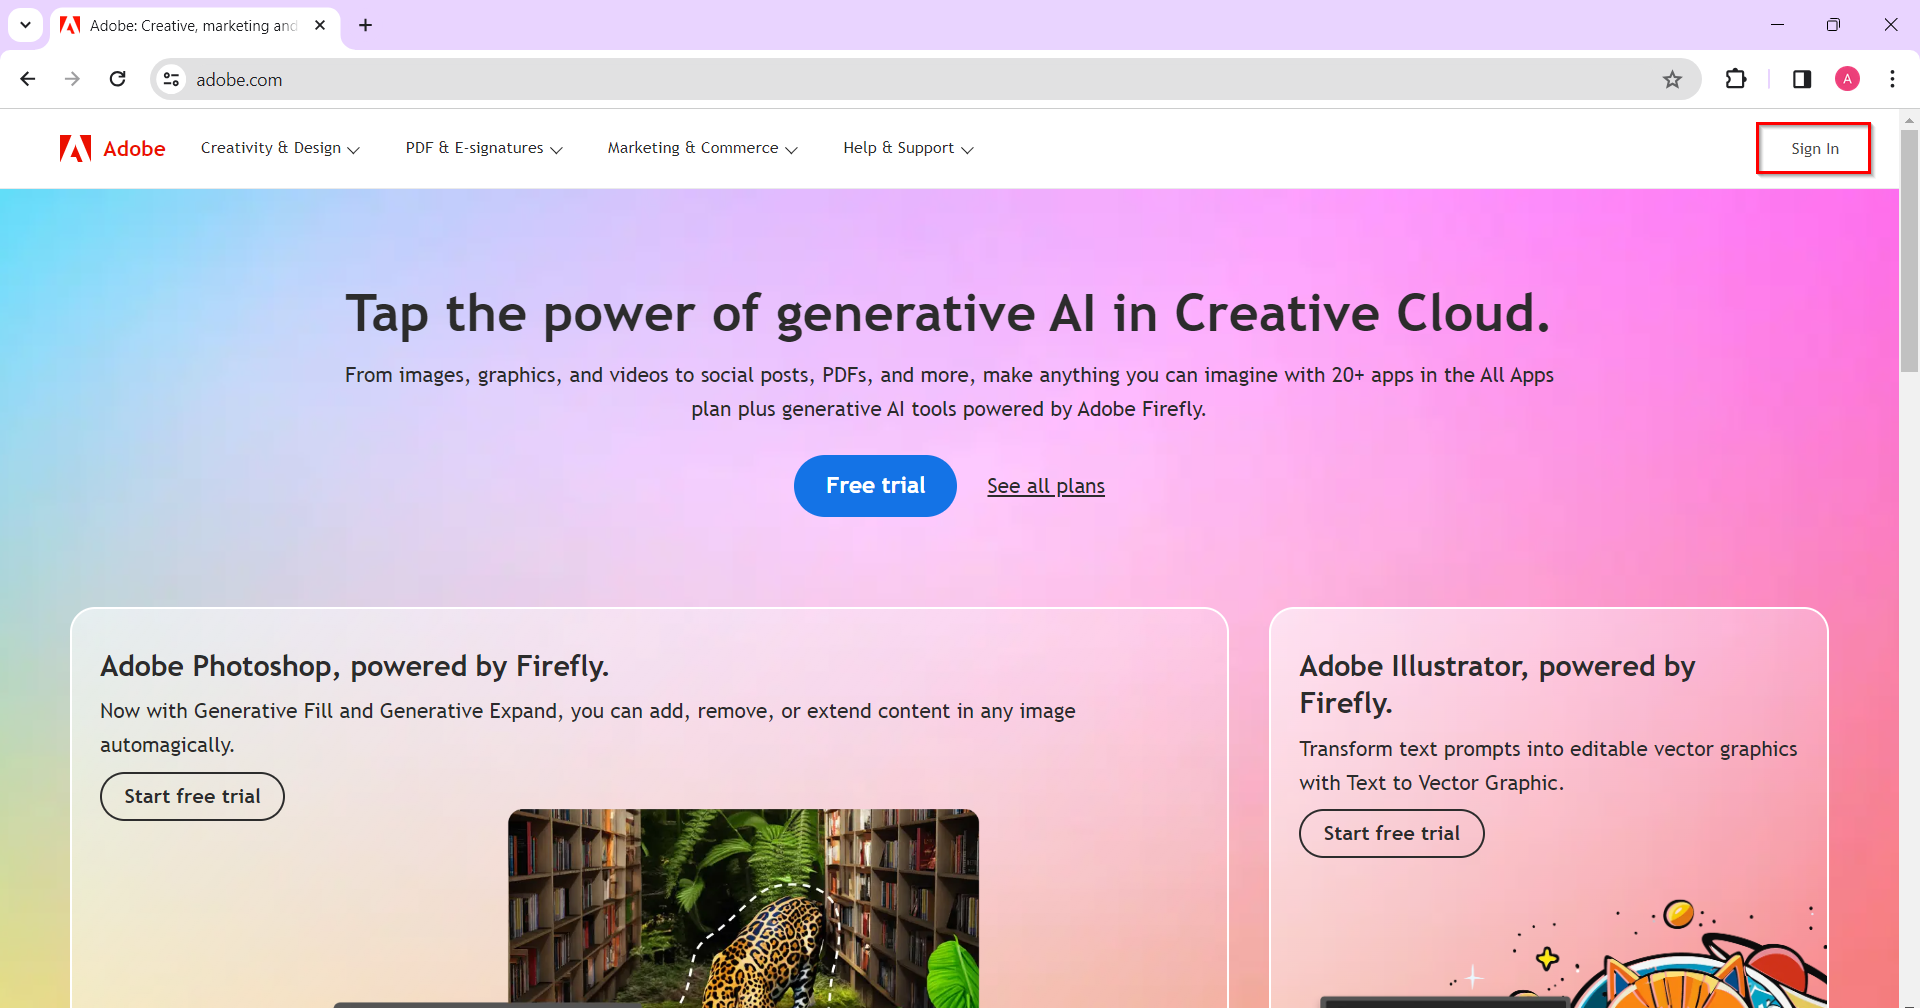
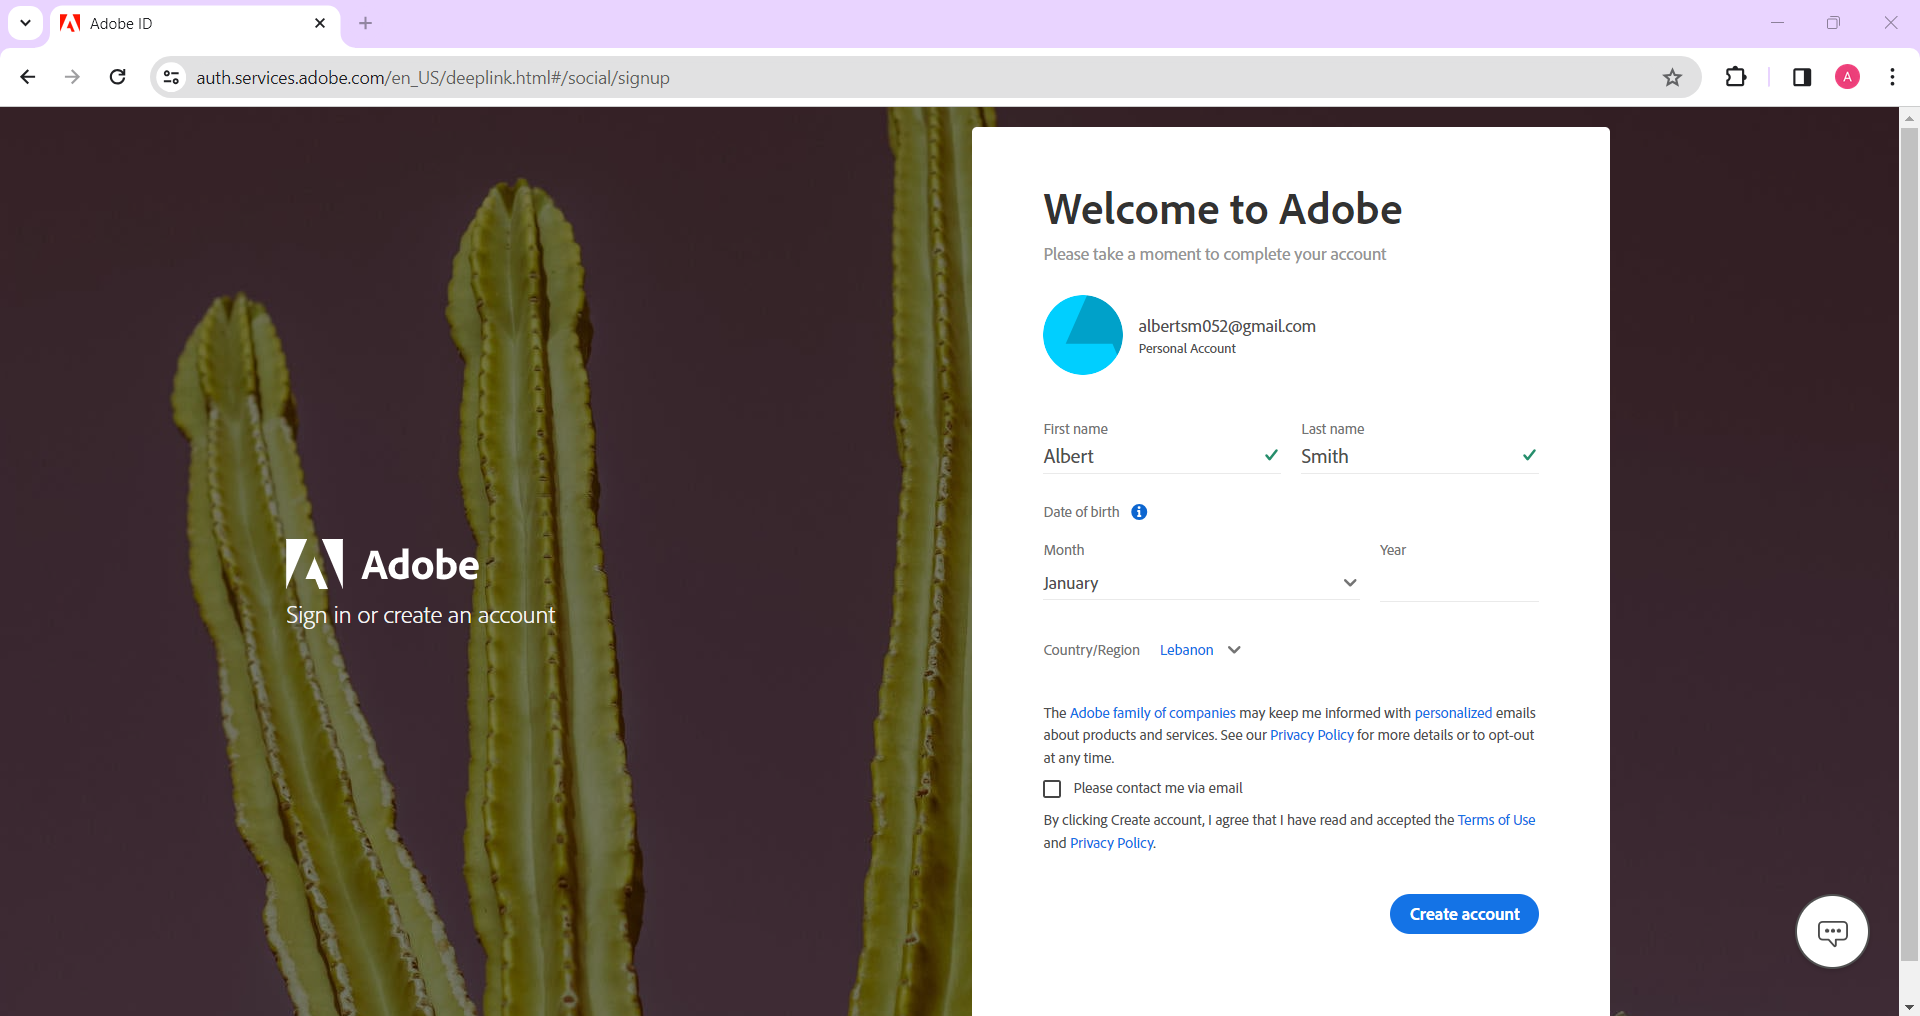
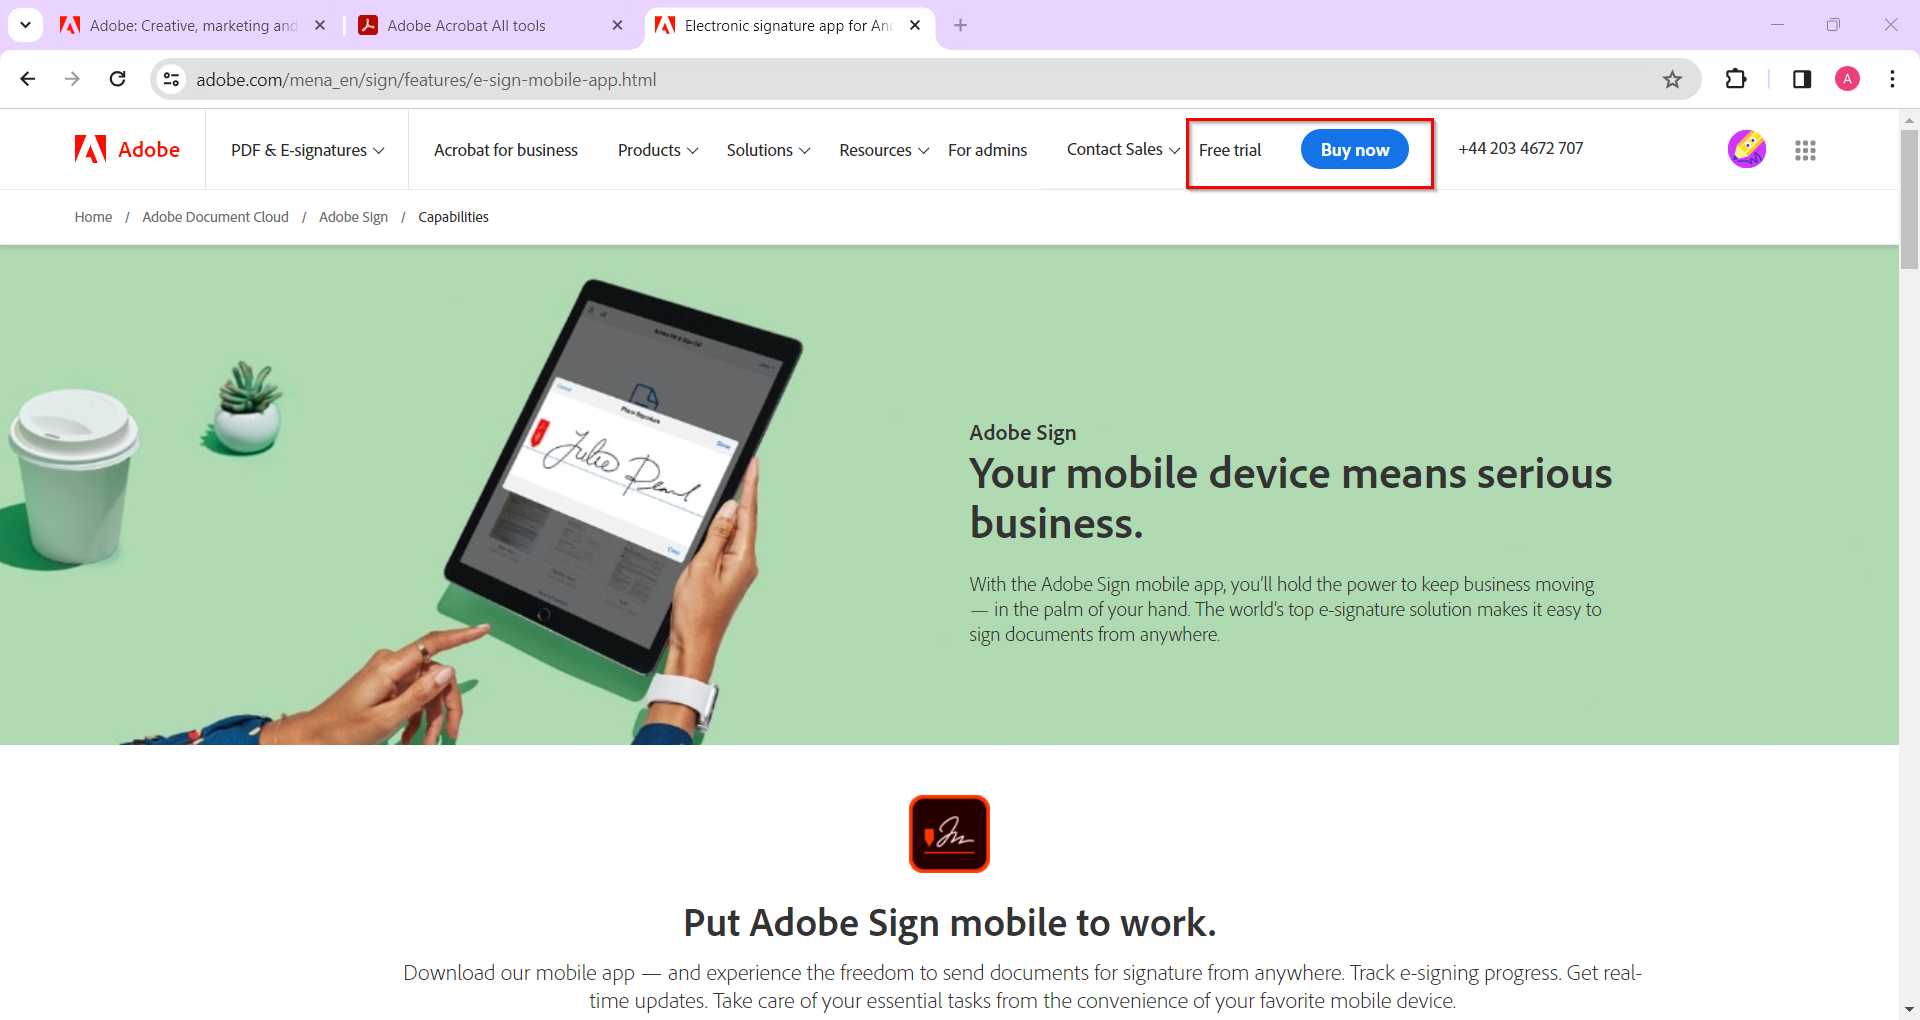
- Go to adobe.com and sign in to your account, or create a new account and use the free trial option.
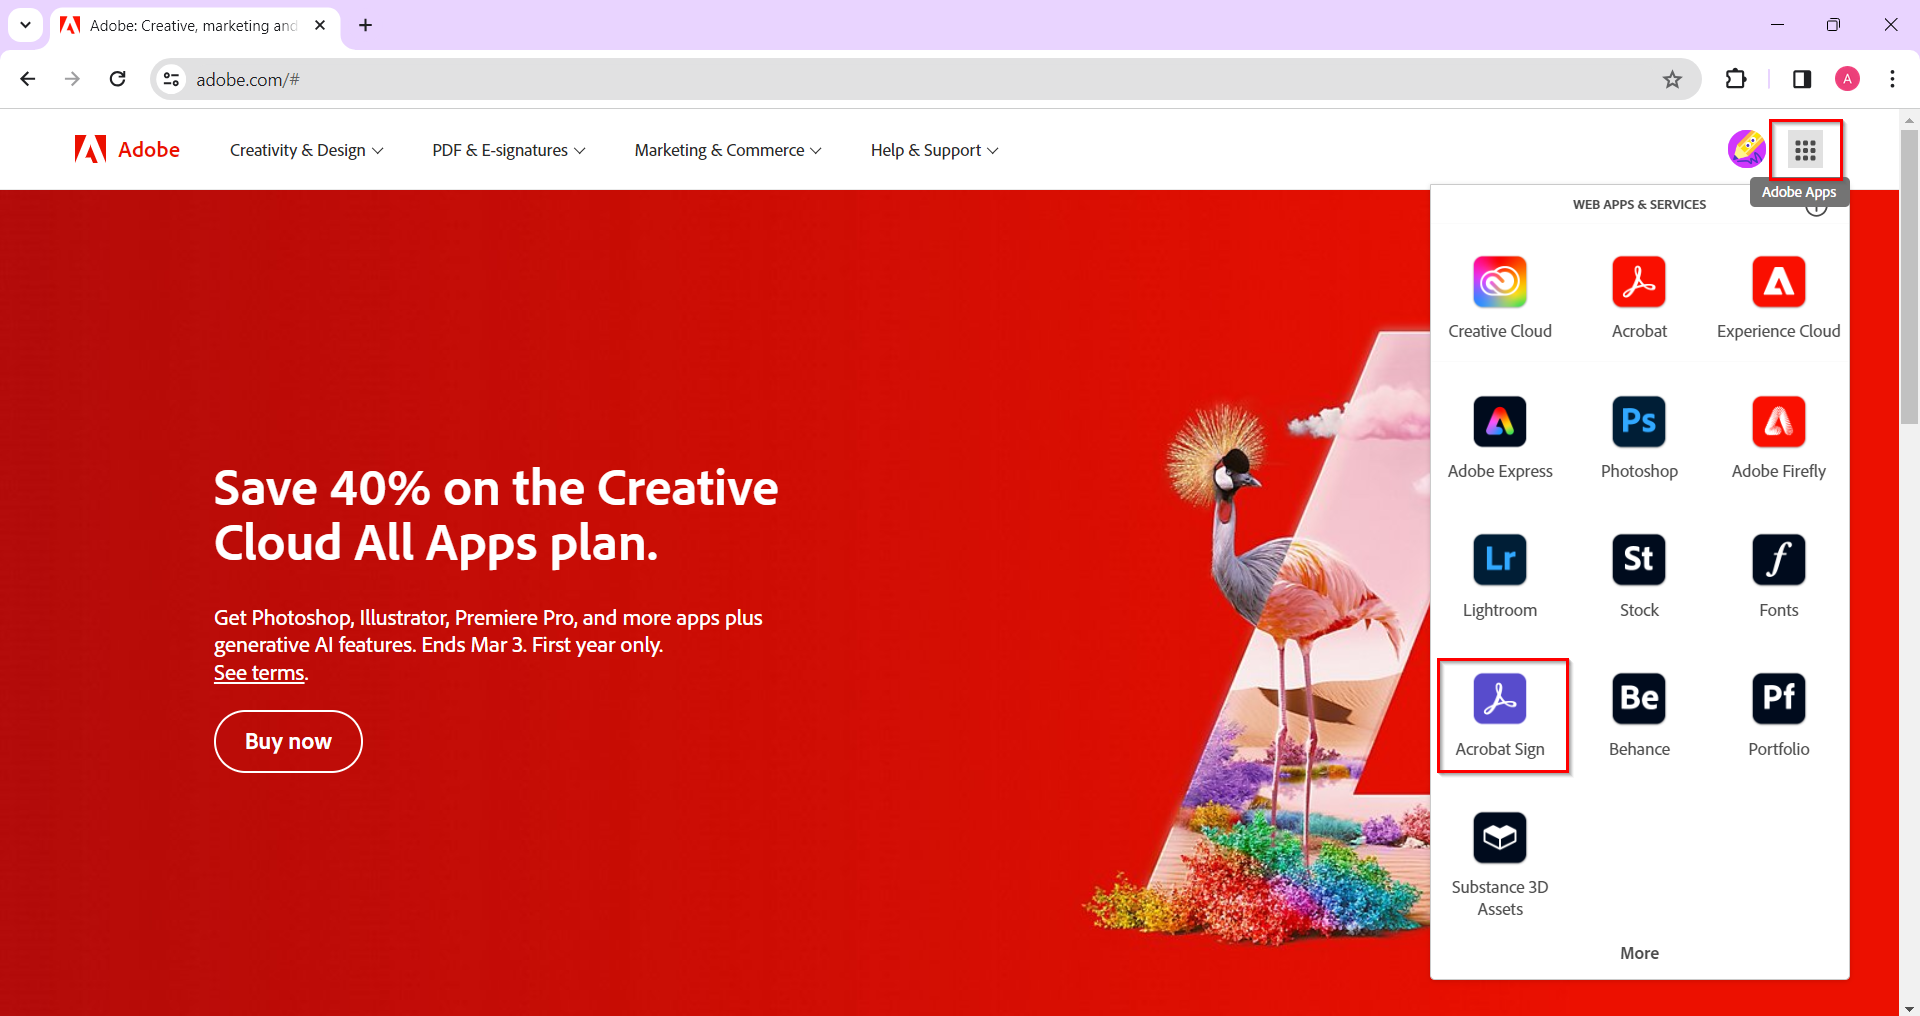
- After signing in to your Adobe account, you need to purchase Adobe Acrobat Sign, which will handle the digital signatures. Open the apps menu by clicking on the box icon in the top right corner of your account. Then, choose Acrobat Sign.
- Log in to your Adobe account and navigate to the "All Tools" tab. Select the Adobe Acrobat Sign app and click to Get it.
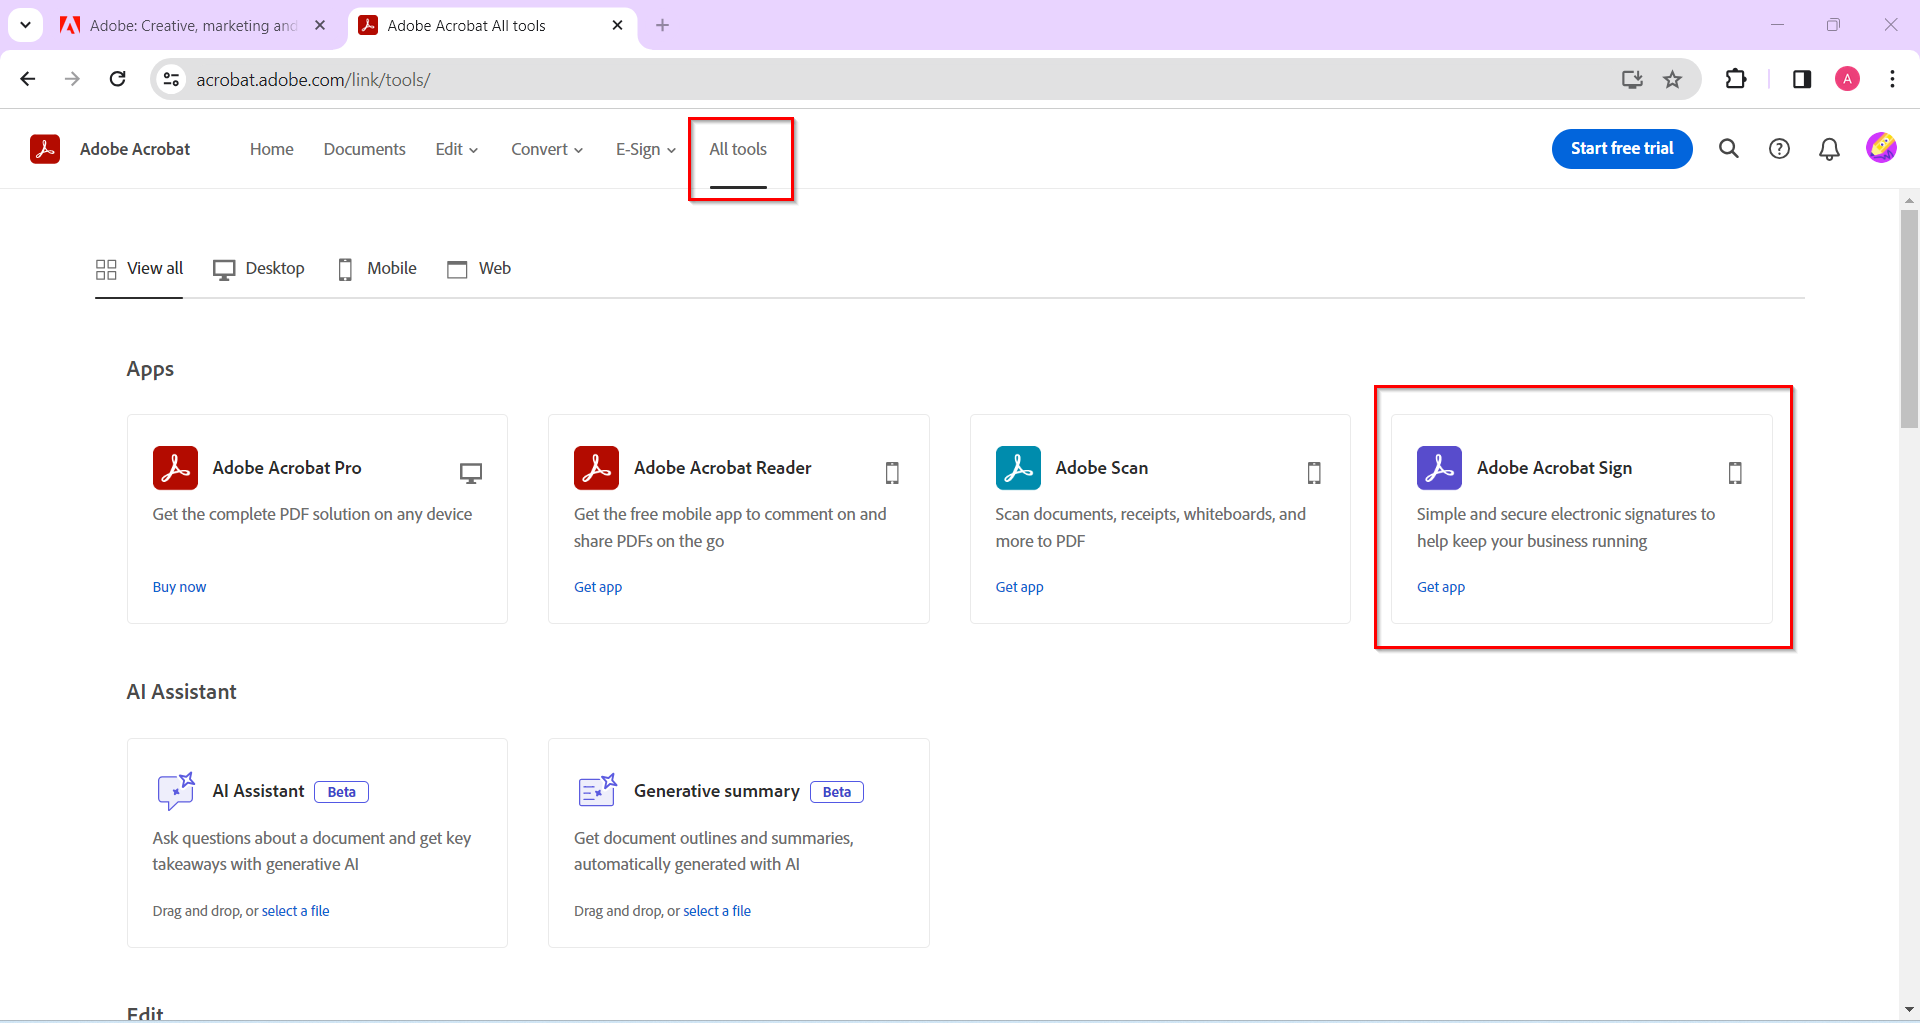
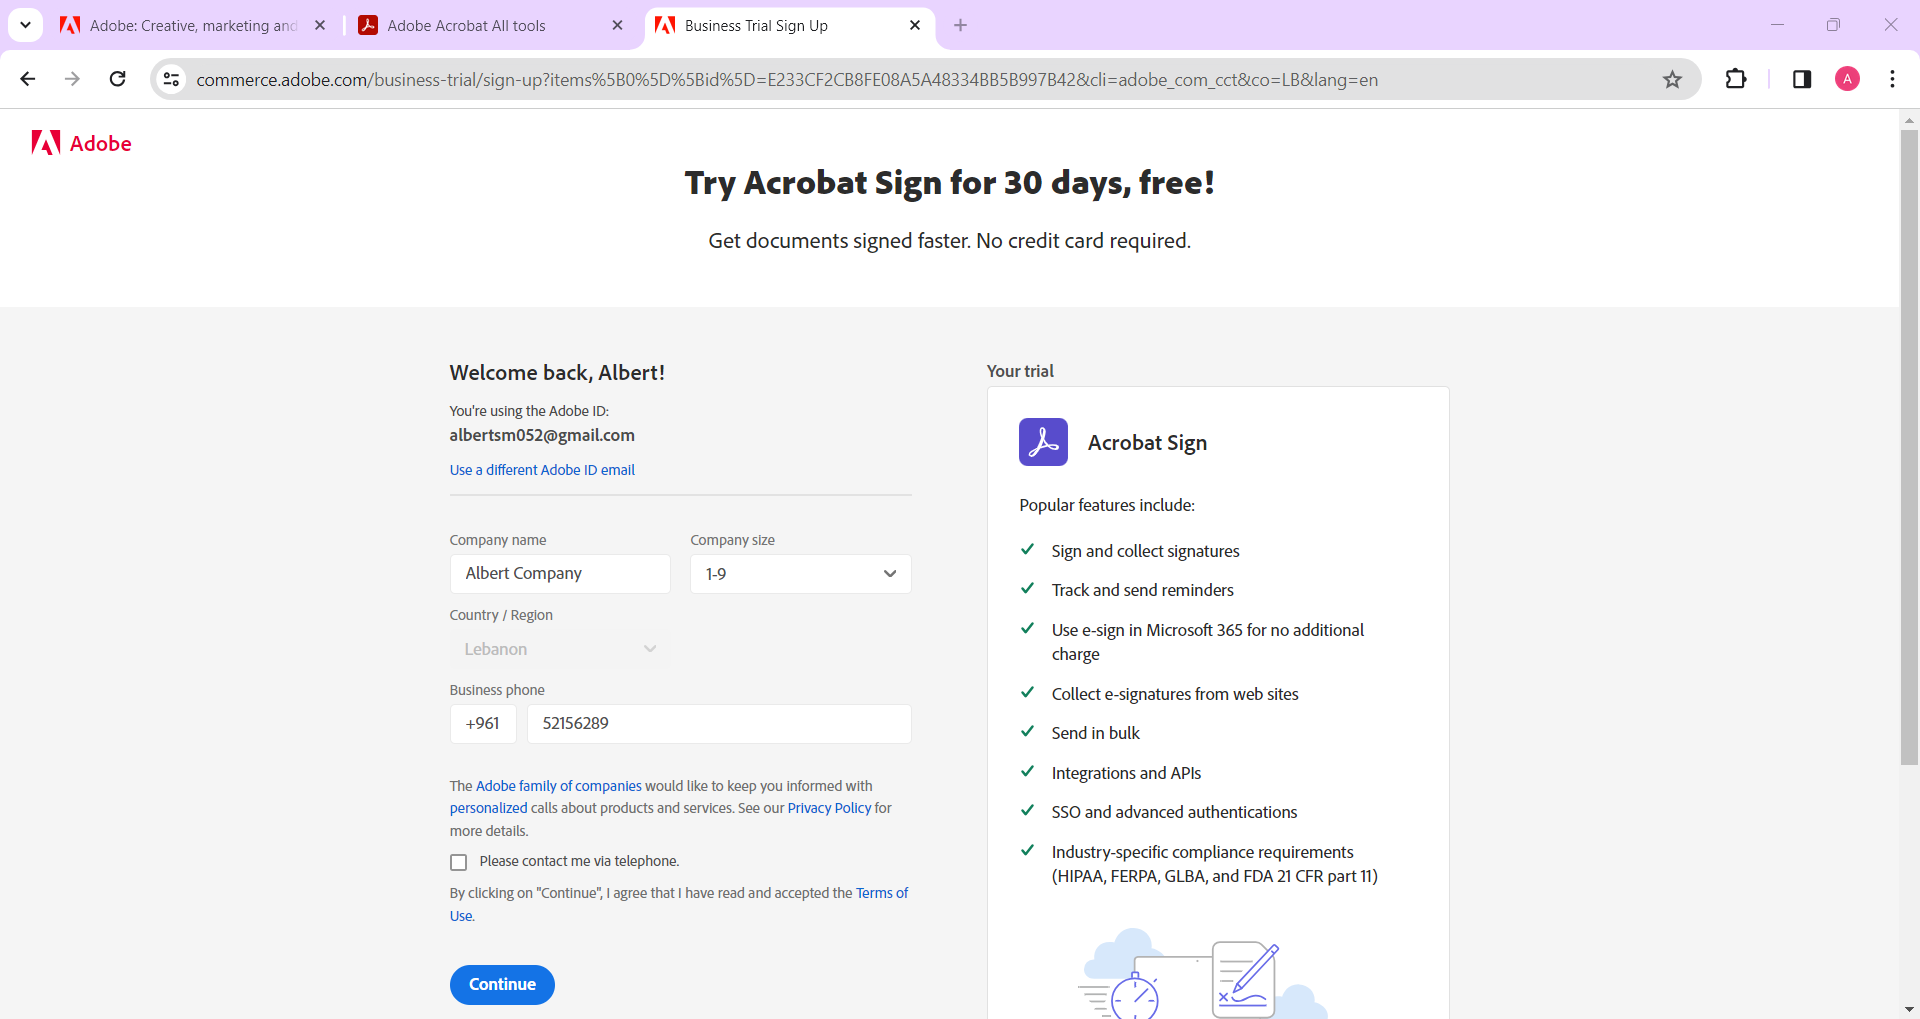
- Here, you can choose to purchase the app or start a free trial.
- Enter your company information to create the Adobe Acrobat Sign account.
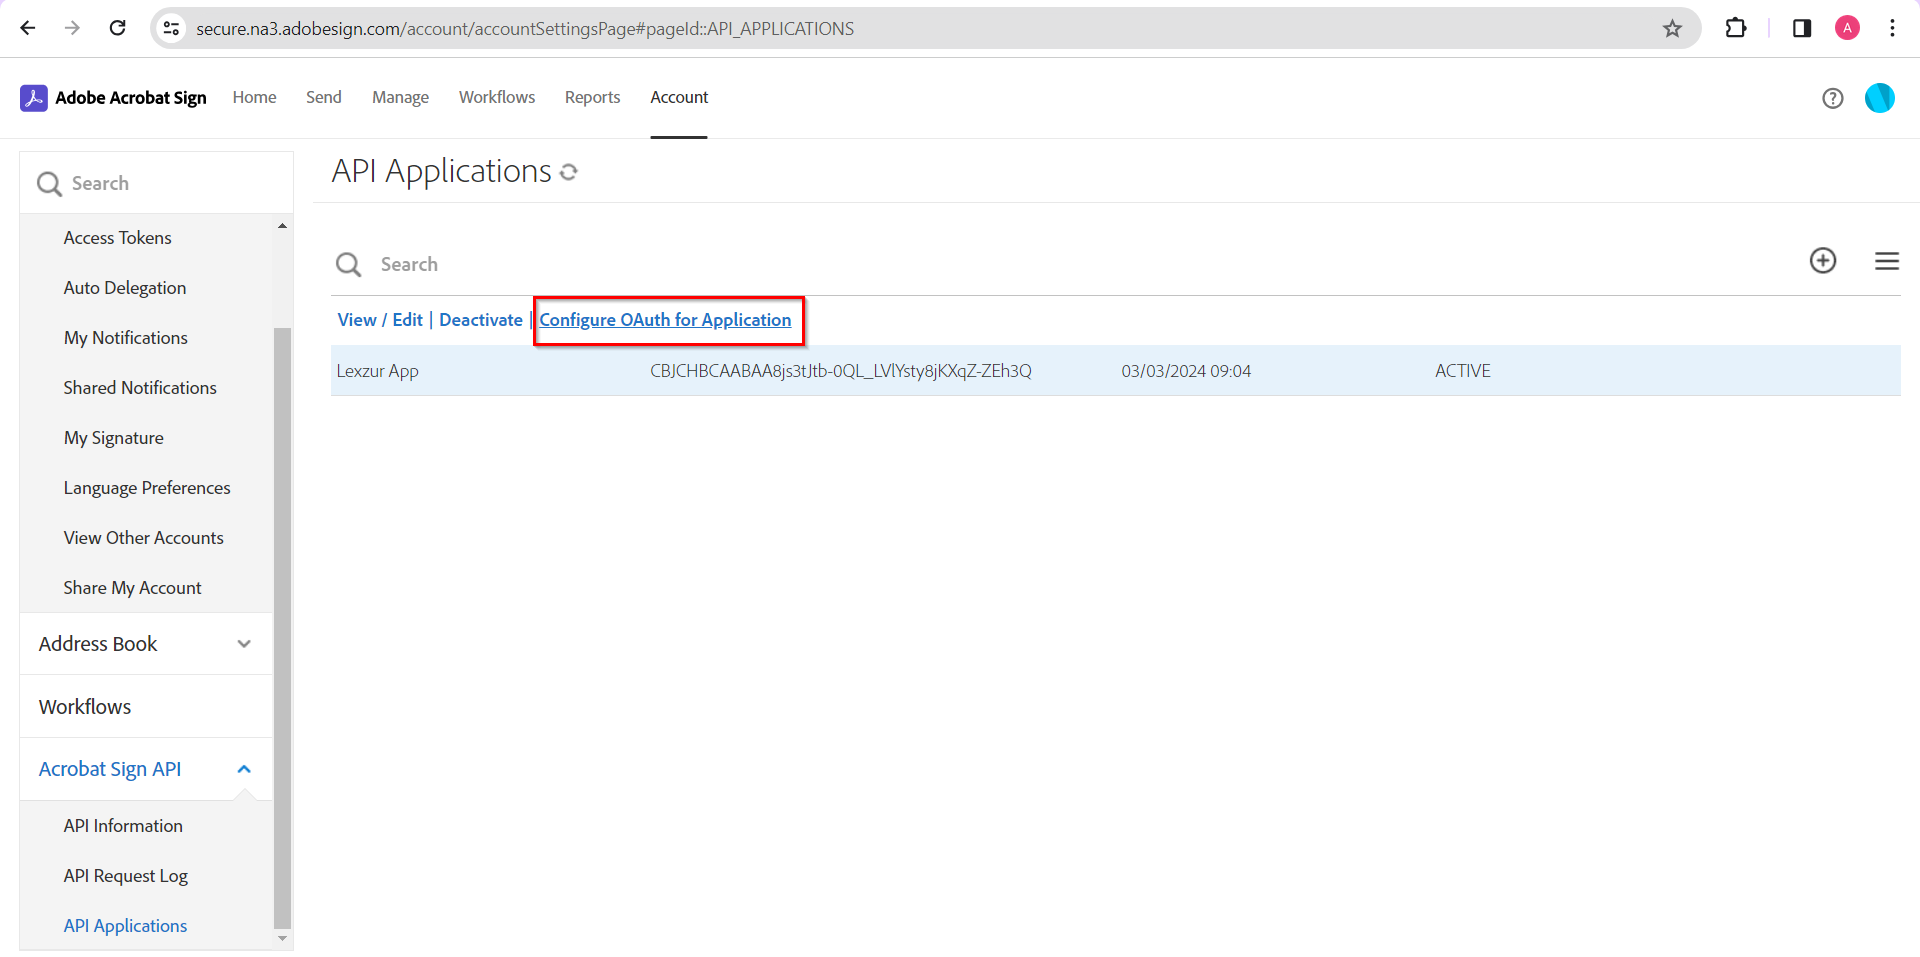
- From the "Adobe Acrobat Sign" Account, click on "Account" and select API Applications from the right
...
- panel
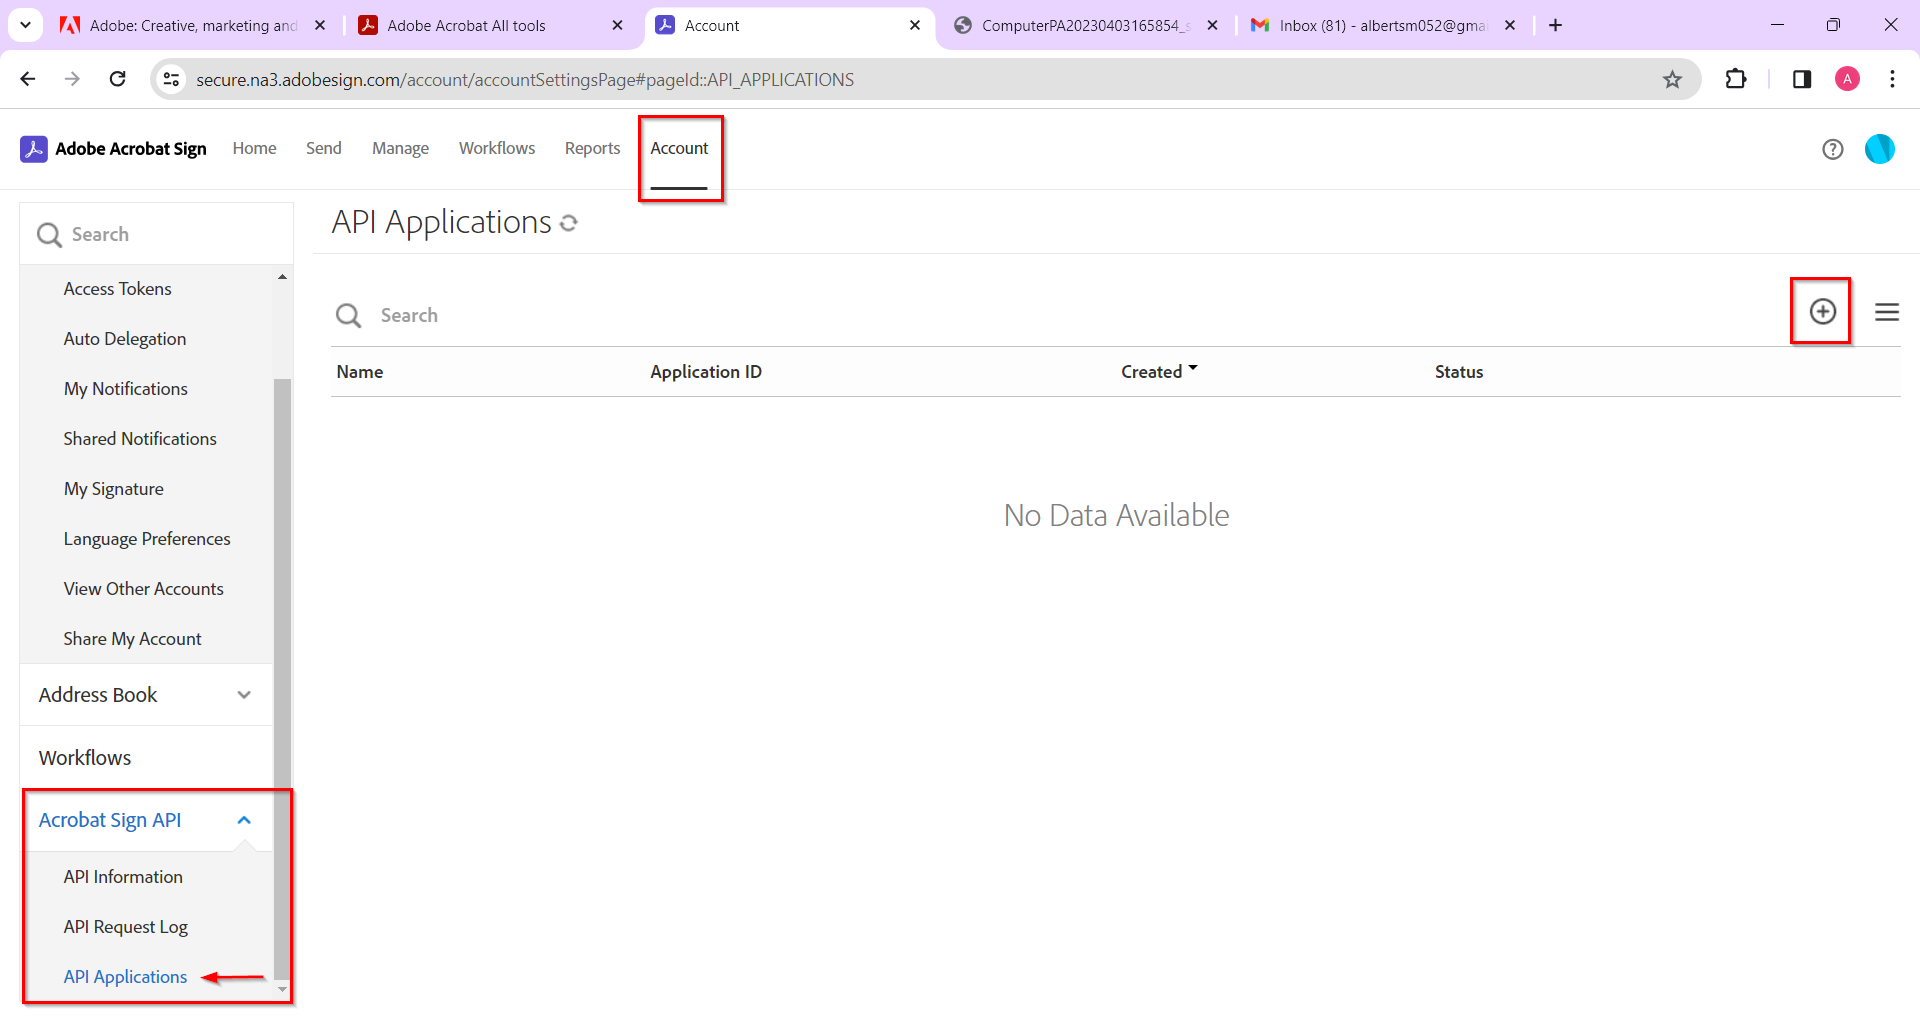
| Note |
|---|
| There will be a separate Adobe Acrobat Sign API application for every LEXZUR instance |
- Click on the plus icon to create a new API application in your Adobe Acrobat Sign account.
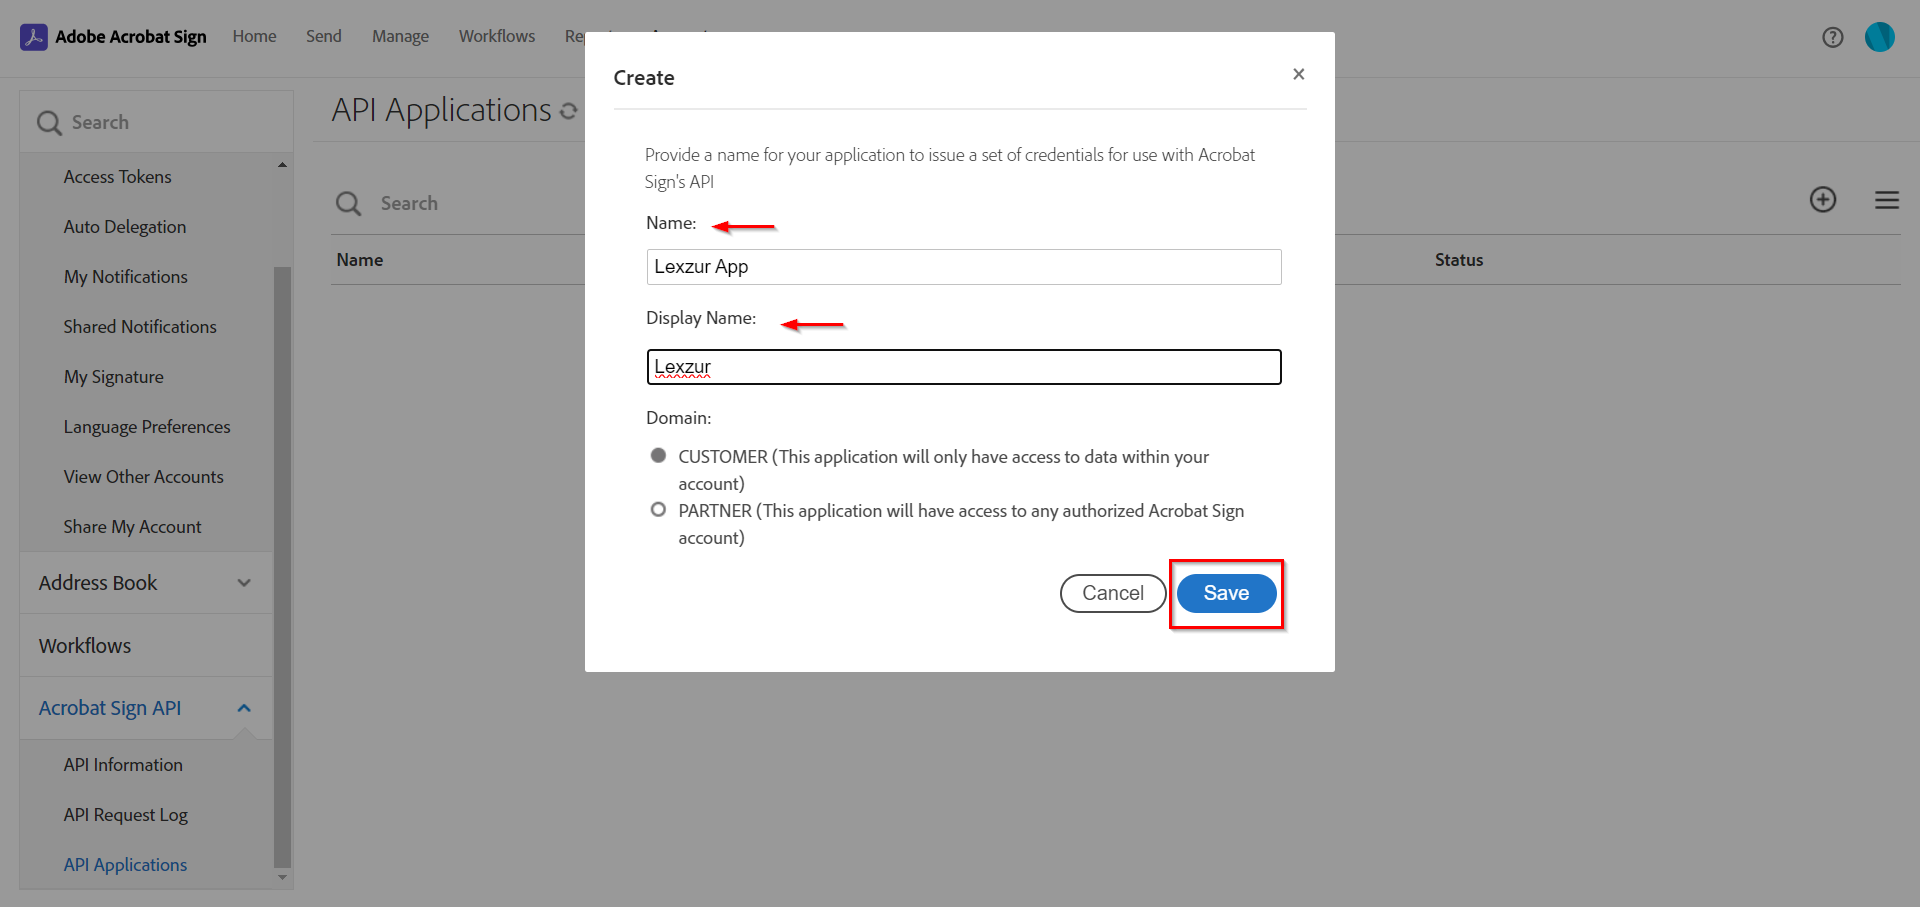
- Provide a name for your application to issue a set of credentials for use with Acrobat Sign's API.
...
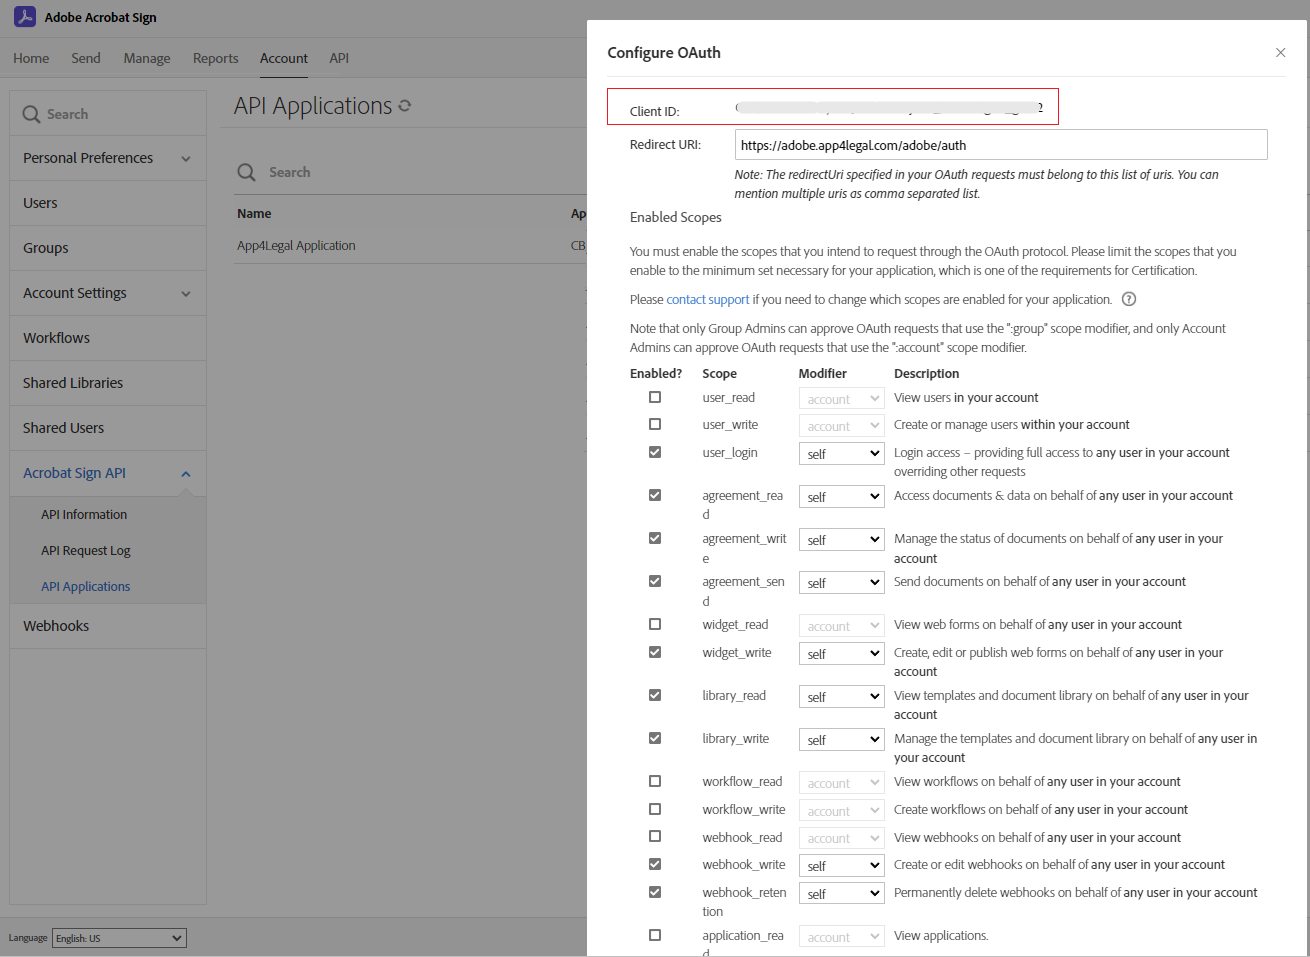
- After creating the API Application, select your app and click on "Configure OAuth for Application"
...
- Fill in the Redirect URI:
...
...
- and the required scopes:
...
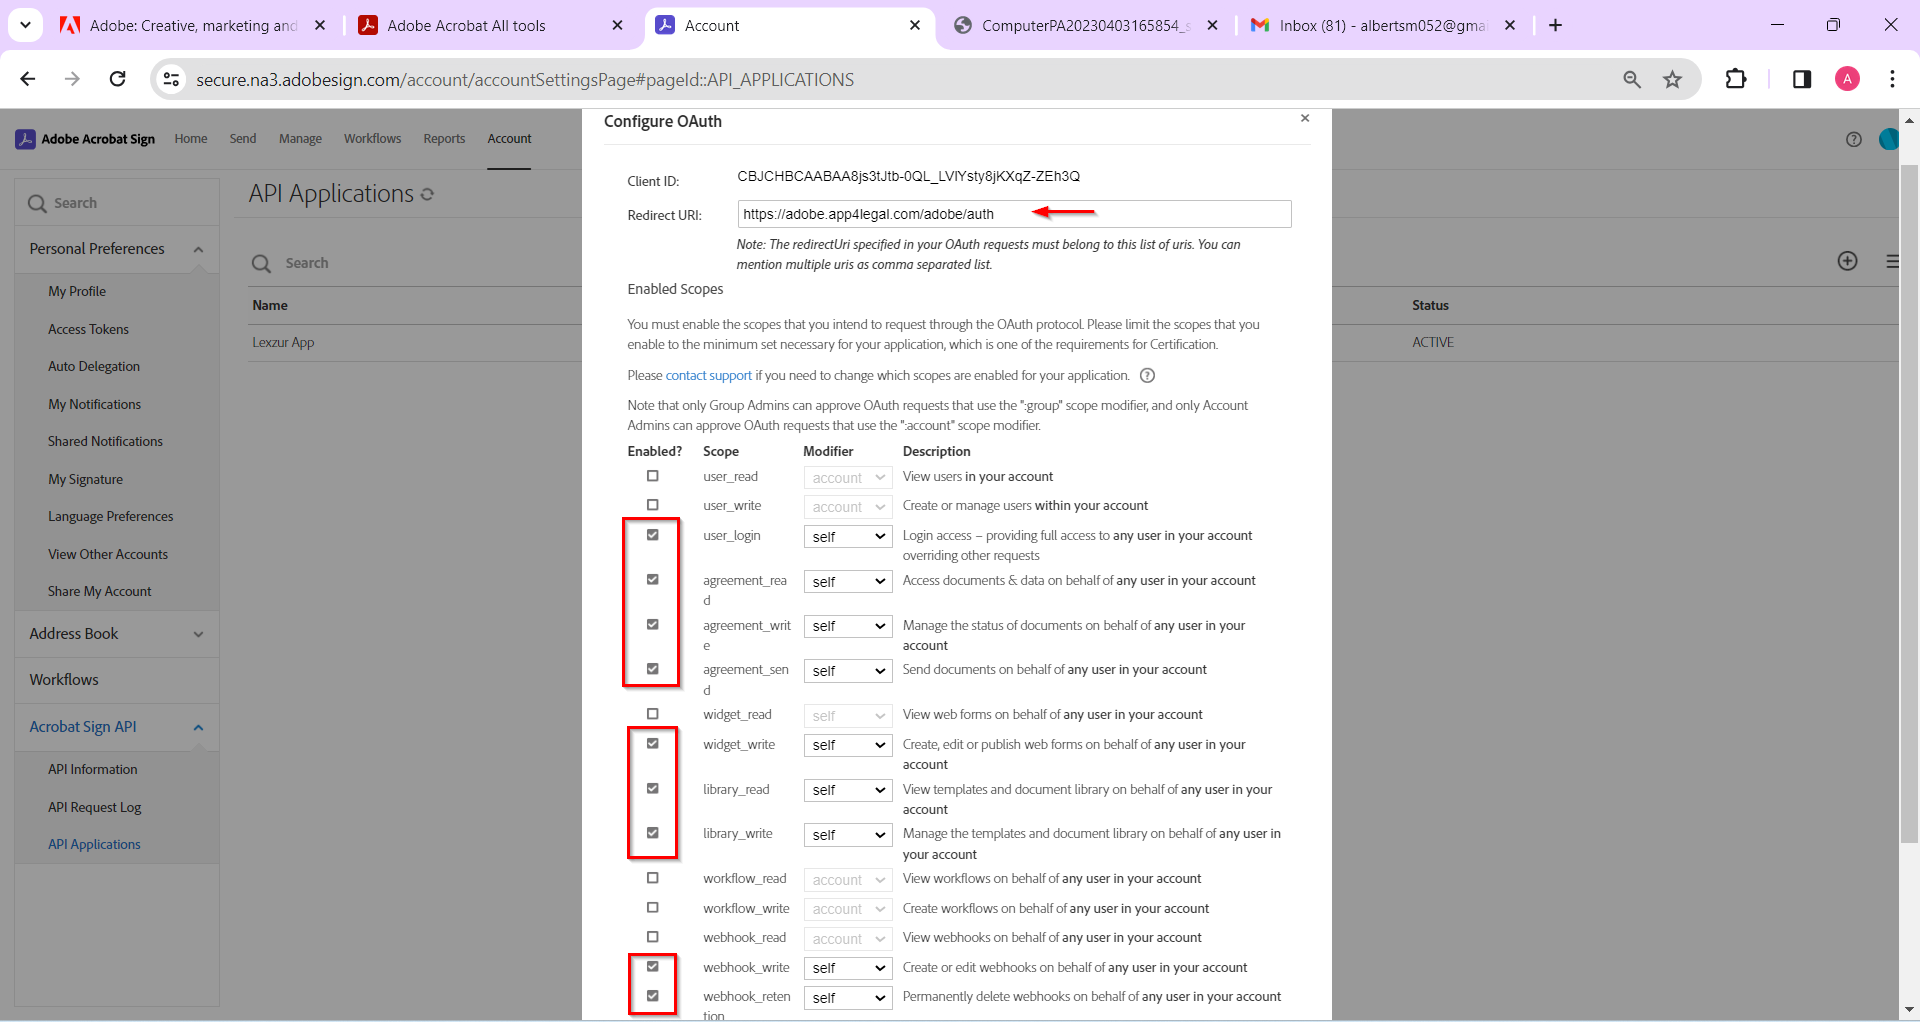
- user_login : self
- agreement_read: self
- agreement_write : self
- agreement_send : self
- widget_write : self
- library_read
...
- : self
- library_write : self
- webhook_write : self
- webhook_retention : self
...
- Now, go to your
...
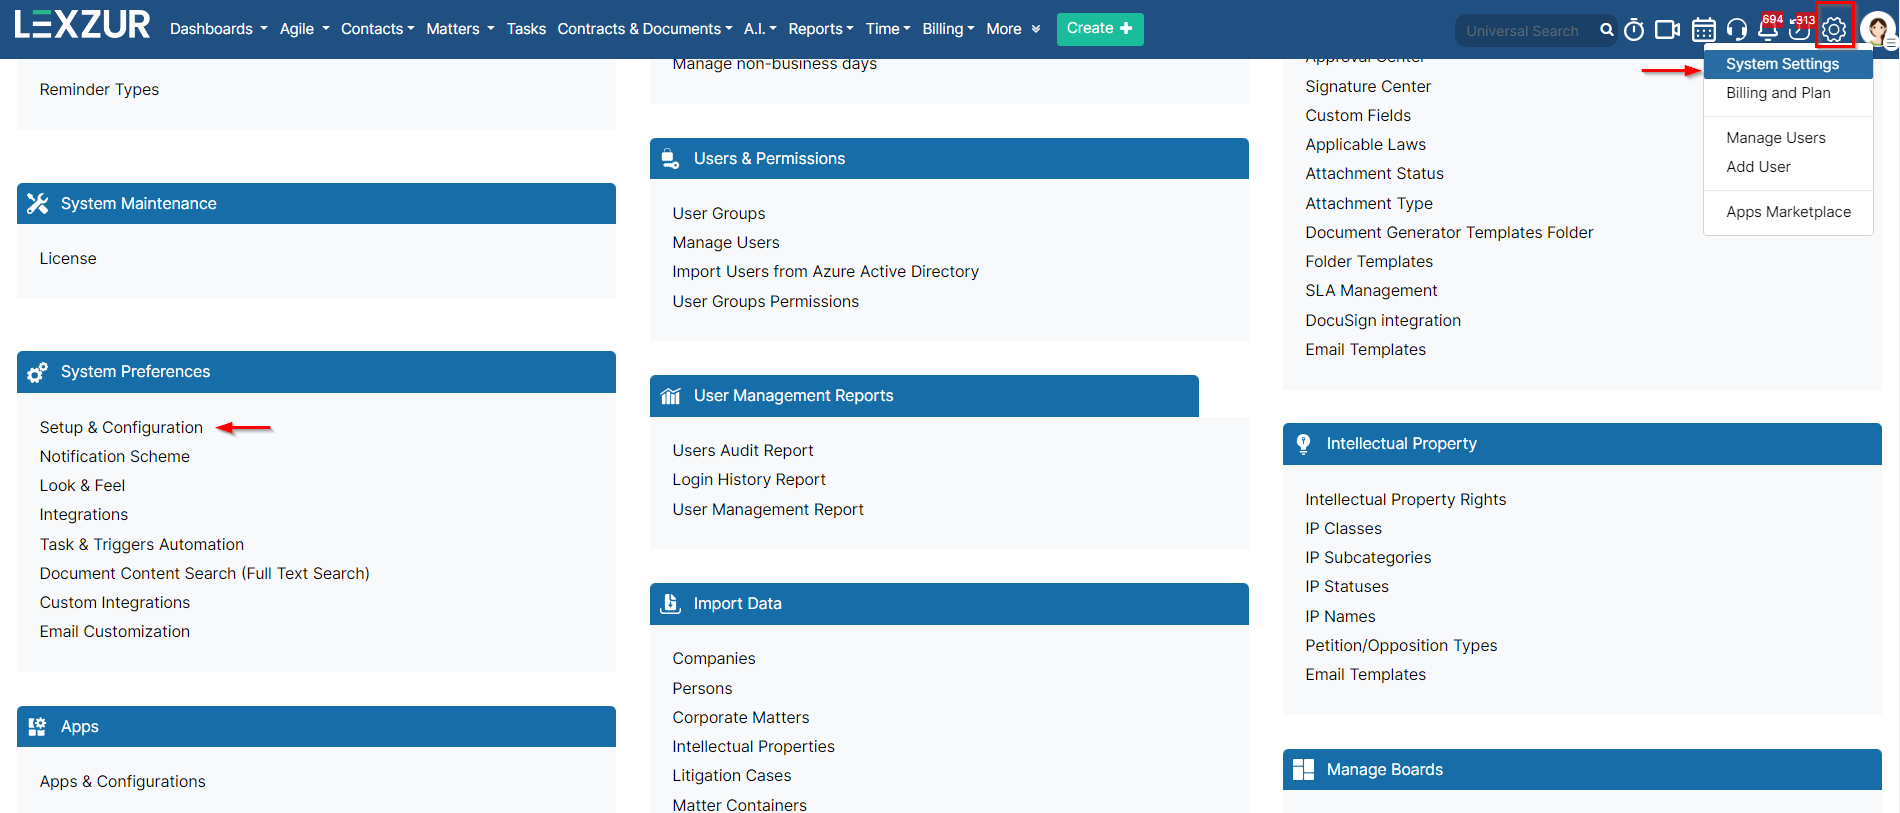
- LEXZUR instance,
...
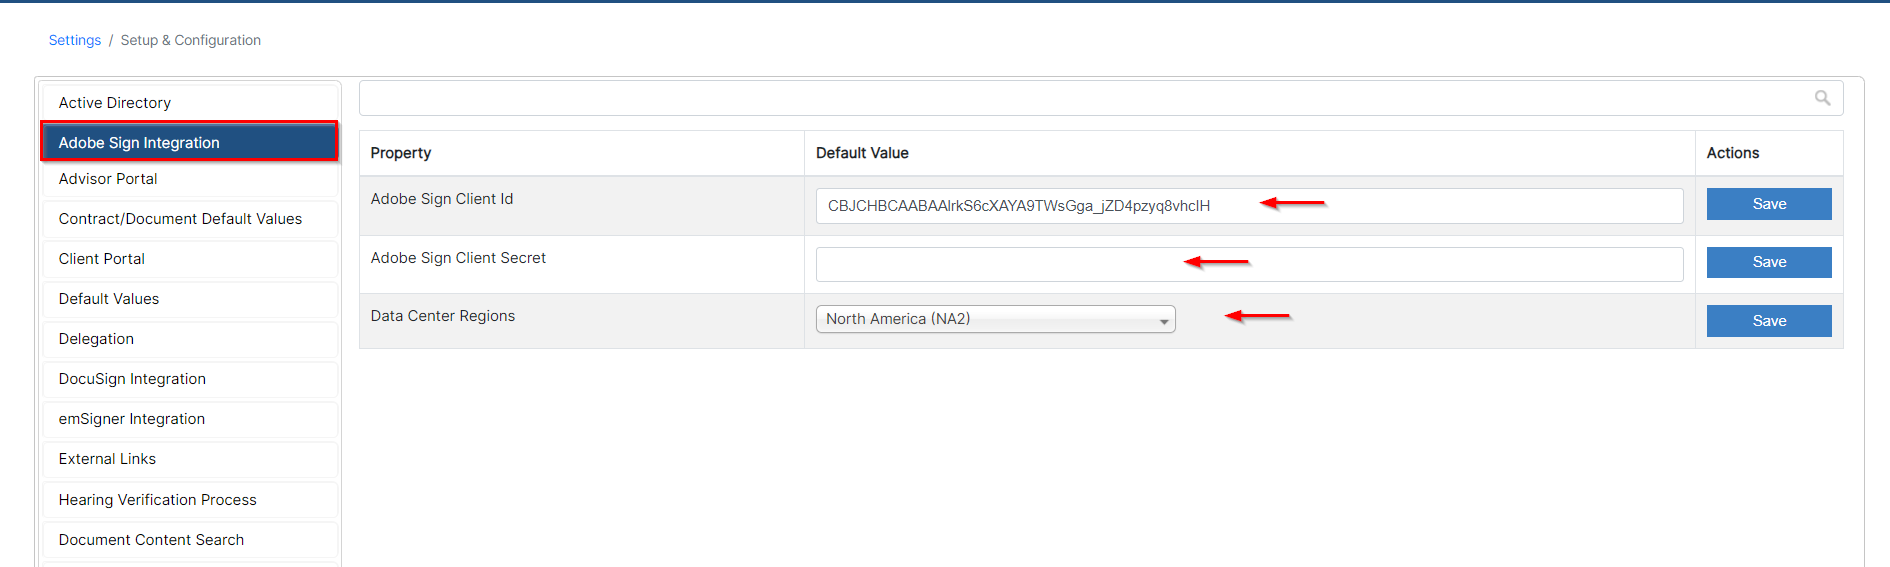
- click on "System Settings", then "Setup & Configuration".
...
...
...
- Select "Adobe Sign Integration" from the right panel
...
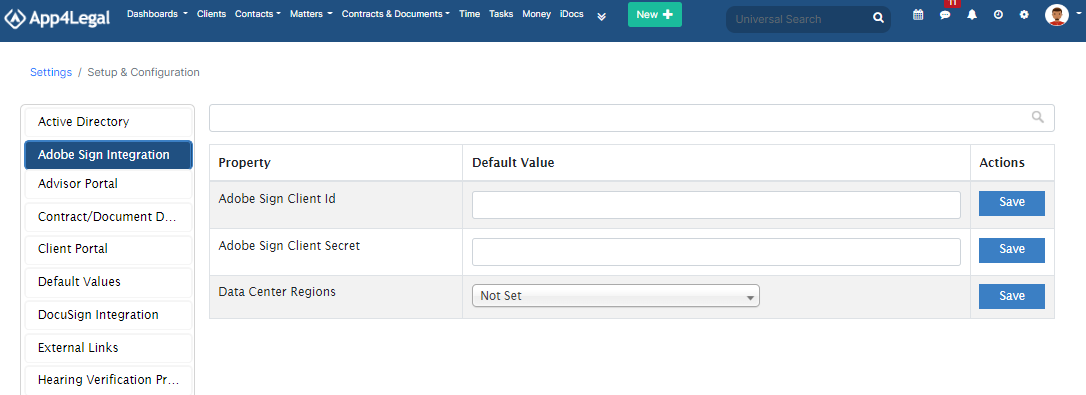
- , and add the Adobe Sign Client ID, and Adobe Sign Client Secret, and specify the Data Center Regions.
| Note |
|---|
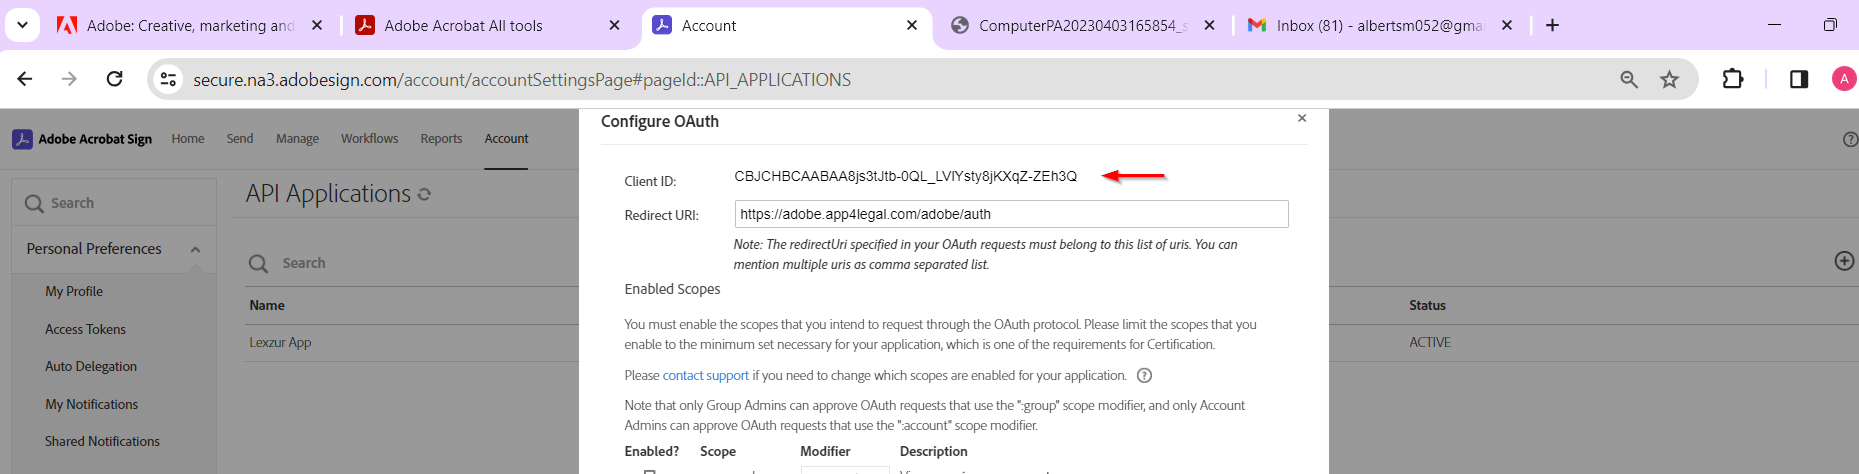
You can find your data center region from the URI on the Adobe Acrobat account page.
|

...
- The
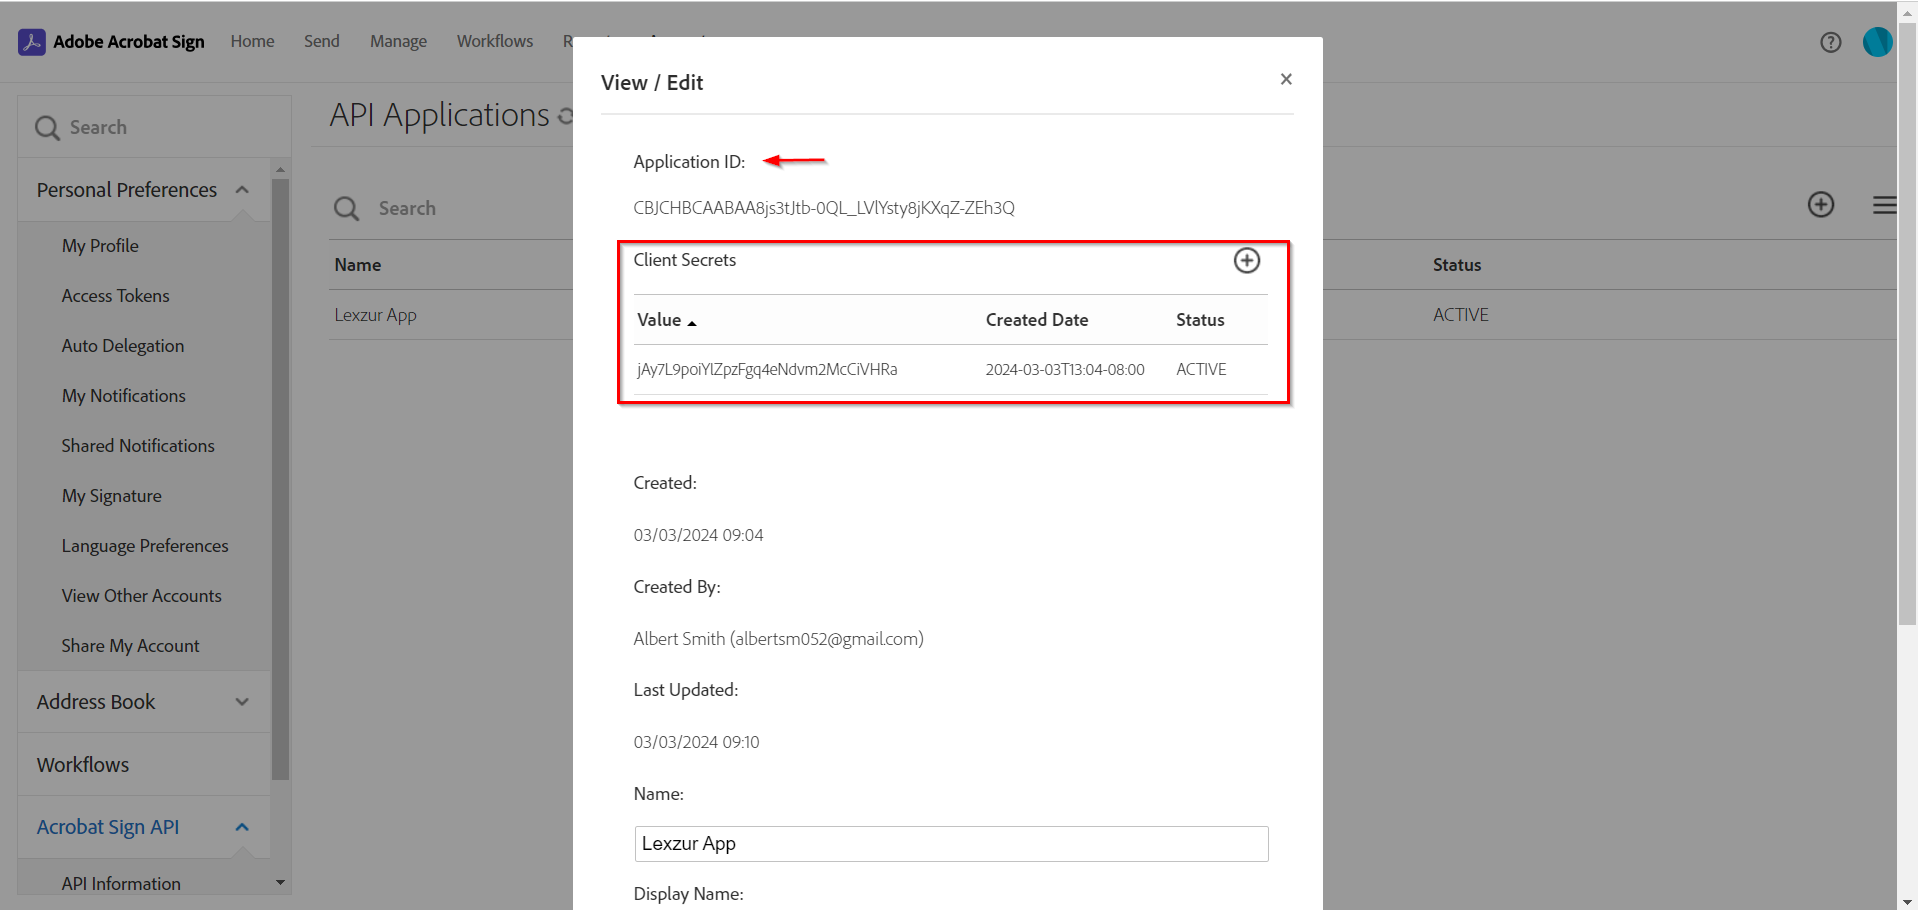
- Client ID and Client Secret
...
- can be obtained from the Adobe Acrobat Sign API Application
...
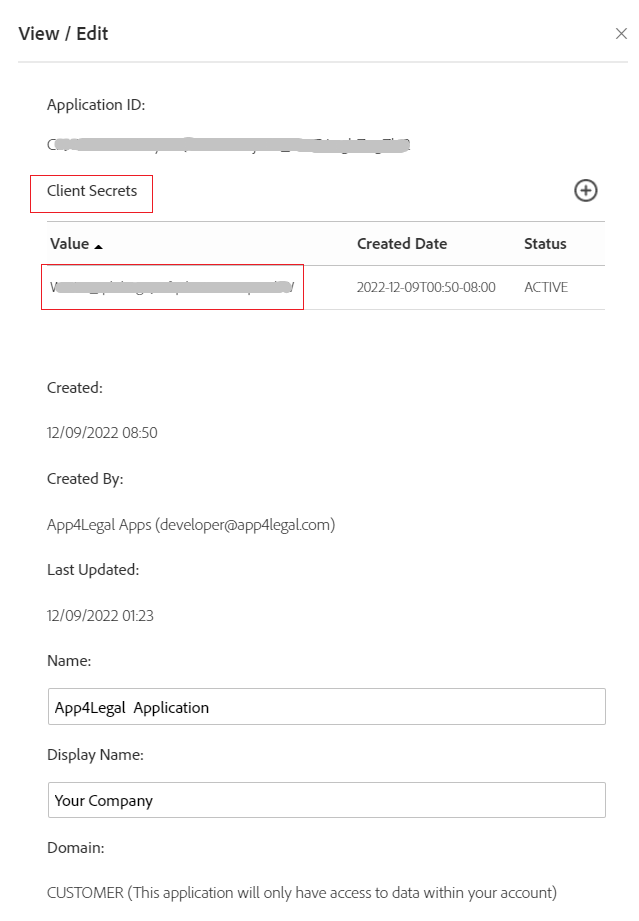
- Once you click on the App you created click on View/Edit. This is where you can copy the Client Secret. The Application ID on this page refers to the Client ID.
- The Client ID can be also obtained from the Configure OAuth page.
Now that your Adobe Sign integration is complete, you can use it to sign contracts/documents.
...
For more information about App4LegalLEXZUR, kindly reach out to us at help@app4legalhelp@lexzur.com.
Thank you!