

Objectives
- Enable the "SLA Management" feature for Contracts & Documents
- Configure SLA for Contracts & Documents
Steps
In App4Legal, you can define a target time duration for different contract/document workflow statuses.
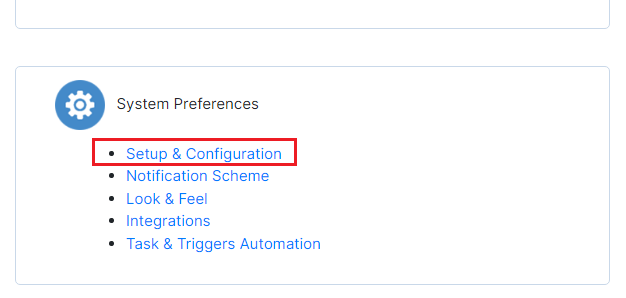
To enable this feature, you have to go to System Settings and select Setup & Configuration from System Preferences.
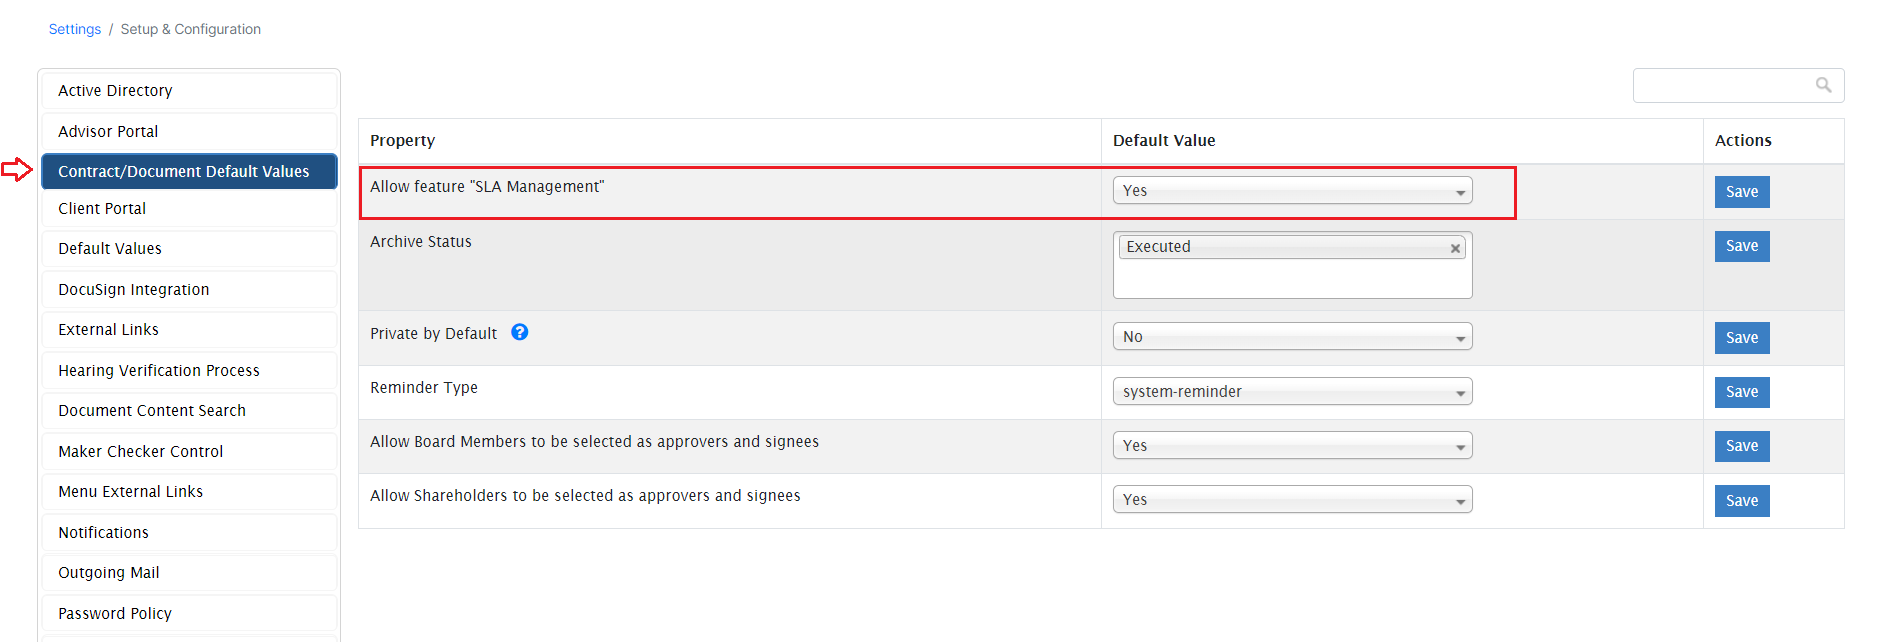
In the Contract/Document Default values tab, you have to set the default value of "Allow feature "SLA Management" " to Yes and click on Save.
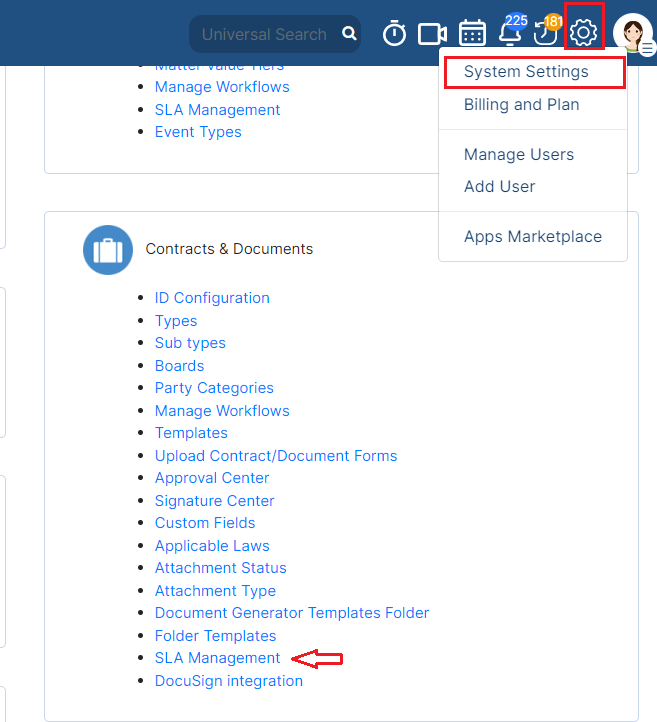
To manage the SLAs, head to the "Contracts & Documents" section → SLA Management.
You can add, edit or delete SLA.
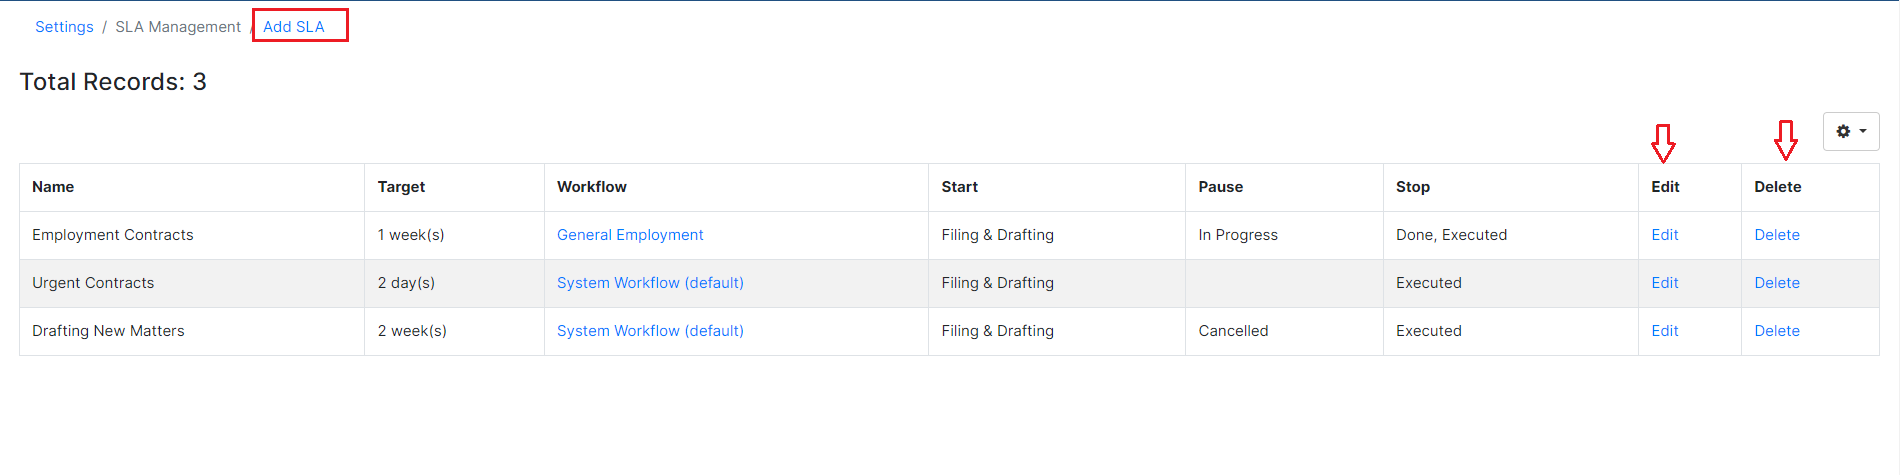
Once adding a new SLA, you have some mandatory fields:
- SLA name: specify the SLA name
- Workflow: select the workflow you want to apply to this SLA
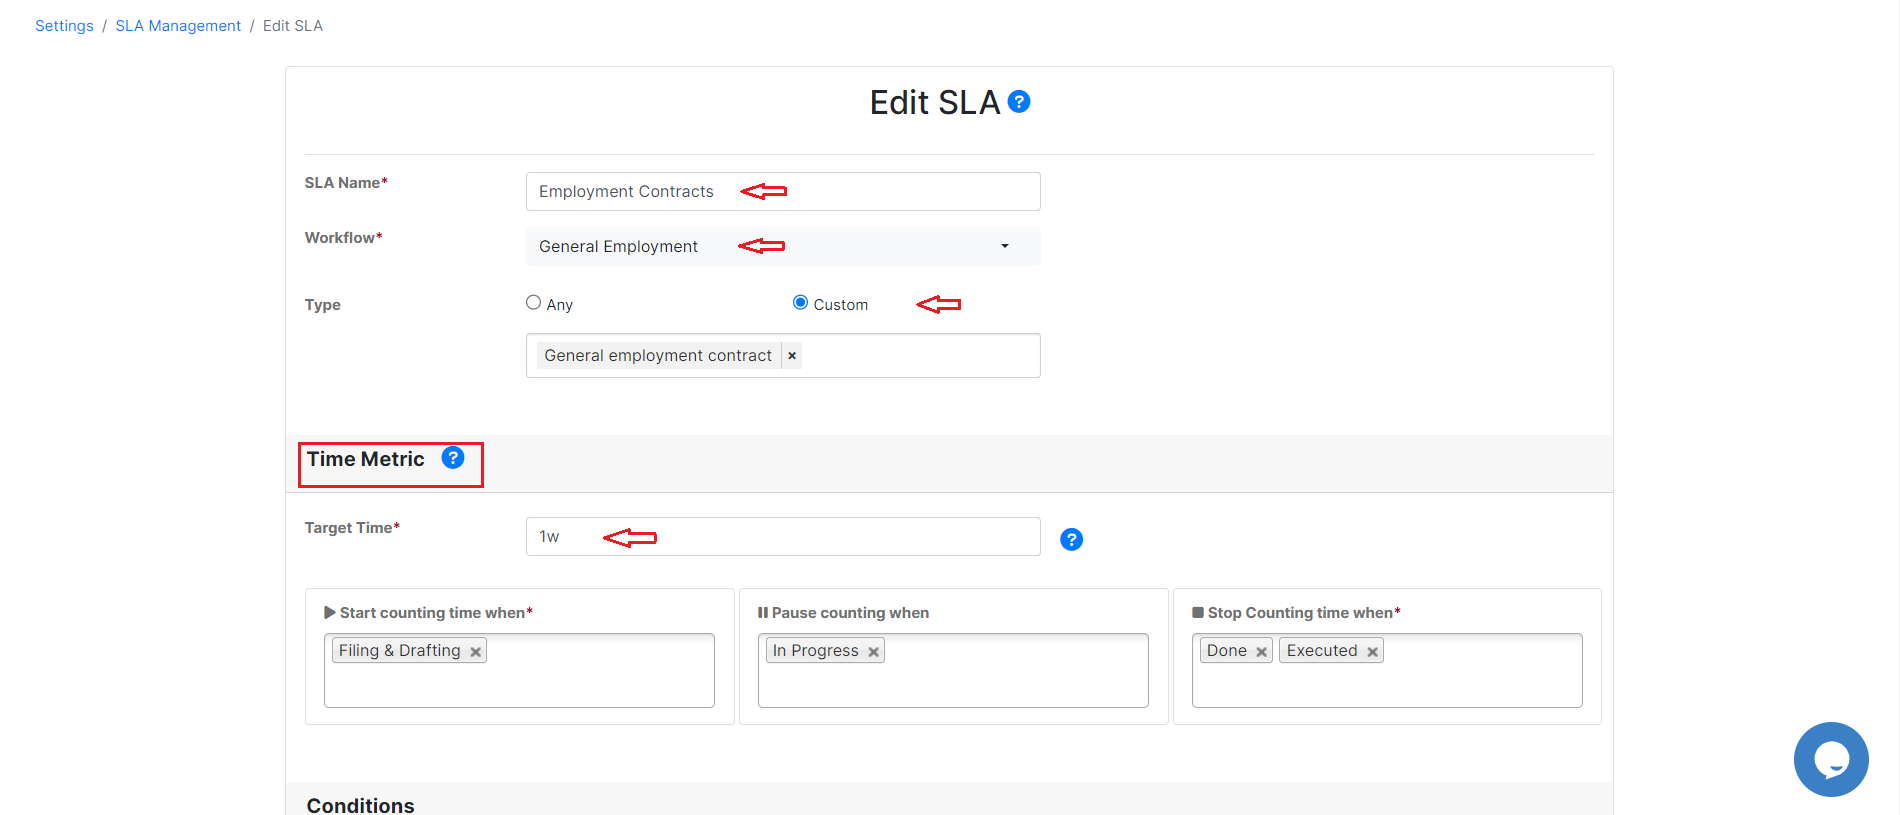
This SLA will be applied to any contract type, or you can specify a custom type if needed.
Time Metric section:
- Target time: specify the target time such as in weeks, days, or hours.
- Start Counting time when: choose the starting status(s) to start counting the time
- Pause Counting when: choose the status(s) when you want to pause the counting.
- Stop Counting time when: choose the status(s) when you want to stop counting.
Under the Conditions section, you can specify conditions to determine when to apply this SLA like the priority and the parties.
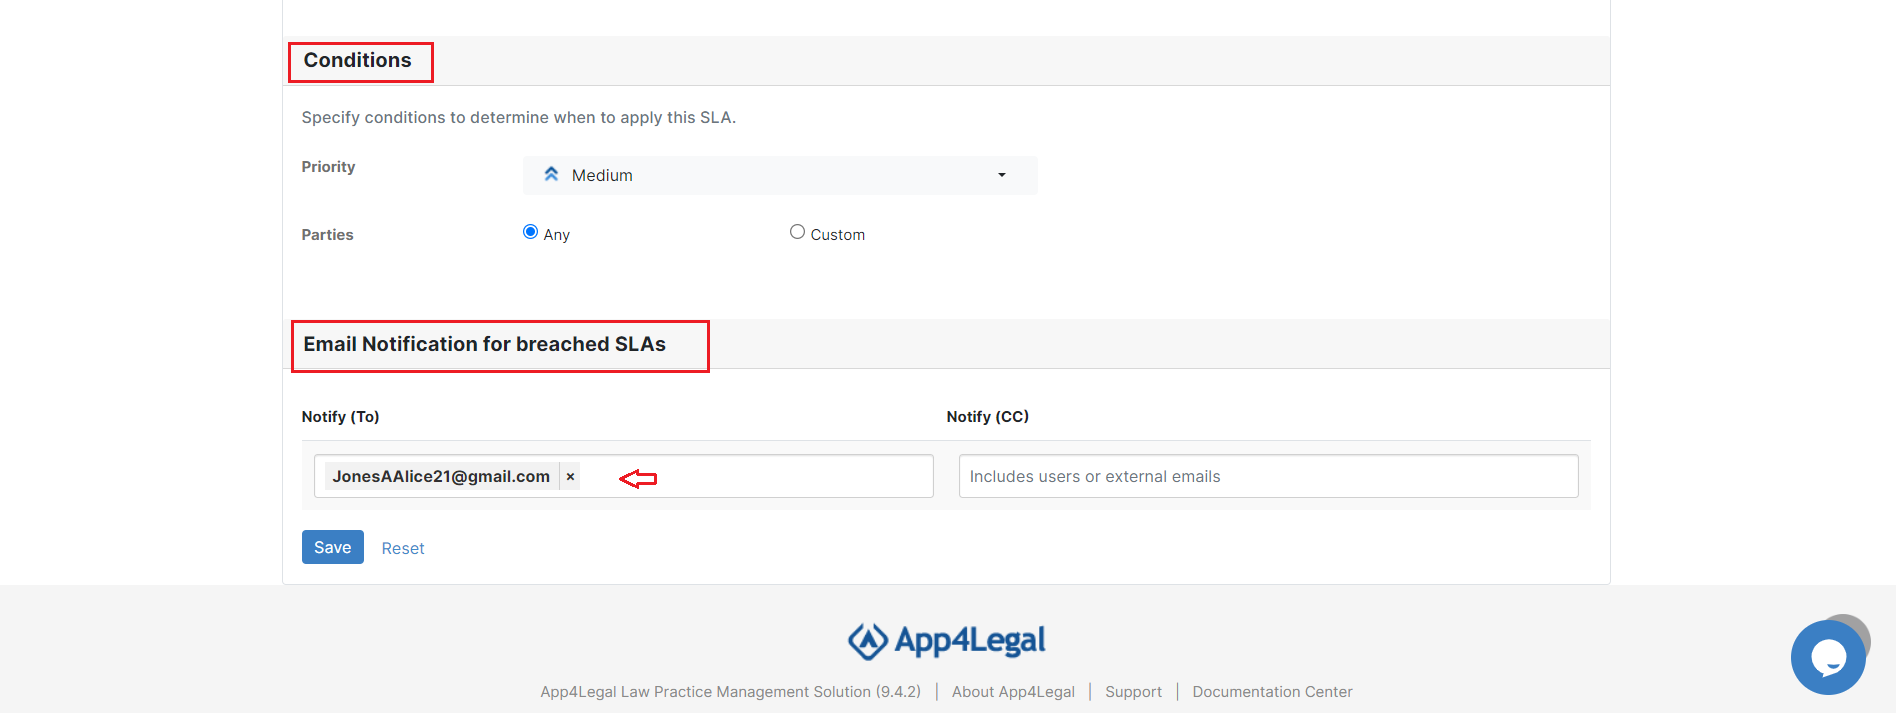
In the Email Notification for breached SLAs section, you can specify the user that will be notified once the SLA is breached.
To view the SLA elapsed time for a specific contract/document, head to the contract/document and click "Show SLA elapsed time" from the three dots.
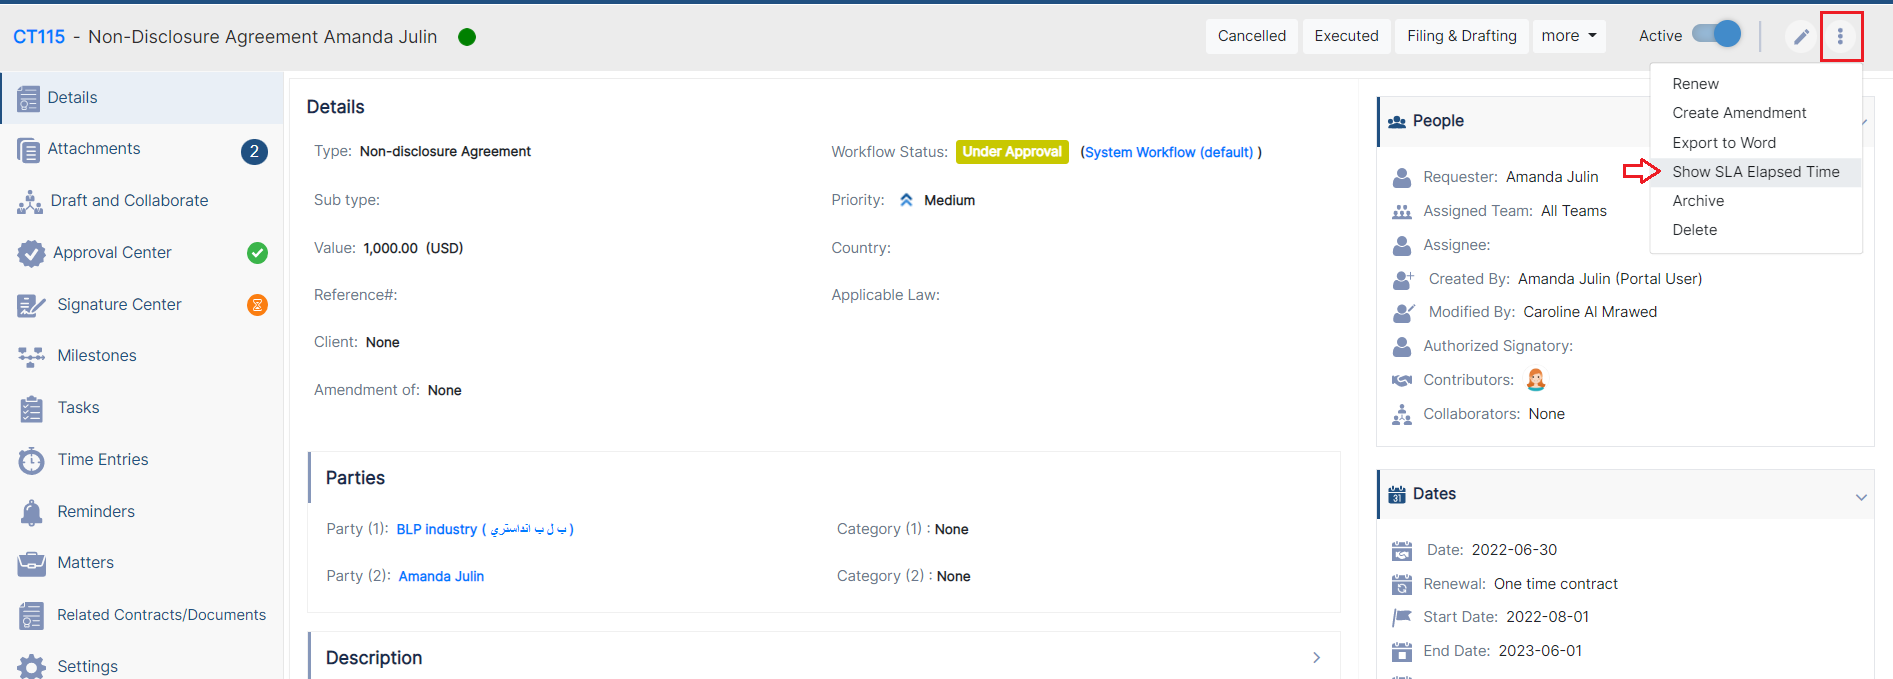
This will show you all the cycles done at the level of this particular matter, with all the details, what was the target, the elapsed time, and if Met the target or was Breached.
For more information about App4Legal, kindly reach out to us at help@app4legal.com.
Thank you!
This page has no comments.