

Objectives
- Activate E-invoicing
- Include QR code from the invoice template
- Generate Credit note
Steps
In App4Legal you can e-invoice your clients. You can activate this option following a set of simple steps.
First, in the money module settings, under entities, choose Setup Entities.
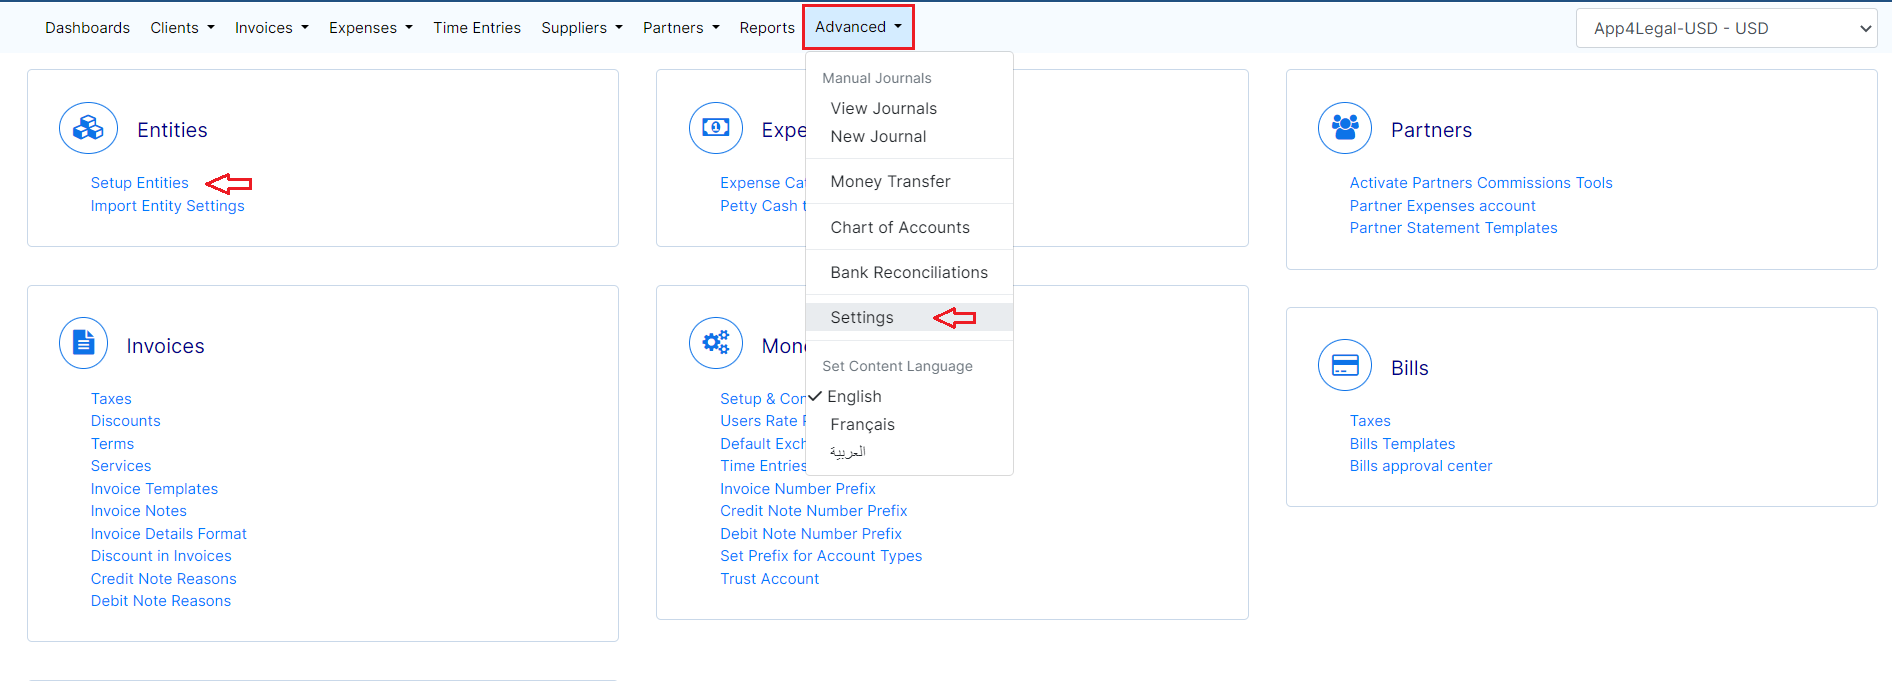
Choose the Entity for which you want to activate the E-invoice option and click on the edit button. Go to the E-invoicing field and choose Active. Then click Save.
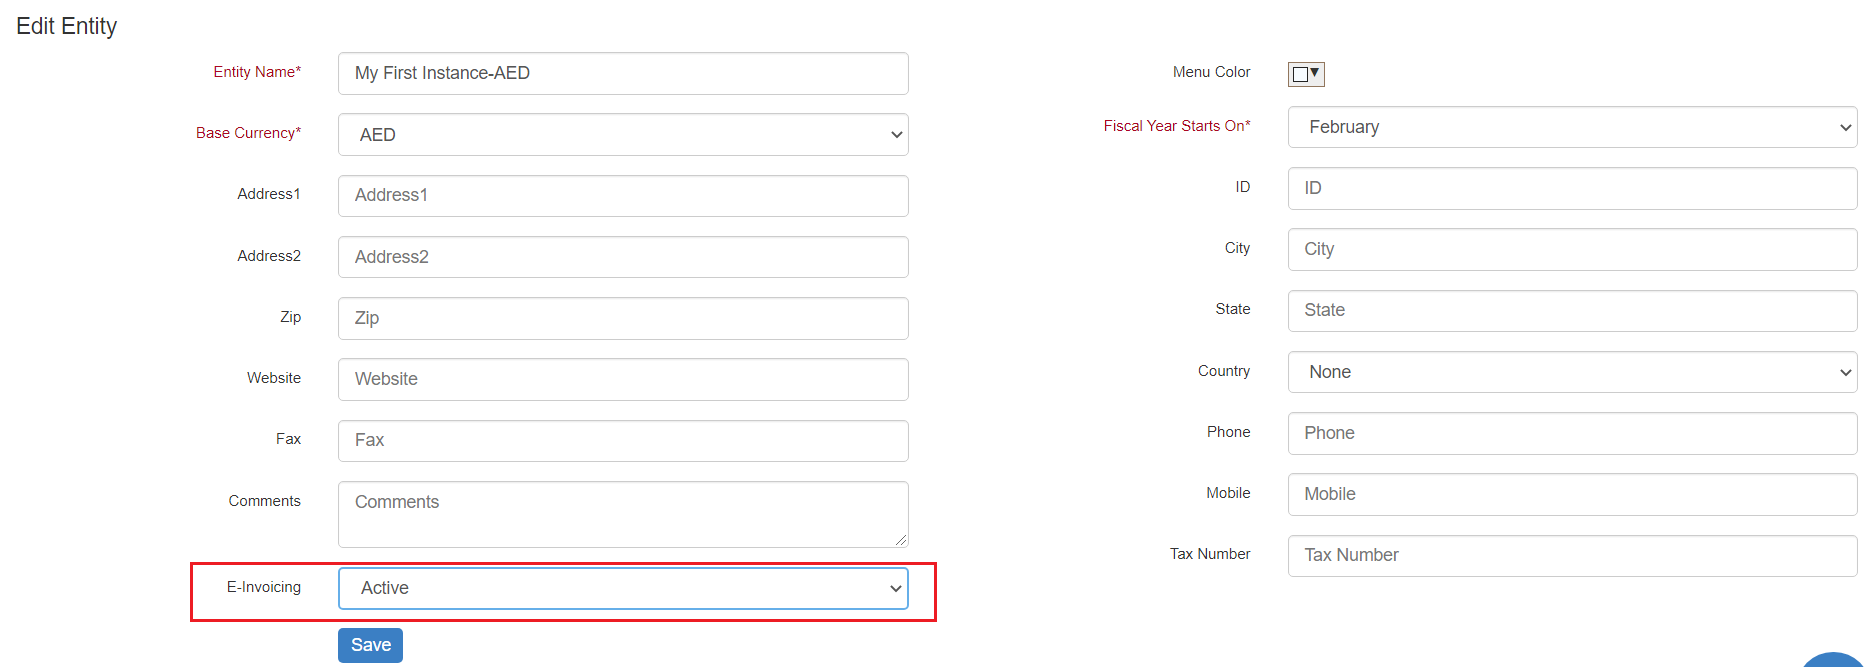
Note: Changing this value is not reversible, Once you enable the e-invoicing, you cannot disable it later for the current entity.
After Activating this feature, E-invoicing will be applied to this specific Entity. You could always have multiple entities. Therefore, this feature could apply to entities for which e-invoicing is required. Now, let’s have an example of how to e-invoice a client.
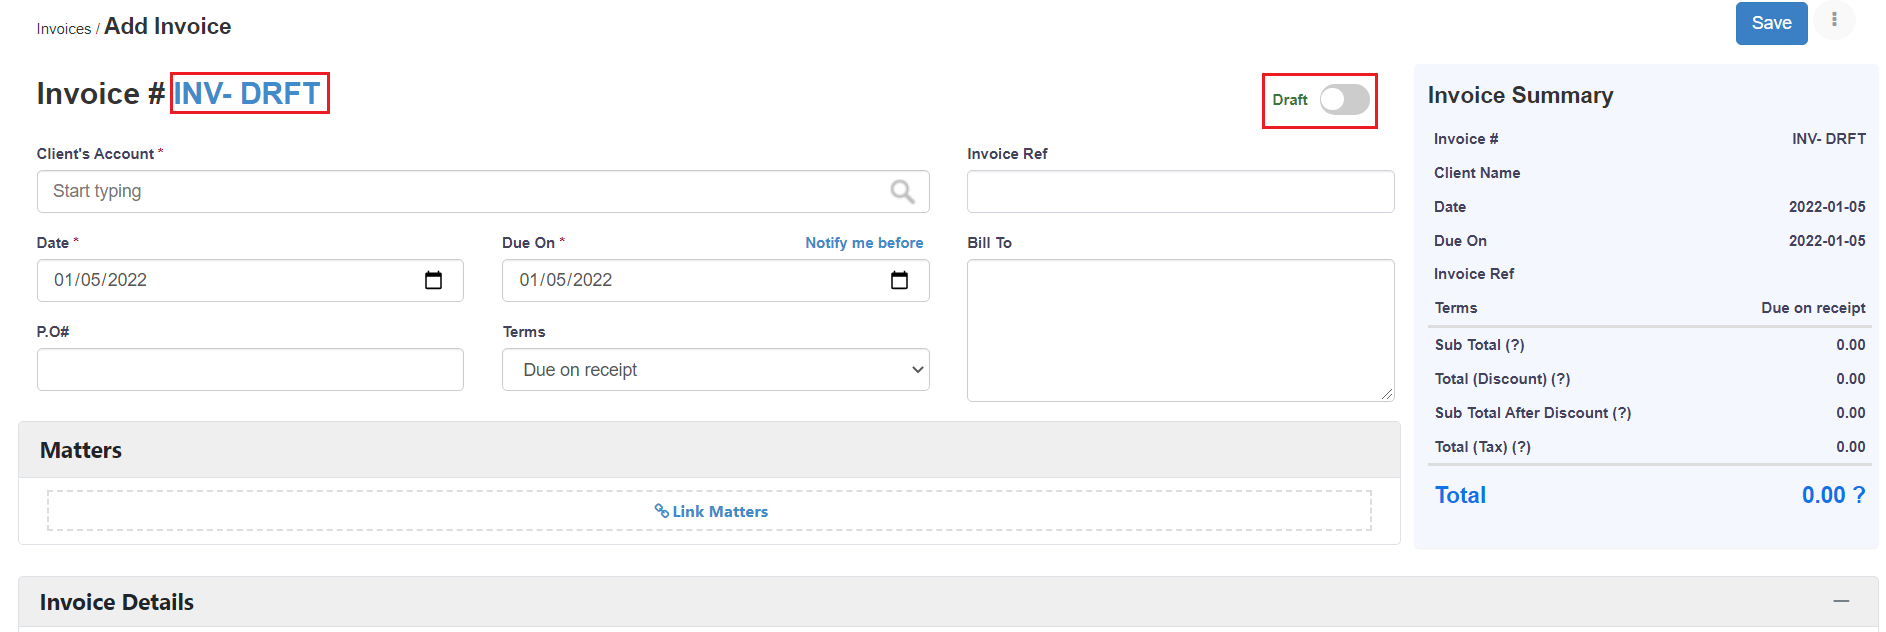
Go to invoice and create a new invoice. The invoice default status will be set as a draft. In other words, the system will not allocate an automatic number, unless you activate the invoice from the top right button, changing created the invoice status to open. When you choose open, the system will give this invoice an automatic unique identifier number.
Moreover, the new update in the money module will allow you to make an after-tax discount on the total amount of the invoice. Therefore, you can perform discounts on the level of each item in the invoice, on the level of the invoice total amount before tax, and the level of the invoice total amount after-tax. This advanced option will allow more flexibility when invoicing your clients.
Once the invoice is created, some restrictions will be applied, such as this invoice cannot be altered nor deleted.
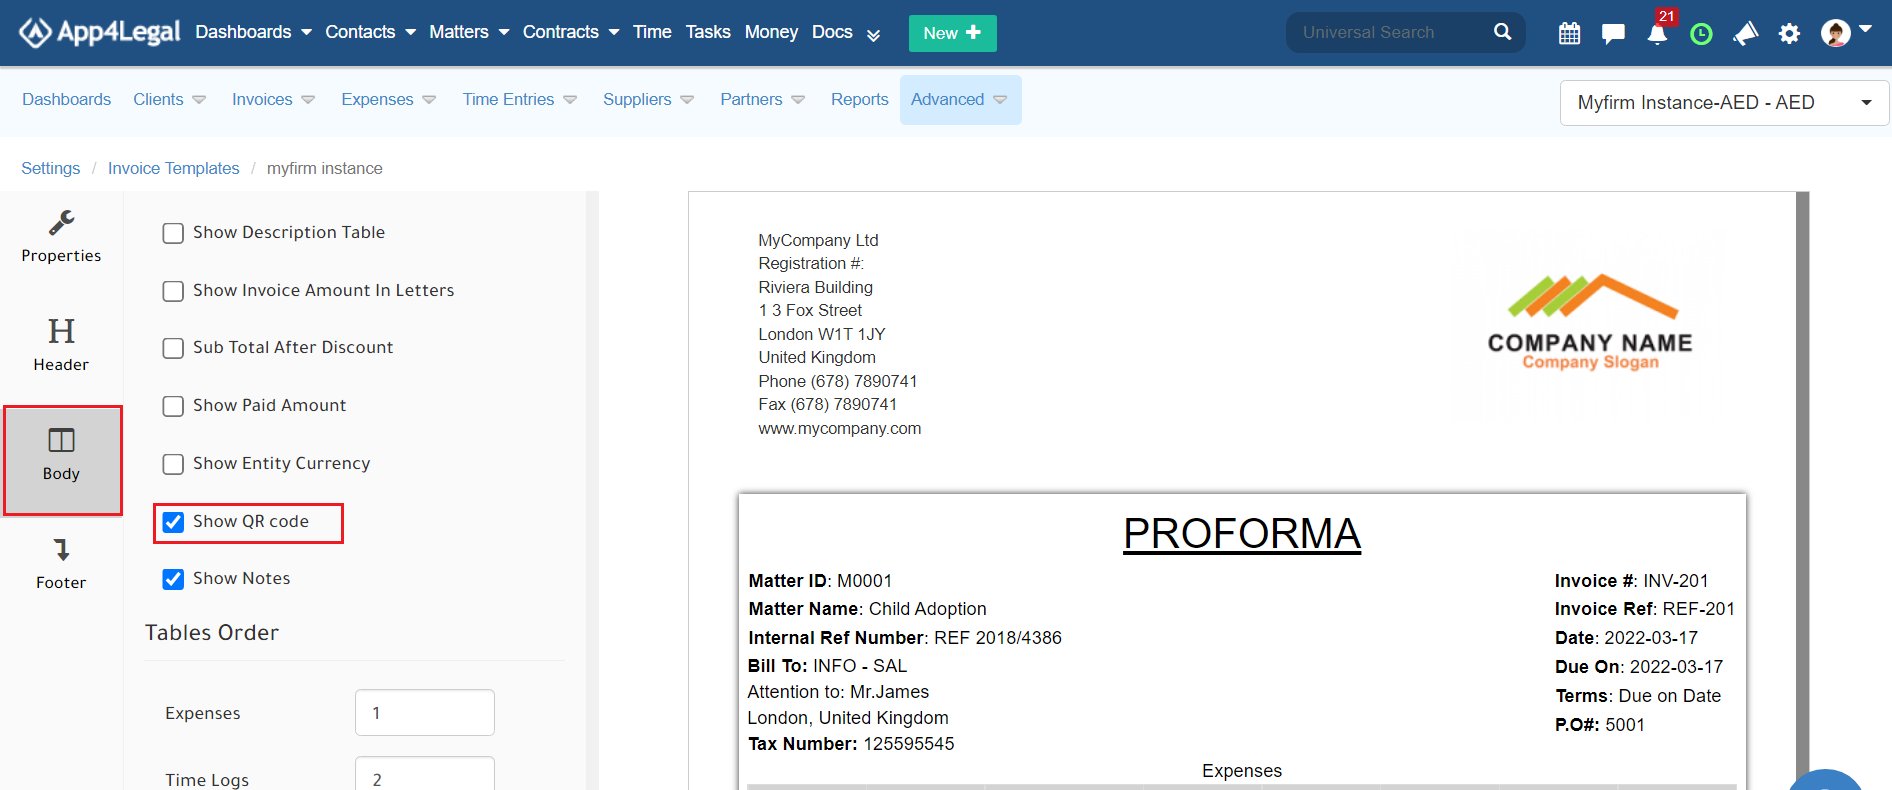
Moreover, the user can generate a QR code from the invoice template. Therefore, from the Money module settings, under invoices, a user with the required permission can add a QR code in the invoice template.
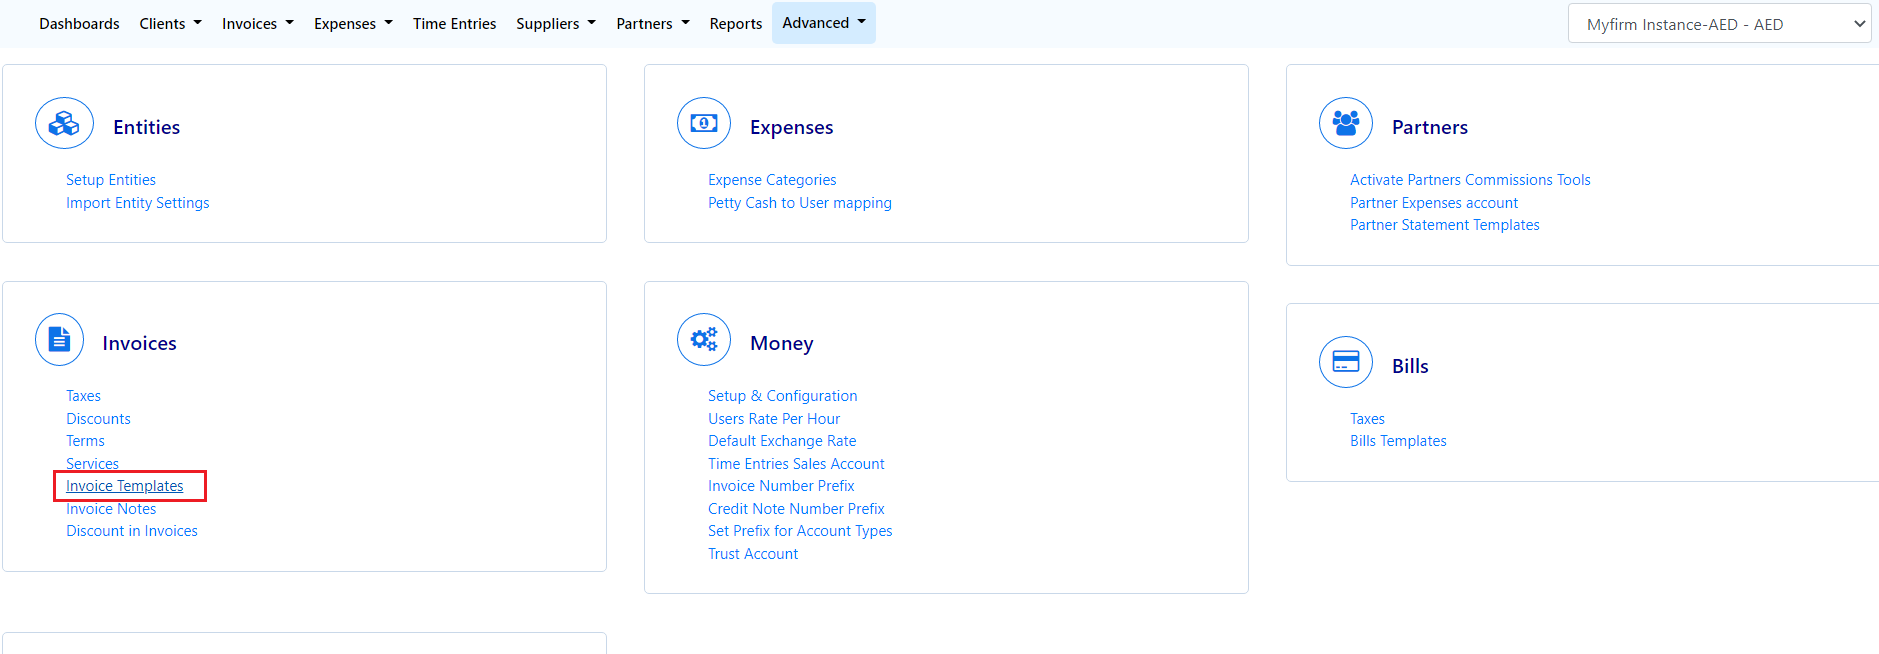
Click on the Customize button in the template that you need to add the QR code, go to the "Body" tab and click on the checkbox "Show QR code".
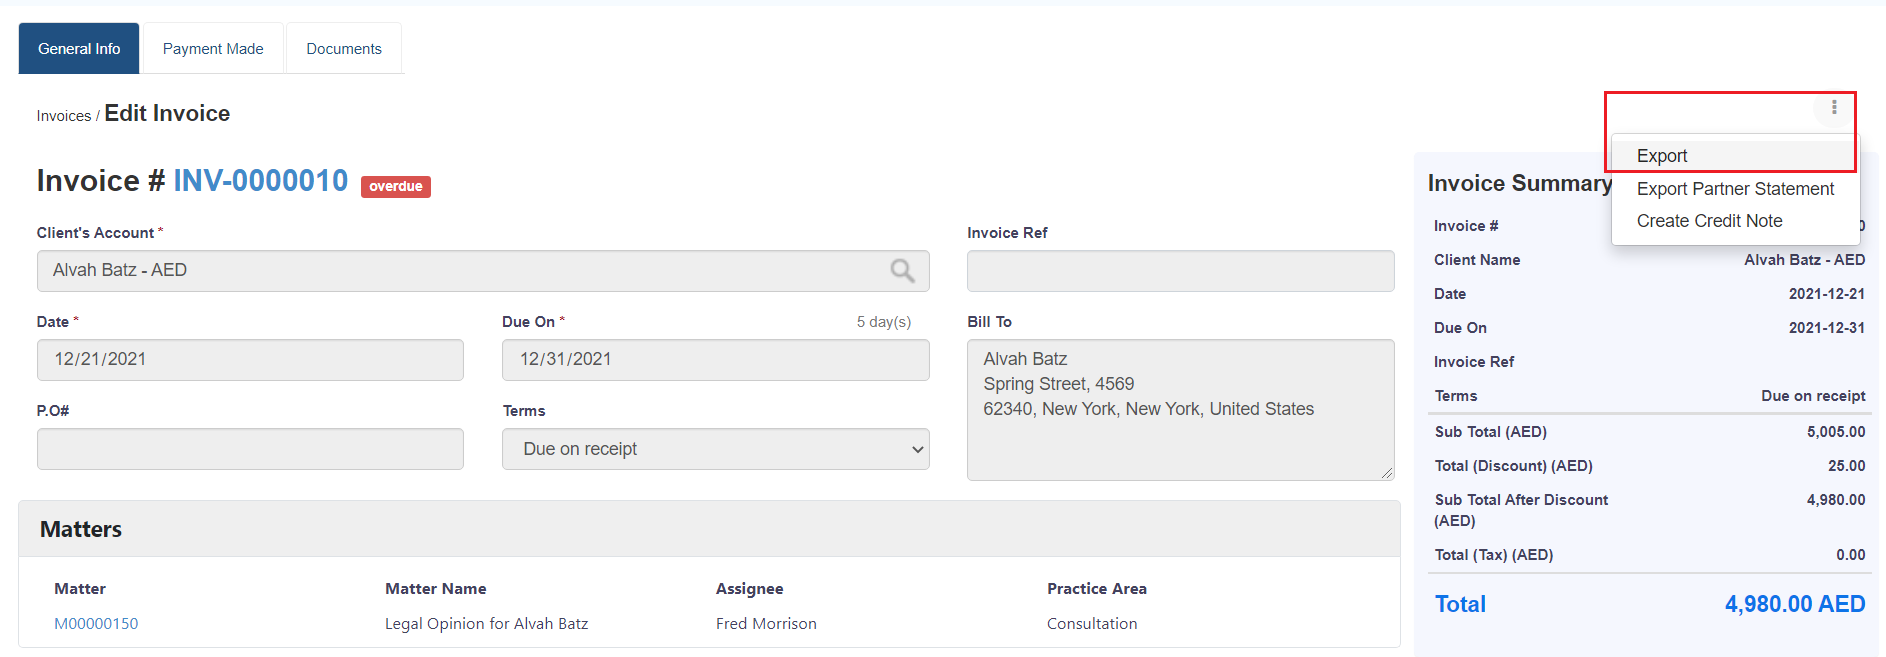
An invoice can be exported by simply clicking on the invoice number and from the 3 dots, clicking on export, and choosing the template.
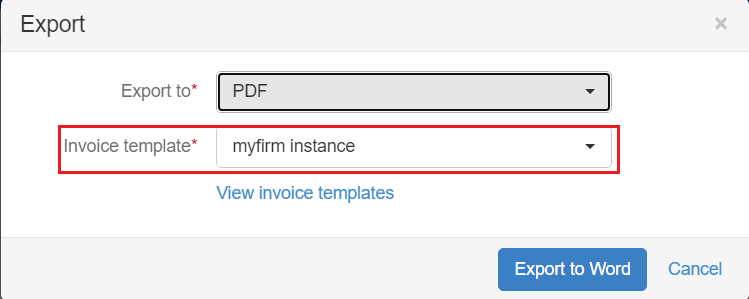
Once this invoice is exported, you will find all the required information and the QR Code. You can, therefore, send it to your client.
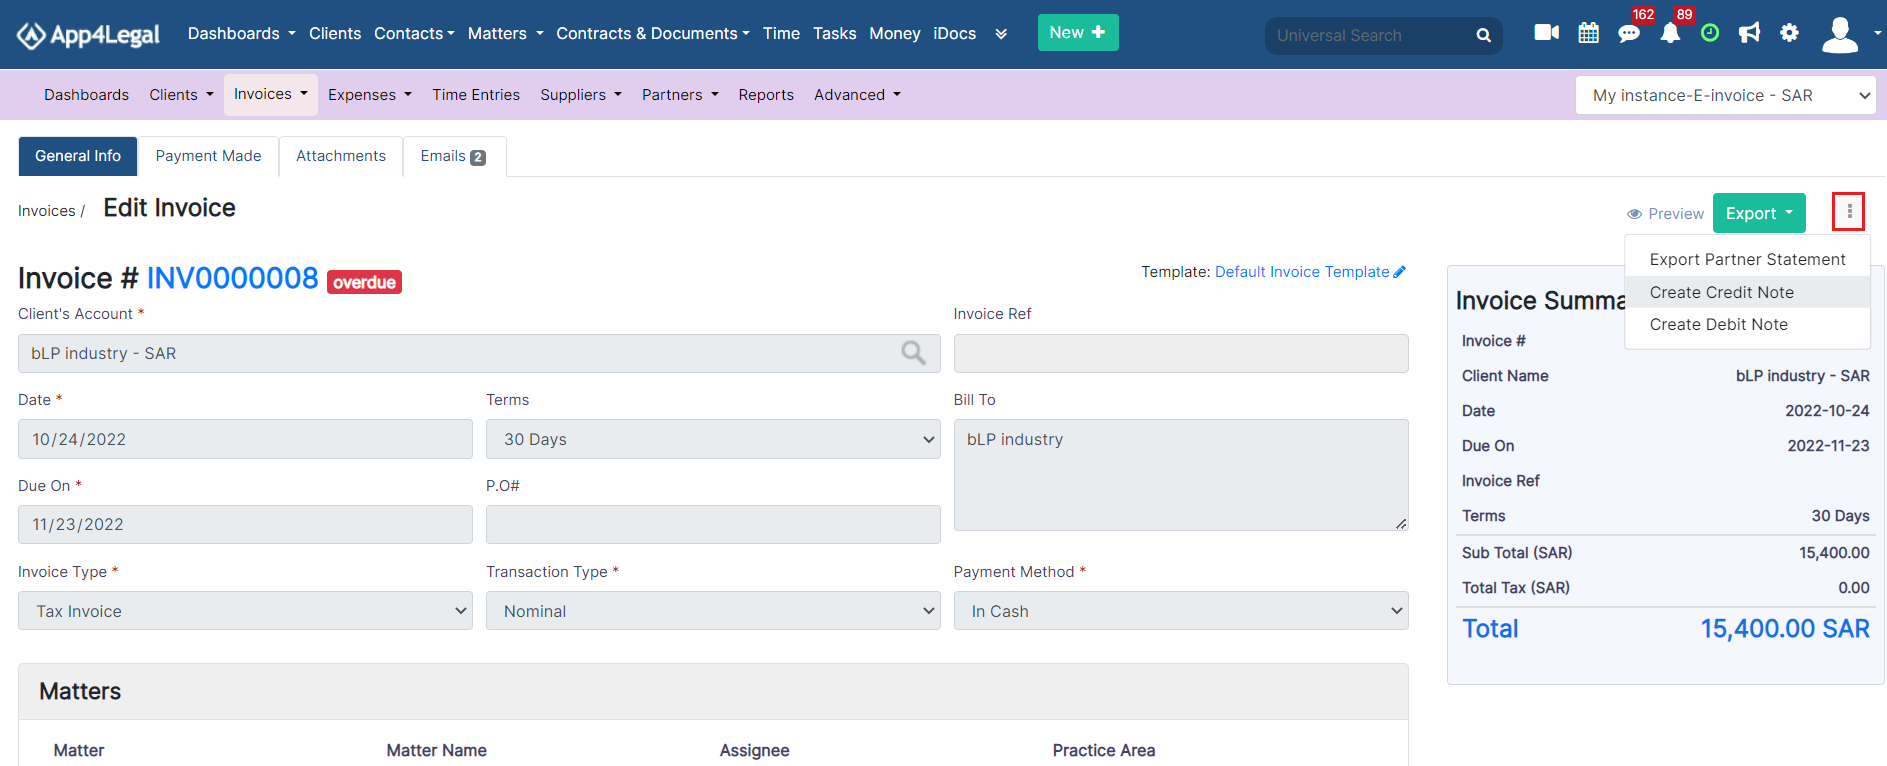
Now, what happens when the client decides to discard a service that has been invoiced? In this case, a credit note should be created.
To do that, go to the specific invoice, click on the three dots at the top right section of the invoice and record a credit note to this invoice.
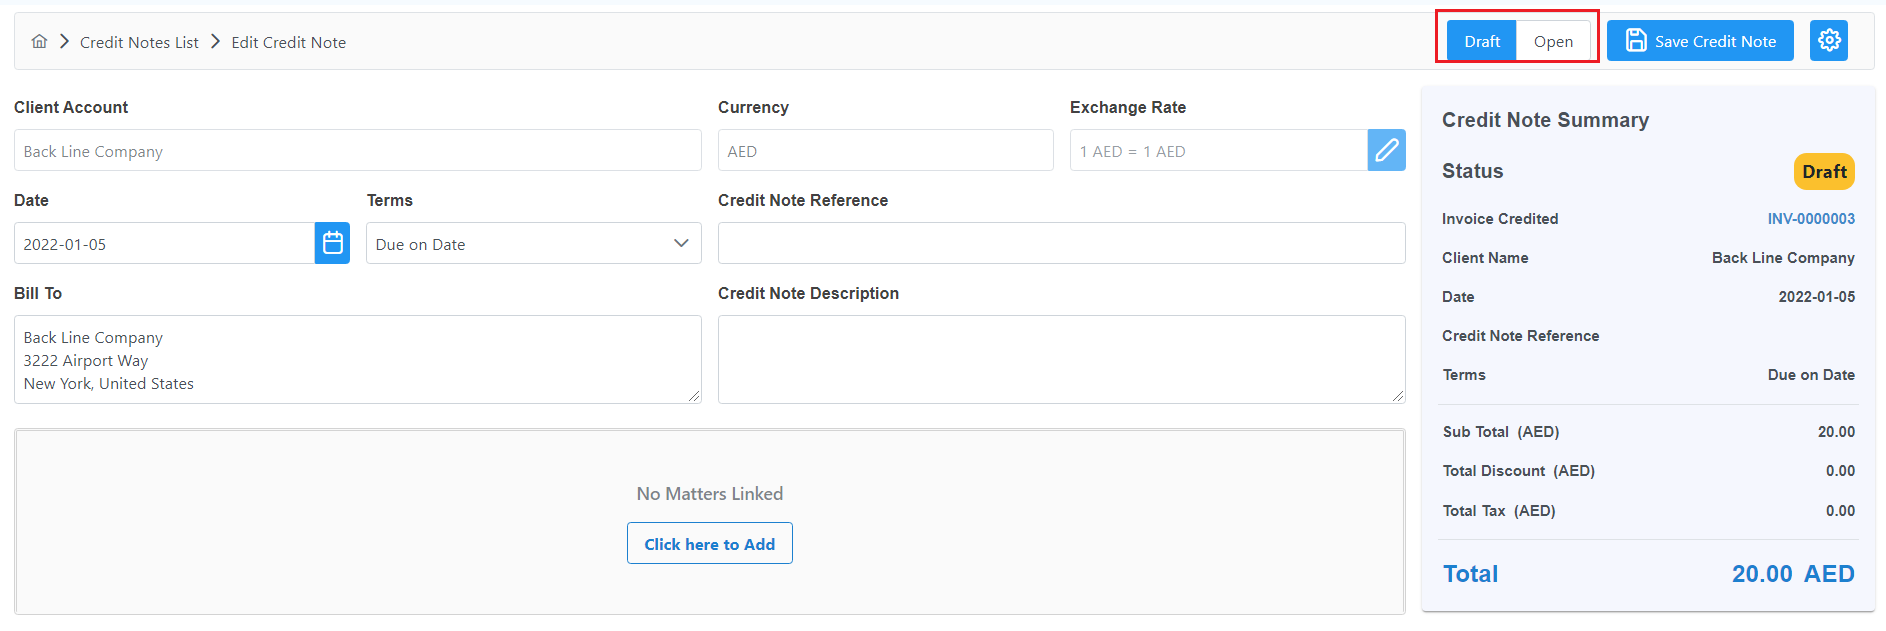
The system will fetch the data related to this invoice, and then you can delete the invoice items that have been discarded by the client. This credit note will also have a status, either Draft or open. Once you save it, the same restrictions will be applied. In other words, if the credit note is saved with an Open Status, you will not be able to change it, delete it, or return its status to draft. This credit note will have then an automatic number generated by the system.
You can list all the credit notes from invoices, then choose to view all credit notes, and of course, you can export the list for internal use.
For more information on App4Legal, reach out to us at help@app4legal.com
Thank you!
This page has no comments.