

Objectives
- Add Signees and Request to sign using LEXZUR Sign powered by Adobe
Steps
Previously, LEXZUR users had the option to integrate with Adobe Acrobat Sign by connecting their existing Adobe Acrobat Sign account to LEXZUR. This integration is still available, but now LEXZUR provides its own embedded Signature workflow that offers Adobe-powered e-signatures. This means users no longer need to separately subscribe to and deploy an e-signature service from Adobe.
The new Signature feature is associated with bundled transactions that offer flexible payment options for users. These bundles can be tailored to meet specific requirements. Check the details here.
This new e-sign integration can be selected by the user upon initiating a signature workflow from the signature center in the contra module.
Let us do an example:
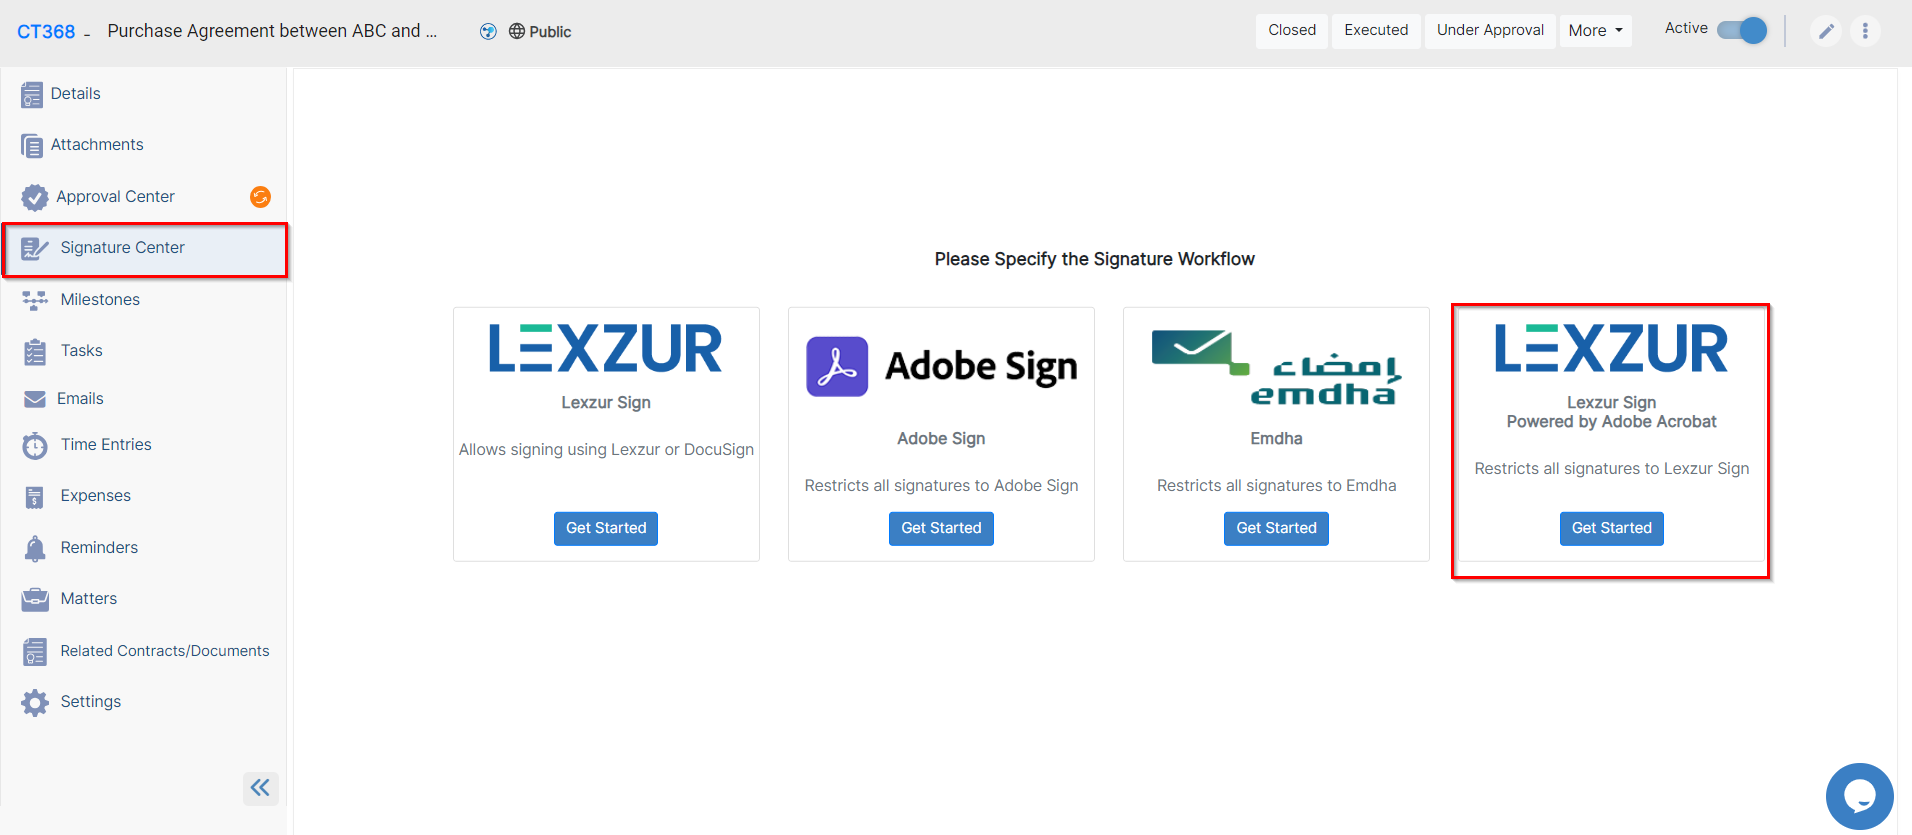
Open the Contracts Signature Center, and choose LEXZUR Sign Powered by Adobe Acrobat workflow, by clicking Get Started.
This Feature can only be accessed once you have obtained a valid subscription
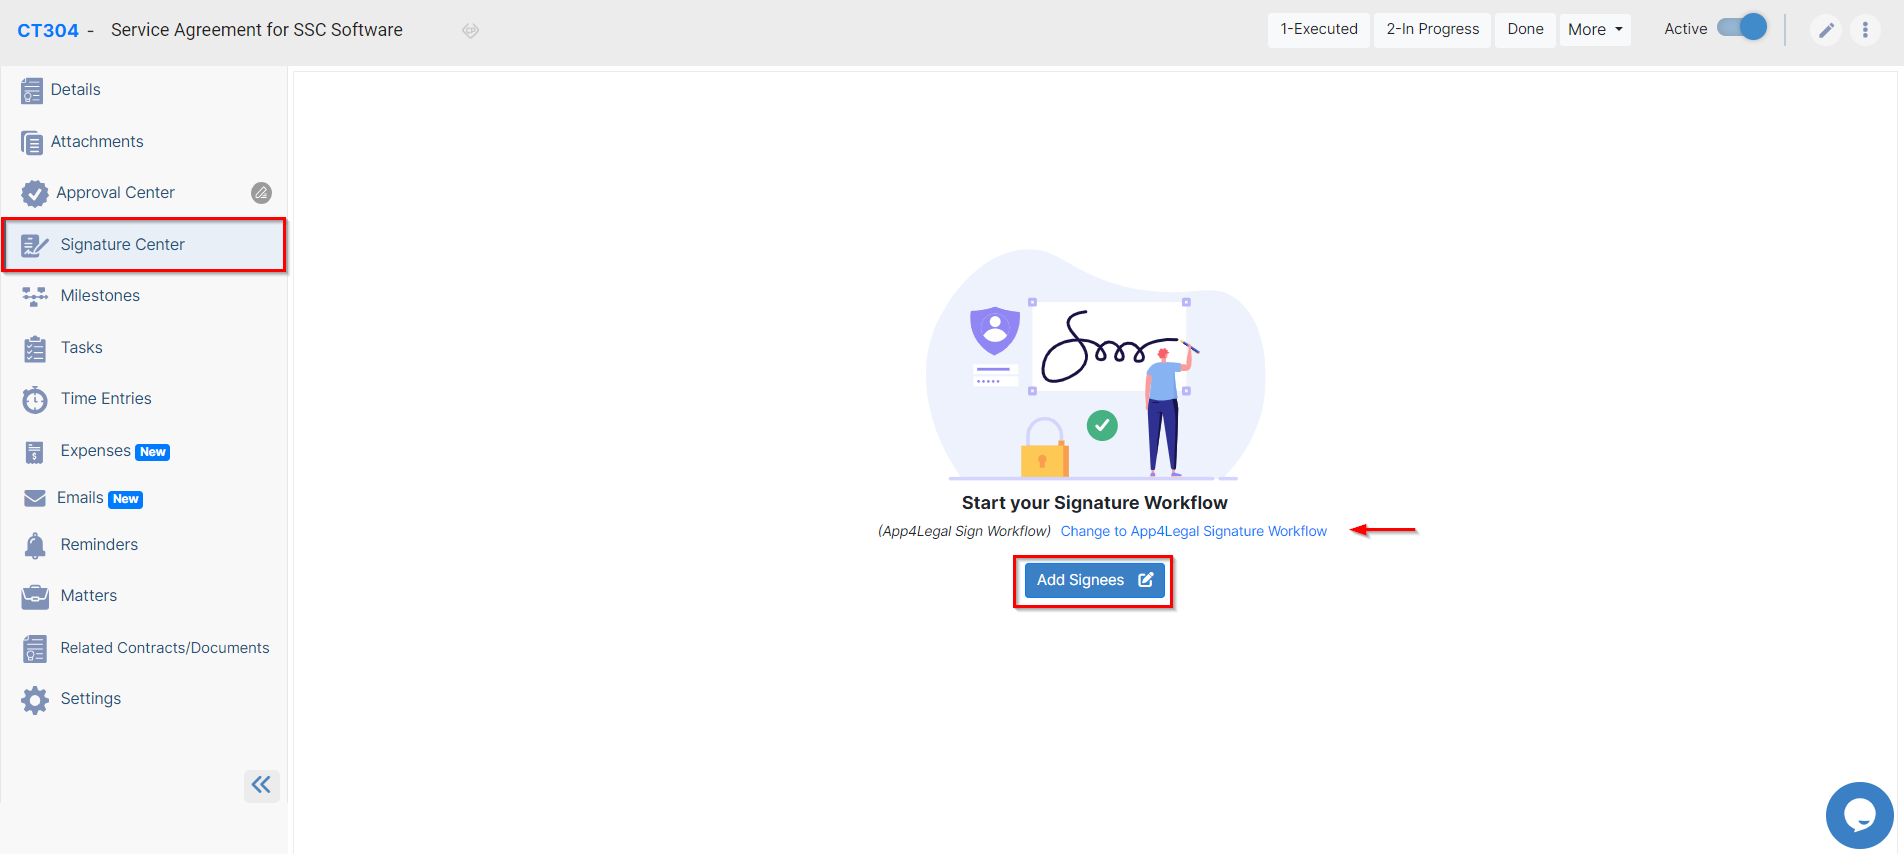
Now, you have selected your workflow, start Adding Signees.
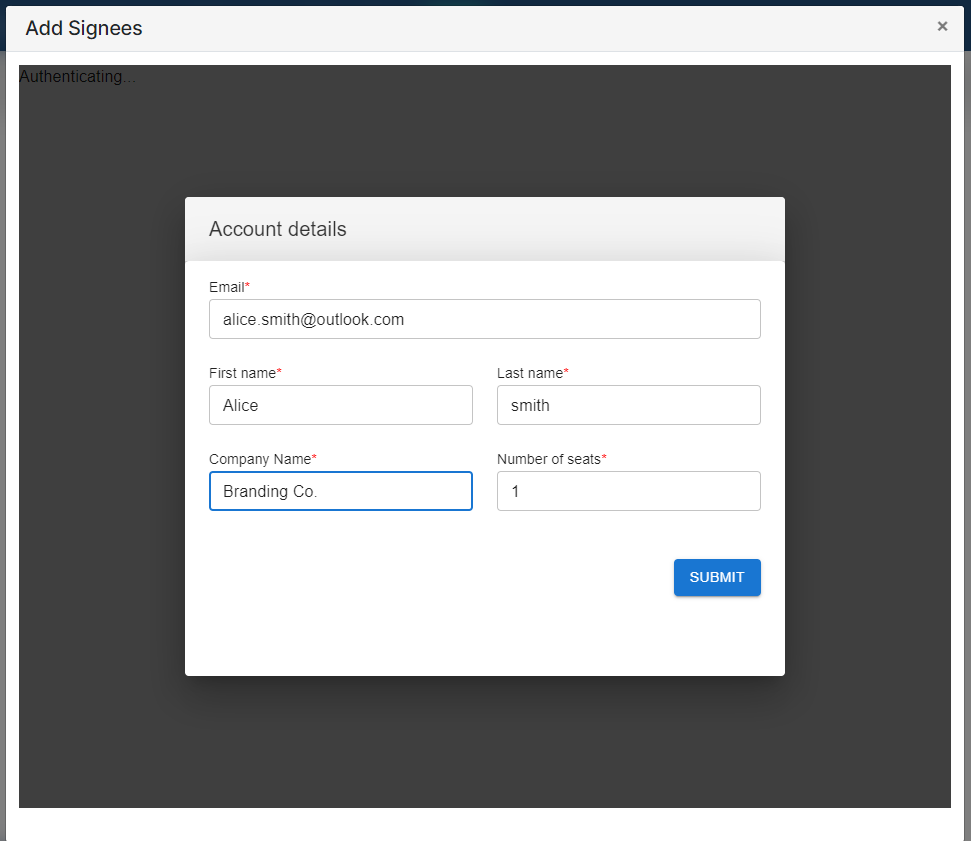
To begin, simply sign in by providing your account details, including your email address, first and last name, company name, and the desired number of seats.
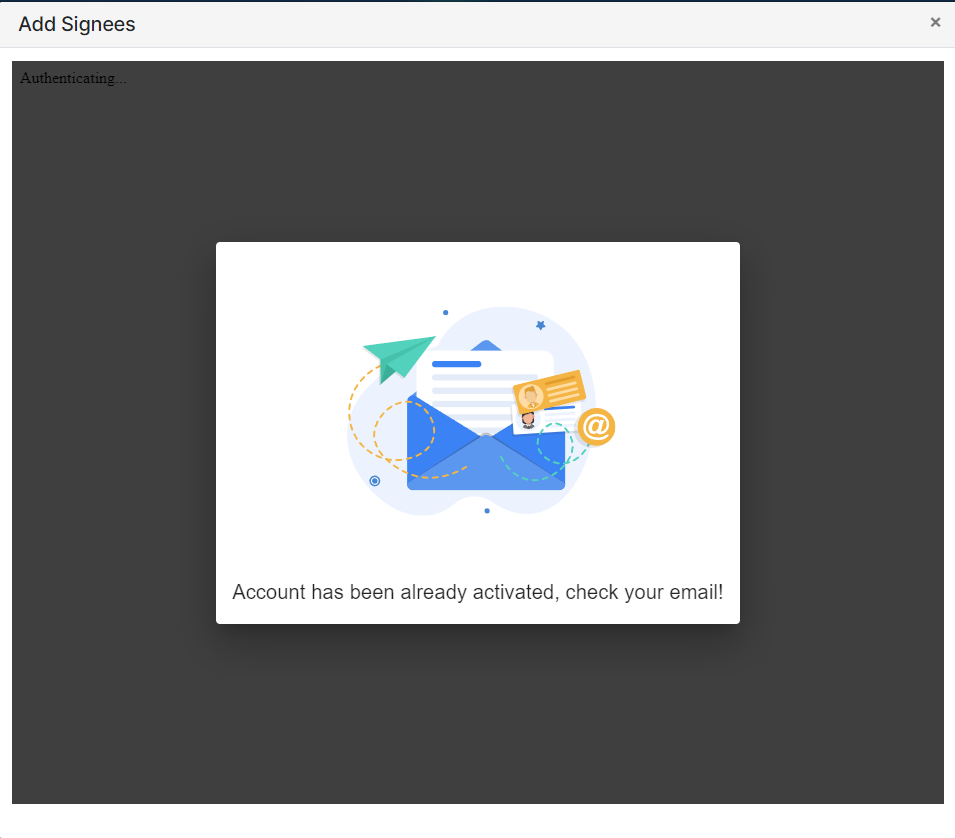
Once you have submitted the required information, your account will be activated. Check then your email for a validation link to complete the process.
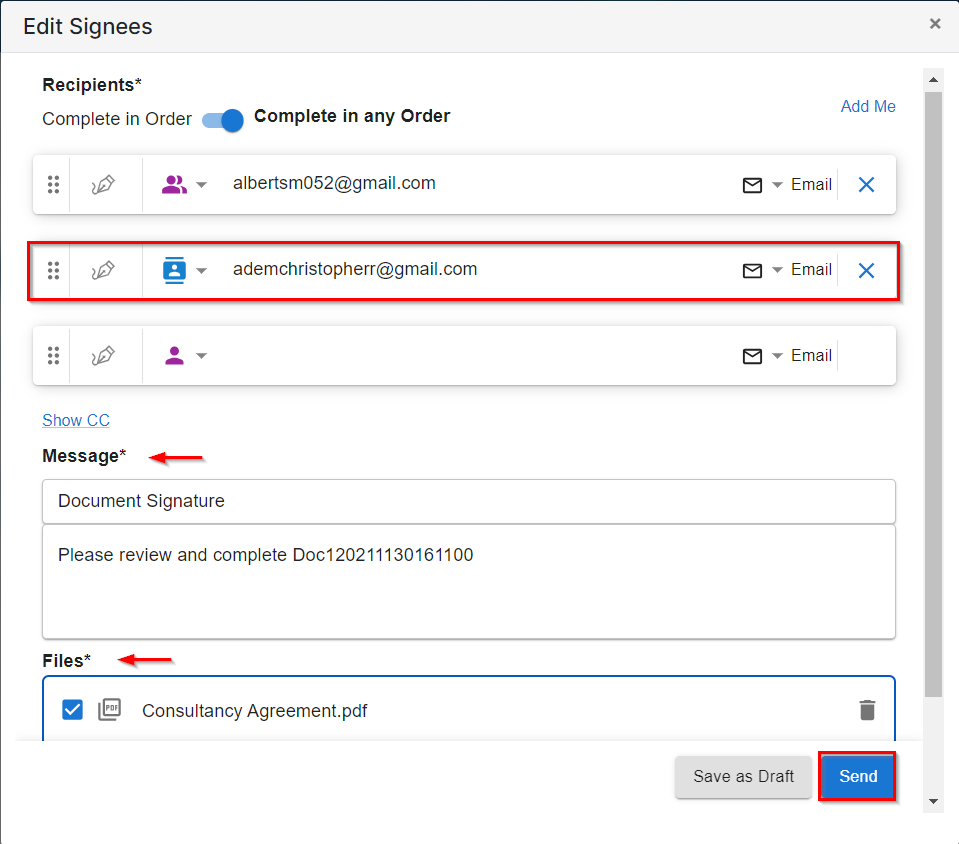
You can now begin adding signees, similar to the process in Adobe Request to Sign. Signees can include users, collaborators, or external individuals whom you can invite.
Specify the message you would like to send, attach the contract to be signed, and proceed to send the request.
For more information about LEXZUR, kindly reach out to us at help@lexzur.com.
Thank you!
This page has no comments.