

...
Let's jump straight into creating your developer account in DocuSign.
- Go to https://account-d.docusign.com
- Click on "No account? Sign up for free"
- Activate your account
- Login through https://account-d.docusign.com
- Go to Settings
- Scroll down and click on "Apps and Keys" in the left-side menu
- Click on the button "Add APP & Integration Key"
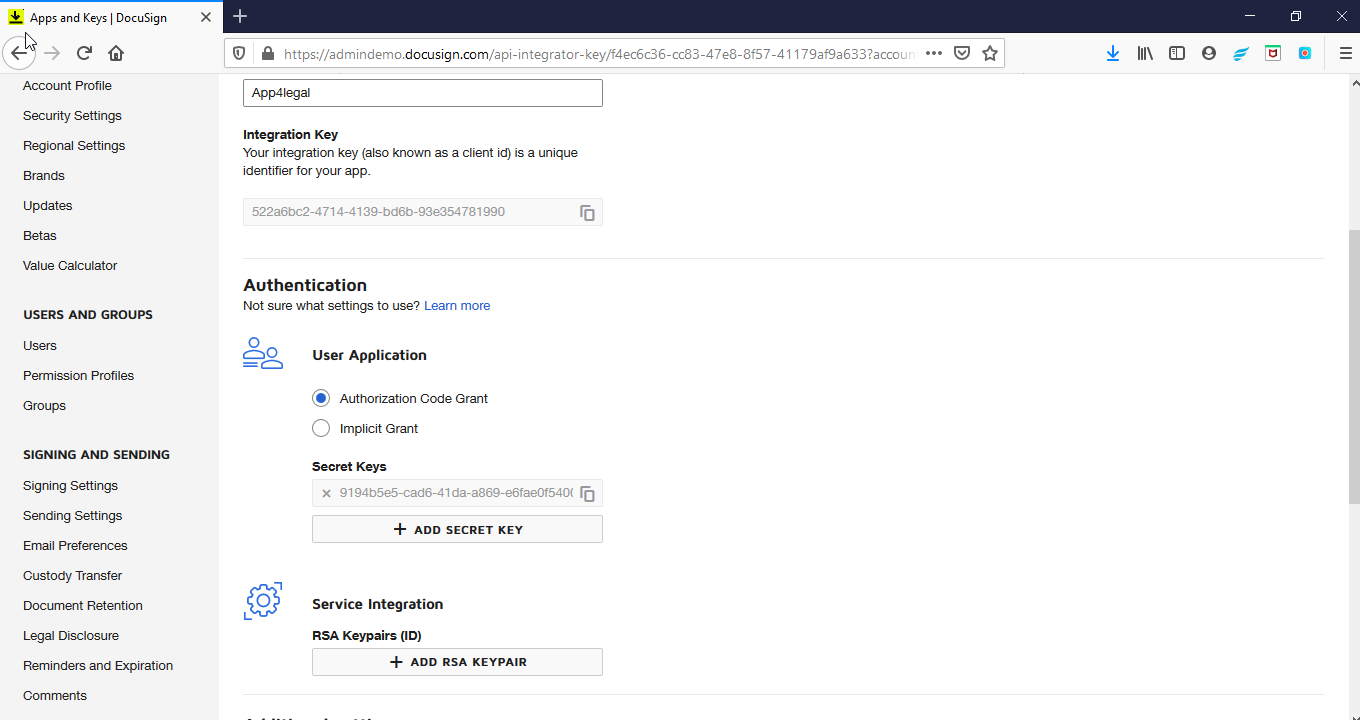
- Name your App Name then press "Add API Integration Key"
- Click on "ADD secret key" ( keep the default "Authorization Code Grant" selected)
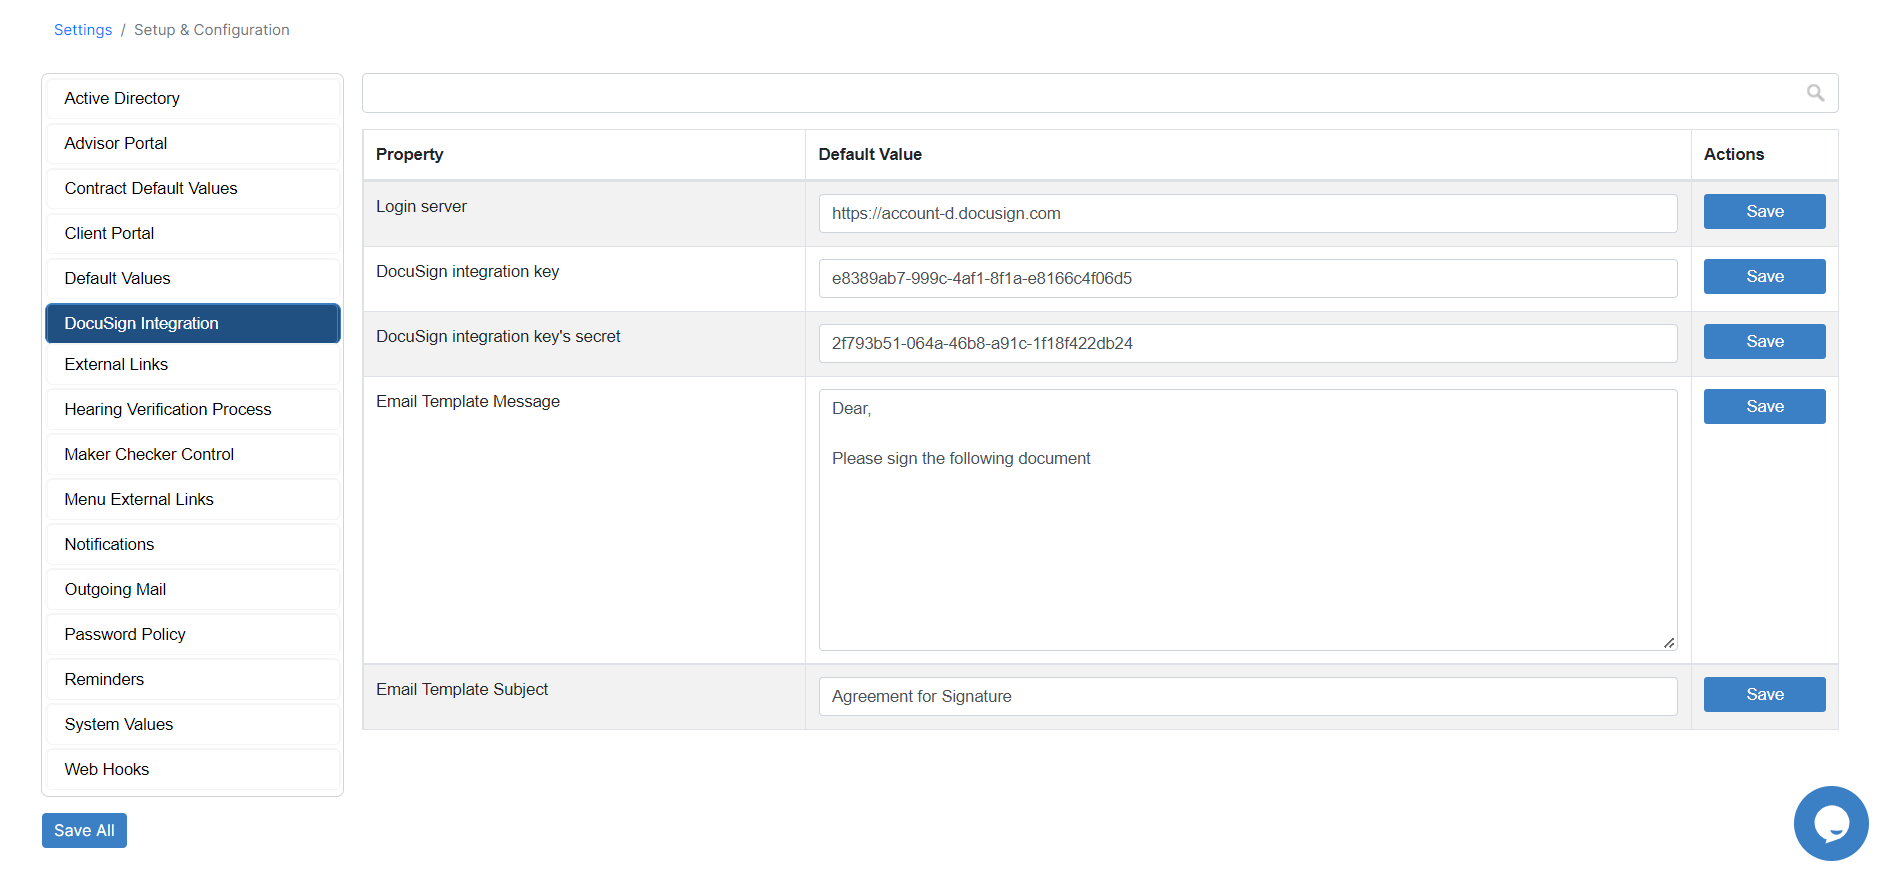
- Login to your App4legal instance, and go to "Setup & Configuration" under "System Preferences" on the Settings page
- Copy your "Integration Key" and paste it into the "DocuSign integration key" under the DocuSign Integration tab
- Copy your "Secret Key" and paste it into "DocuSign integration key's secret" under the DocuSign Integration tab
- Copy this link "https://account-d.docusign.com" and paste it into "Login server" under the DocuSign Integration tab
- Save
...
- all
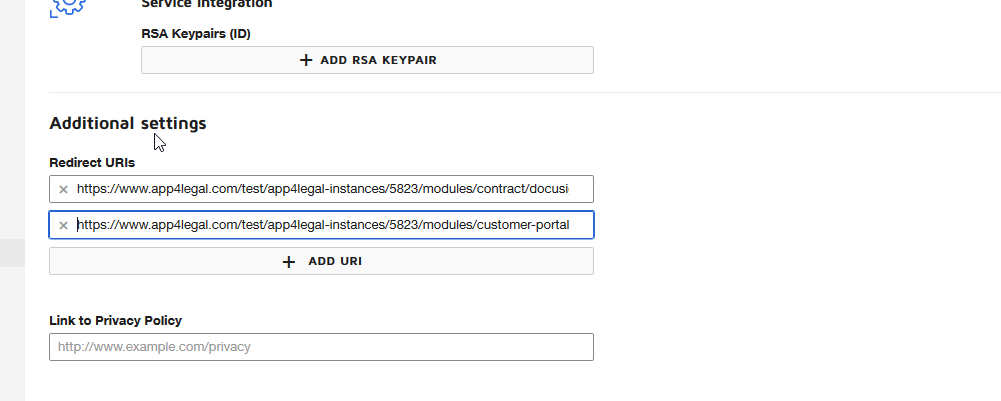
- Go back to the App you created in DocuSign, and from the Additional Settings, add 2 URIs (your instance URLs then modules/contract/docusign_integration/call_back & your instance URLs then modules/customer-portal/docusign_integration/call_back)
- Save
Now to move to the production account, do the following steps:
Note: you need to have a paid account
- Go to Settings in your app4legal instance, click on the "Docusign Go live " link under the Contract
...
- section
- Go to https://account-d.docusign.com and login
- Go to "Apps and Keys" in the left-side menu
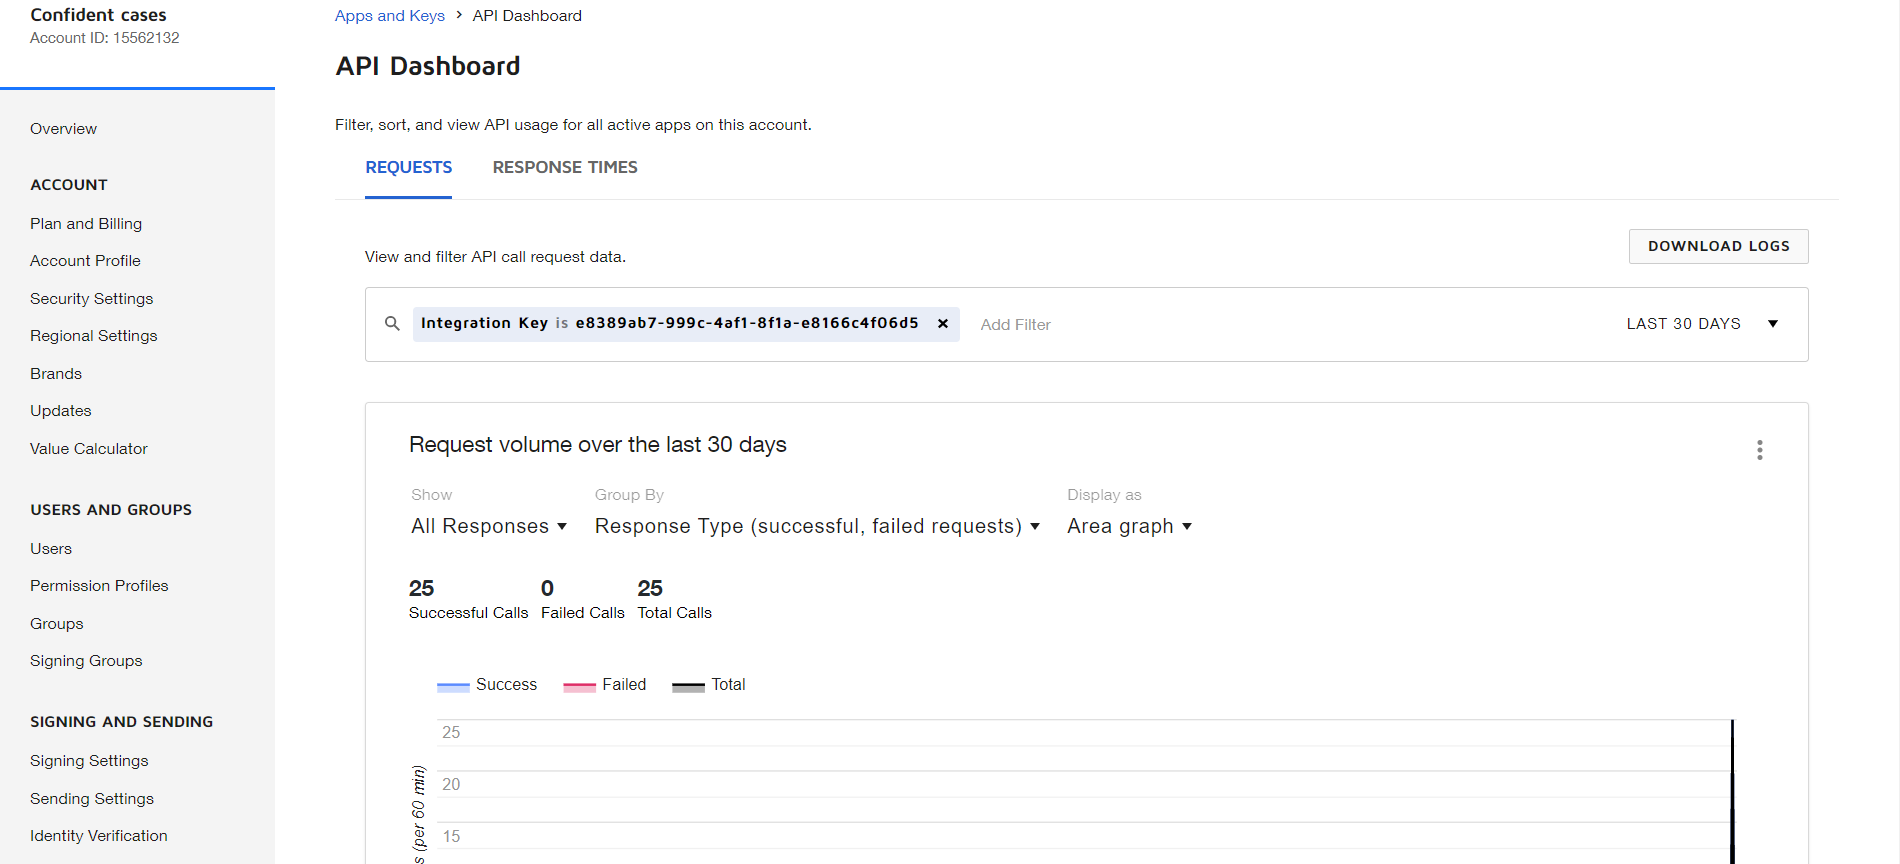
- Click on the Actions for your created application and choose "View API Dashboard"
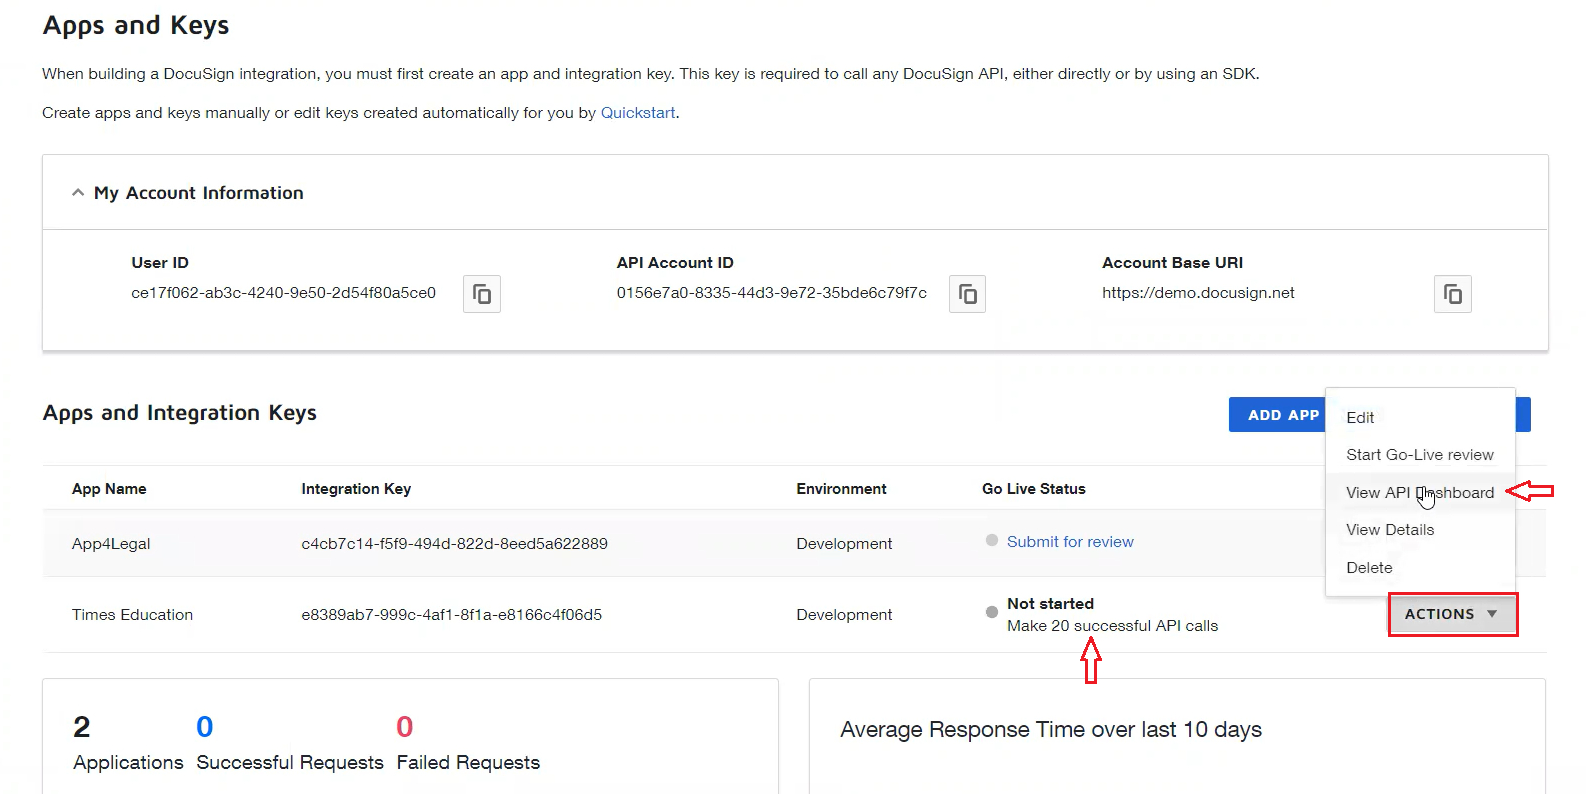
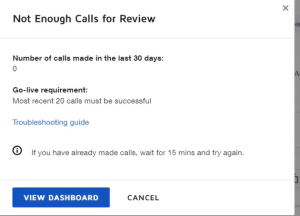
- You should see there are more than 20 successful total requests (
...
- This may take
...
- up to 5 minutes)
- Go back to "Apps and Keys"
- Click on the Actions for your created application and choose "View API Dashboard"
- The Go-live status will be changed to "Submit for Review"
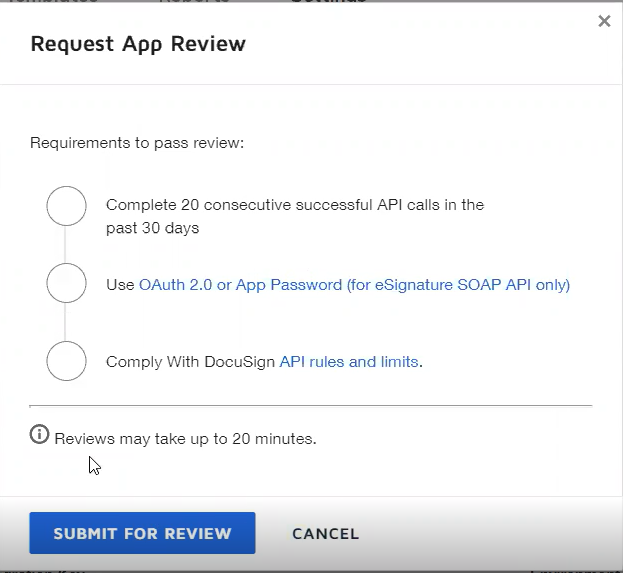
- Click on the Actions for your created application and choose "Start Go-Live Review " then
...
- "Submit For Review" (it will take
...
- up to 20 minutes)
- The Go-live status will be changed to "Review Pending"
- Check the status after 20 minutes
...
- , it should become
...
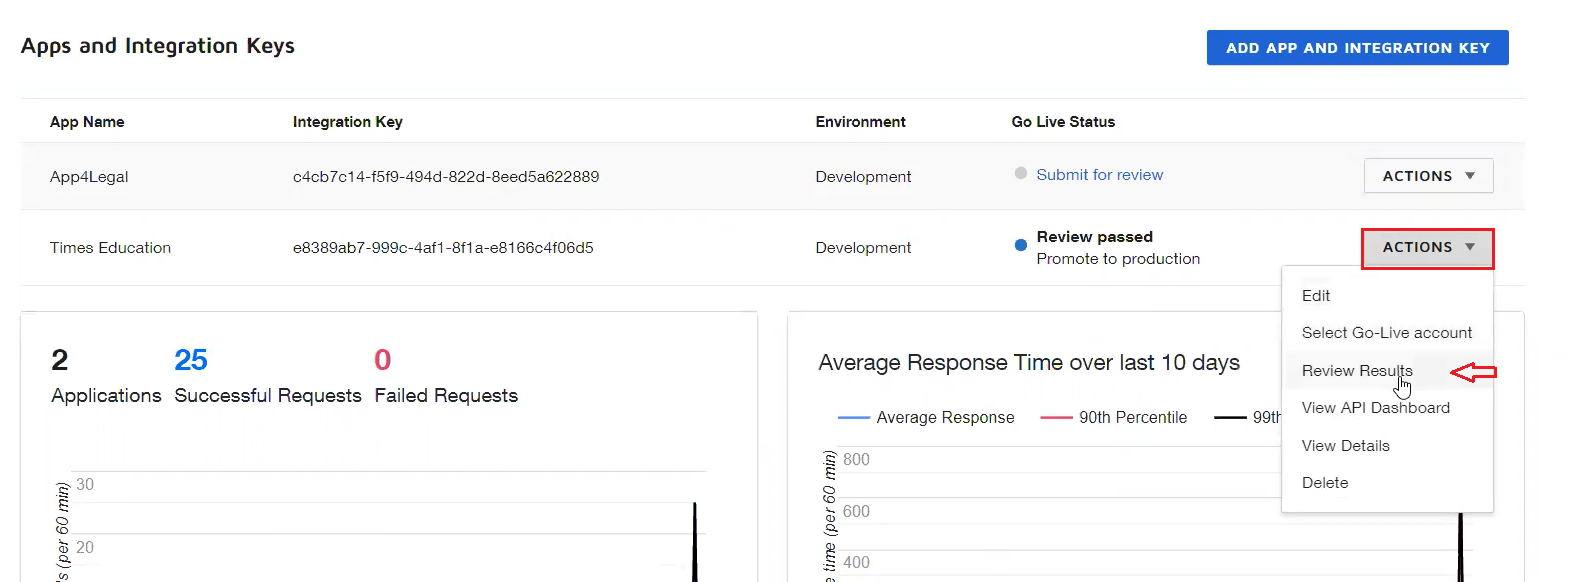
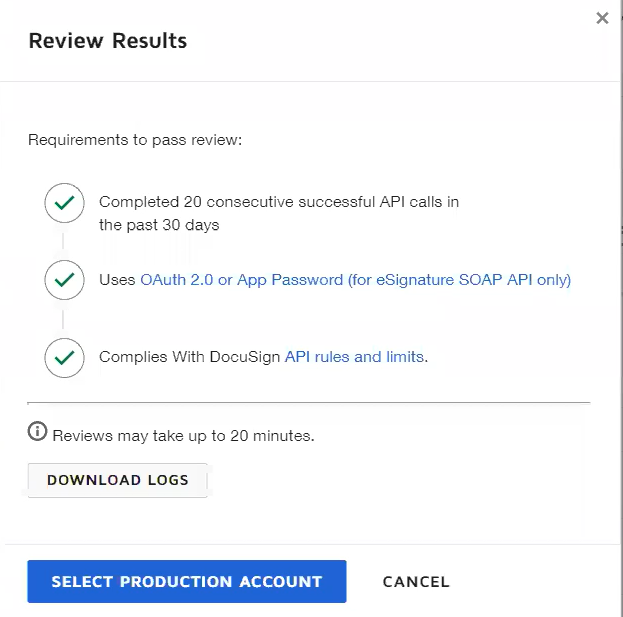
- "Review passed". Now you have to Promote to Production.
- Click on the Actions for your created application and choose "Review Results"
- Click on "Select Production Account"
- A
...
- new dialog will open
...
- , login in with your production account (paid one), and wait till
...
- your application is reviewed and approved.
- The Go-live status will be changed to "Pending Approval" and the review may take up to 48 hours
- After that go to the "Setup & Configuration" under "System Preferences" on the Settings page
- Change the "Login server" under the DocuSign Integration tab to "https://account.docusign.com"
- Log in with your paid account using the link https://account.docusign.com
- Copy your "Integration Key" and paste it
...
- into the "DocuSign integration key" under the DocuSign Integration tab
...
- Add a secret key then copy your "Secret Key" and paste it
...
- into "DocuSign integration key's secret" under the DocuSign Integration tab
- Add 2 URIs (your instance URLs then modules/contract/docusign_integration/call_back & your instance URLs then modules/customer-portal/docusign_integration/call_back)
- Save
For more information about App4Legal, kindly reach out to us at help@app4legal.com.
...